Hello Crafty Friends and welcome! It's Day 6 of our Sneak Peek and this is my last Sneak Peek Card until our Blog Hop Day. There are 10 new dies and 5 new stamp sets in this new release.

For my card today, I used the Arch Pop-Up and the Rainbow Add-Ons! This as a card that I haven't made before, but I seen the rainbow and thought about the pot of gold at the end of the rainbow and had to make a Good Luck card!

I used Distress Ink in Peacock Feathers and my MFT - Mini Clouds stencil. Then I used Nature Edges to cut two pieces of grass to go at the bottom of my card. Once I had those in my card, I die cut the Arch Pop-Up from the same green cardstock as my card base.
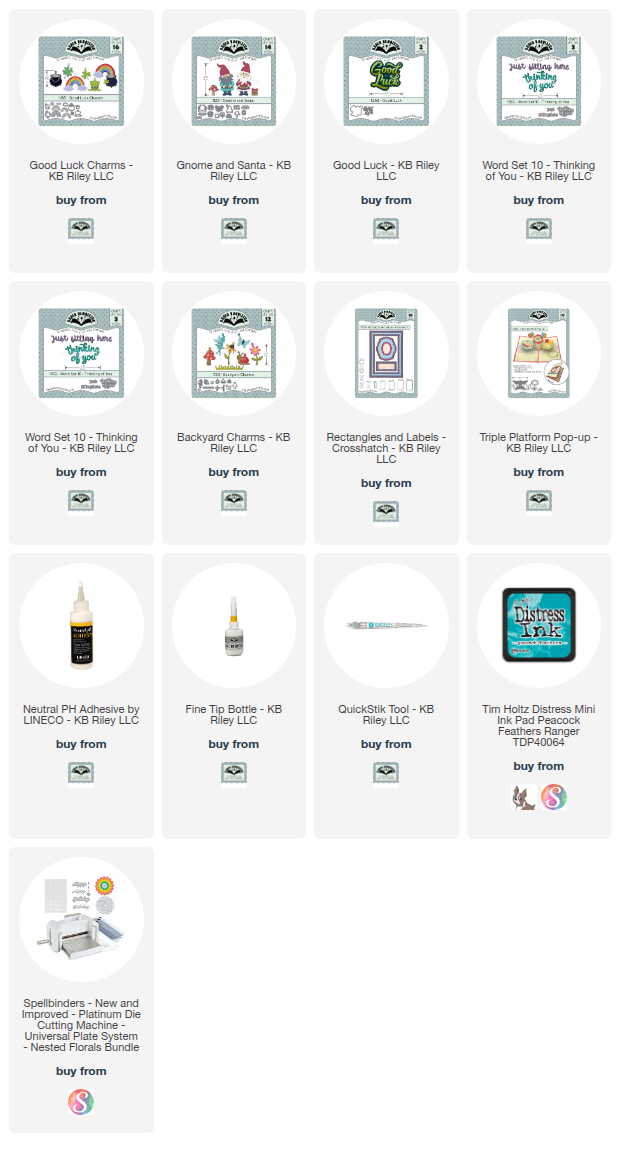
I used the Rainbow Add-Ons to die cut the rainbow in all the colors I needed and glued that all together then added the arch to my card. I added a cloud at one end and used the Witch and Cauldron die to create the cauldron on the other end. For the gold, I used the gold die from the Treasure Chest die set and trimmed it to fit.
I die cut the leprechaun from the Gnome and Santa die set and used the Good Luck Charms to create him. I also add the clovers from the Good Luck Charms. I added some garden details using the Backyard Charms. All these I die cut from smooth white cardstock and colored with Copic markers. I added a label using the Raising Platform Pop-Up so there was a place to sign the card.

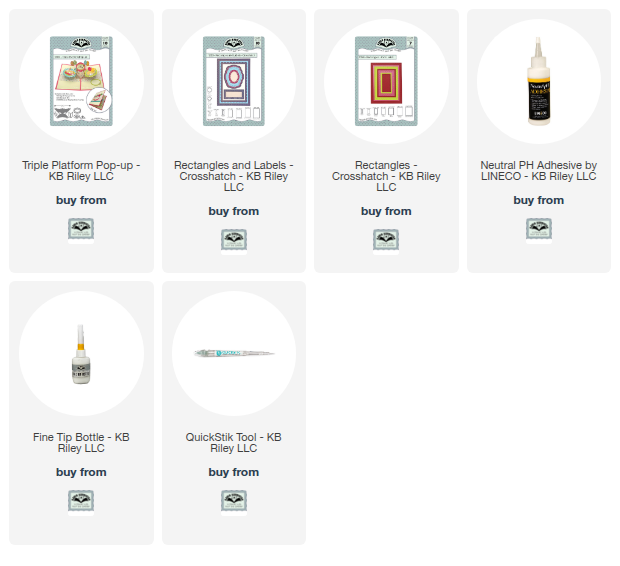
For the front of the card, I used another rainbow and more clovers, then added a big label using the Rectangles and Labels - Crosshatch dies. I added the Thinking of You sentiment using gold cardstock. I can't wait to create more cards with the Rainbow Add-Ons!!
Thank you so much for stopping by today. The list of supplies I used to make this card are listed below (except the new release dies, which will be updated once the release is available). Happy Crafting!
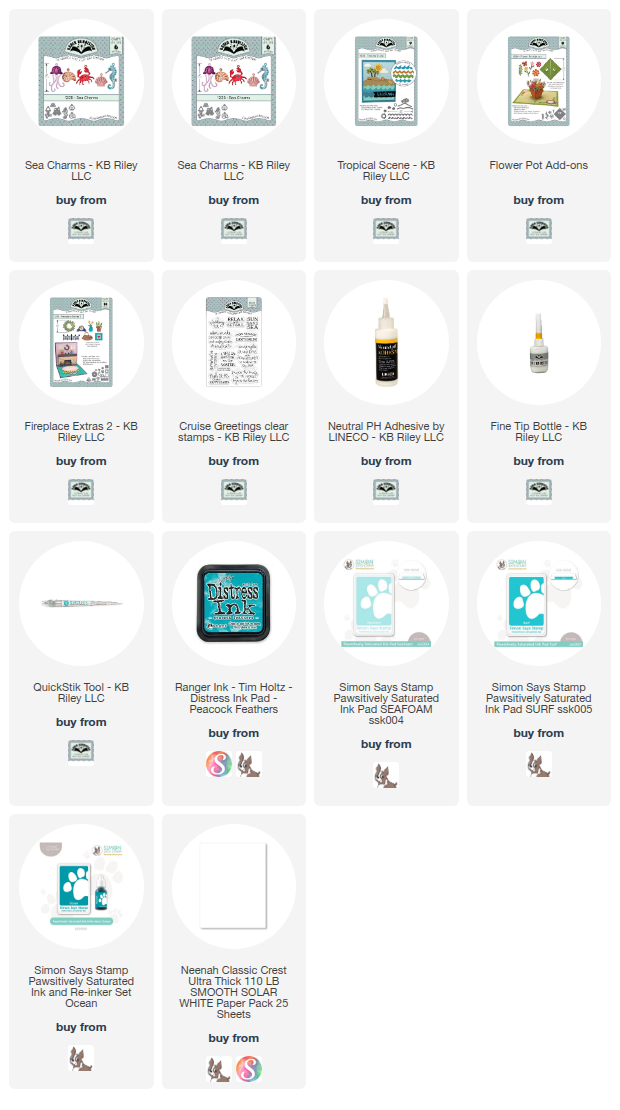
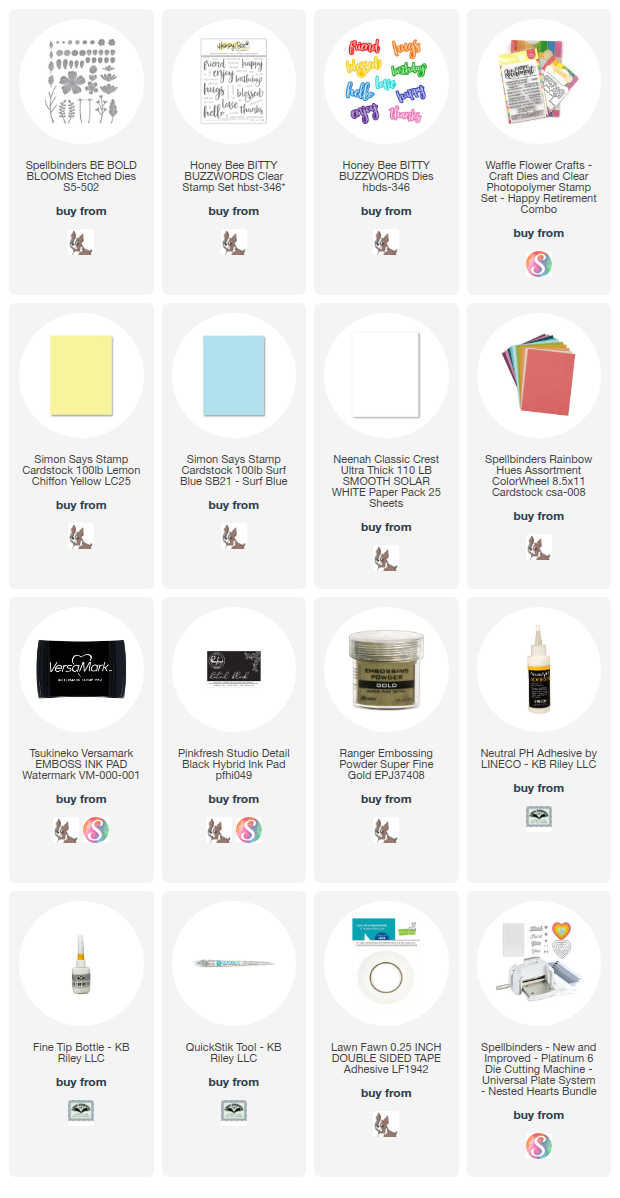
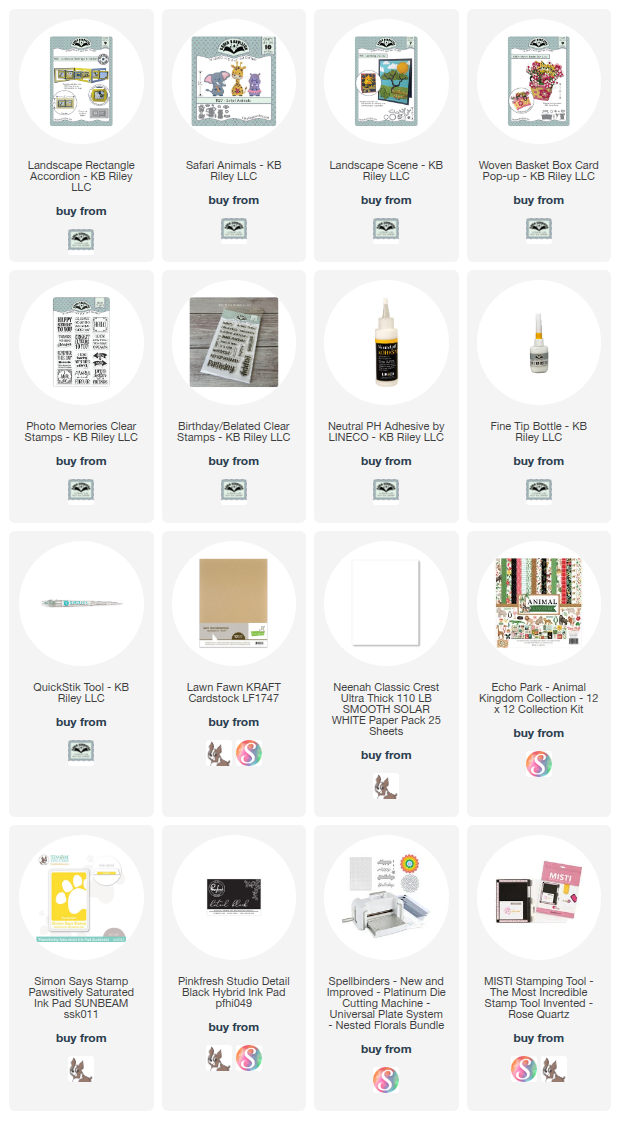
Supplies: For your shopping convenience, all products are linked below. Compensated affiliate links are used where possible with no extra cost to you. This helps me to continue to share all the projects I include on my blog. Please note I only use and share products I love. Thank you Crafty Friends!