Tuesday, January 28, 2025

Craft Roulette - Episode 251 - Saddle Up and Celebrate Birthday Card!

Hello Crafty Friends and welcome! It's been a long long time since I had time to participate in Craft Roulette, but I'm trying to change that for 2025. Friday's episode called for the following parameters: 

  • Project: Slimline
  • Colors: Lumberjack
  • Element: Hat or Cap
  • Random: Lace or Doily

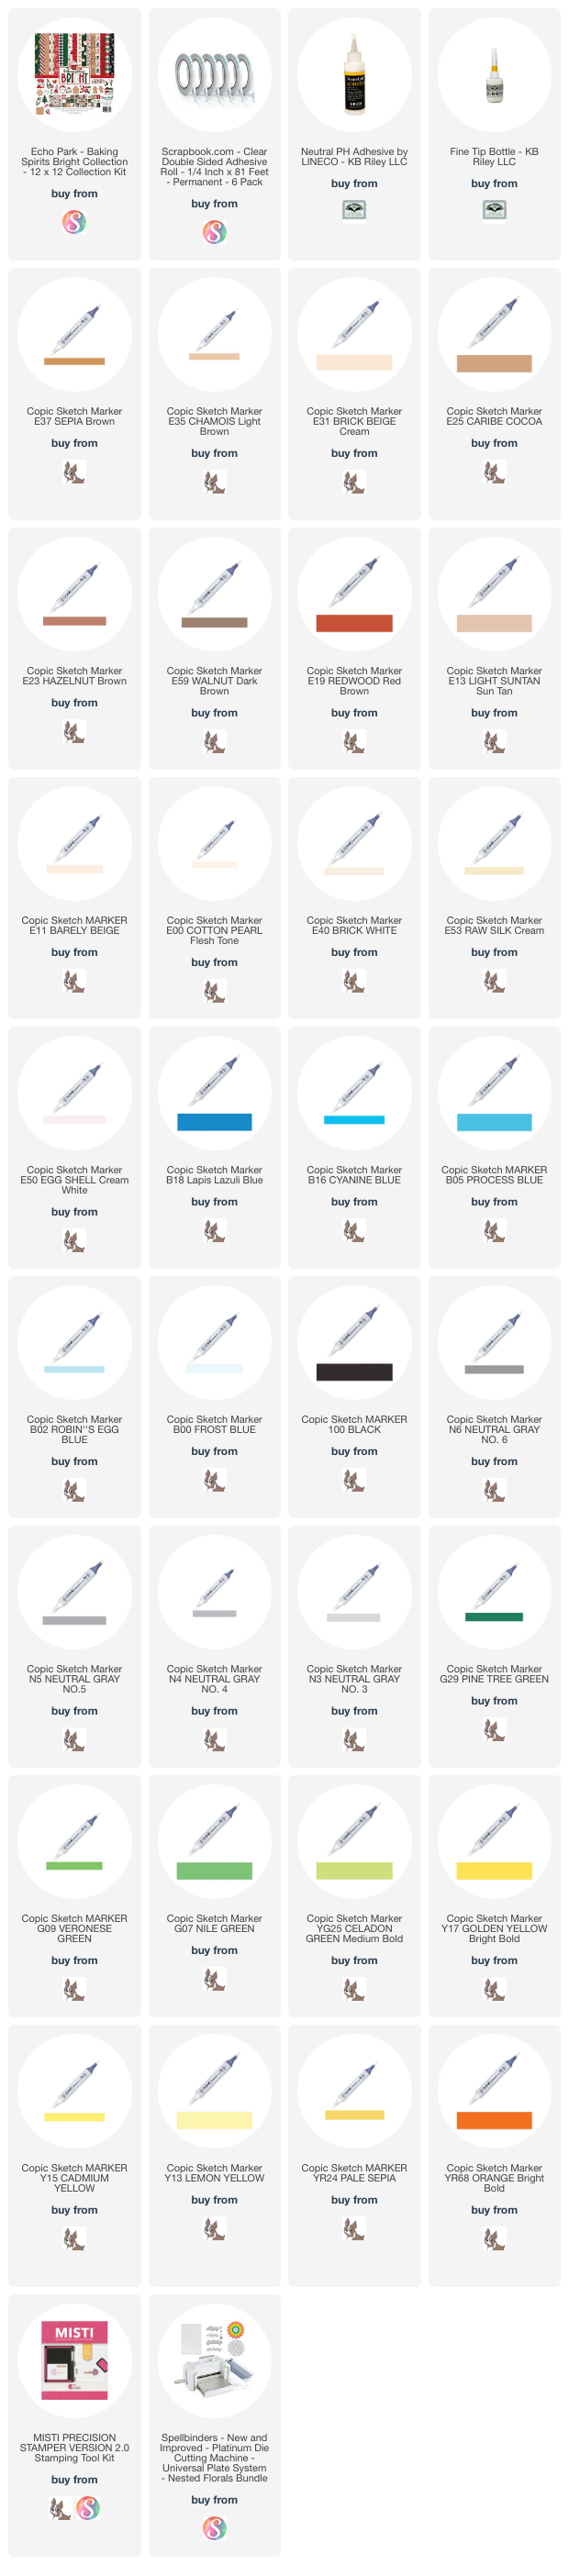
For this card, I started with a slimline card base from smooth white heavy weight cardstock. I then dug through my paper stash and found this plaid patterned paper from Echo Park called Baking Spirits Bright. I used an old paper punch I had bought when I first started making cards. It had an edge punch and a straight punch and creates this lacy edge. 

I used MFT - Saddle Up and Celebrate and The Whole Herd stamp sets for this card. I stamped all my images onto masking paper, then fussy cut them all out. I die cut a slimline rectangle from Pink Fresh Studios Slim Diagonal Stitched Rectangles using heavy weight slimline cardstock. Then I stamped my images on, masking them once I finished stamping each one. 

I used Distress Oxide Ink in Tumbled Glass and Broken China to create the background. I also used MFT - Clouds stencil. Then I taped off the bottom and used Distress Ink in Vintage Photo and Antique Linen to create a dirt ground. 

I removed all the masking paper and began coloring my images in with Copic markers. Once done, I added some white Gelly Pen to some areas to add shine lines. 

Although masking and stamping is time consuming, it results in a very creative way to use your stamps! Also you won't have that white edge around each image in the end. I am very happy with how this card turned out. Listed below are the supplies I used. Unfortunately, I cannot link to the stamp sets used as MFT does not have an affiliate program outside of the USA. Thank you so much for stopping by today and Happy Crafting!

Supplies: For your shopping convenience, all products are linked below. Compensated affiliate links are used where possible with no extra cost to you. This helps me to continue to share all the projects I include on my blog. Please note I only use and share products I love. Thank you Crafty Friends!


Monday, January 27, 2025

Karen Burniston January 2025 New Release - Blog Hop - Flower Pot Card!

Hi Crafty Friends,

Welcome to our Karen Burniston Products - KB Riley LLC October Release Blog Hop. The Design Team have come together with Karen today for a fun blog hop to celebrate the release of 8 new dies and 4 new stamp sets. Sneak peeks of the new release started last week, and the dies are available to order NOW!


This release includes:
• 1 new Pop-up Die Sets
• 3 new Pop-up Add-ons Die Sets
• 4 new Stand Alone Die Sets
• 4 new Clear Sentiment Stamp Sets
Dies are available to order now on the website.
GIVEAWAY:
To celebrate the release Karen Burniston and each of the Karen Burniston - KB Riley LLC Design Team members will be giving away a $25 Gift Certificate to some lucky person who comments on our blog posts, so make sure you join the hop and comment on everyone's blog post. Winners will be randomly chosen from ALL of the blog hop comments received on our blog posts by Monday, 3rd February 2025. Lots of chances to win some goodies, so just leave a comment on this post or any other blog hop posts to enter! Don't forget to leave some way for us to contact you, in case you are a lucky winner!

For my card, I used the new Flower Pot Add-Ons and Bouquet Bits to create this beautiful Mother's Day Card.


I started with a 5x7 card base from Lawn Fawn 80lb smooth white cardstock. Then I added some blue and yellow patterned paper from Echo Parks New Day paper pack. 

I die cut the Flower Pot Pop-Up from the same Lawn Fawn cardstock and added some of the yellow polka dot paper to the pot. I die cut the doily from a heavy weight smooth white cardstock then glued my flower pot to the doily. 

I die cut all the flowers and leaves from a heavy weight smooth white cardstock and used Distress Oxide Ink to color them. For the blue flowers, I used Tumbled Glass, Broken China and Chipped Sapphire. For the yellow flowers I used, Squeezed Lemonade, Mustard Seed and Rusty Hinge. 
I splattered the blue flowers and leaves with green and blue water color paint. The yellow flowers I splattered with Distress Spray in Vintage Photo. Then I splattered them all with white Copic Opaque paint. 
I colored in the bee from the Flower Pot Pop-Up and the butterfly from the new Flower Pot Add-Ons, using Copic markers. 
I then began gluing the flowers onto the flower pot. I used Lineco Neutral pH adhesive and a fine tip bottle for this. I also used my craft tweezers to hold the leaves and flowers in place. 
I added flowers along the sides of the card as well. Then I die cut a label from the Raising Platform Pop-Up die set, for a place to sign the card.
I added a little sign from the Bouquet Bits and stamped it with the "Sending Love" sentiment from the new Bouquet Sayings stamp set.
For the front of the card, I used the same patterned paper as the inside, adding a yellow polka dot oval and a white oval. Then I die cut the "Happy Mother's Day" using Karen Burniston's Happy Mothers Day die, from blue and black cardstock. Then I glued all the layers together to make the sentiment pop.

I added more flowers and leaves, bending the leaves slightly to fit the oval on the front. I just love the new flowers in the Flower Pot Add-Ons! I hope in the future Karen comes out with more flower dies. Thank you so much for joining me today. Be sure to leave your name and email address and a comment on my blog for a chance to win a $25.00 online gift certificate! Please see below for the next hop in our Blog Hop! Happy Crafting!!
Jennifer Webster ----- You are here!

Supplies: For your shopping convenience, all products are linked below. Compensated affiliate links are used where possible with no extra cost to you. This helps me to continue to share all the projects I include on my blog. Please note I only use and share products I love. Thank you Crafty Friends!


Friday, January 24, 2025

Karen Burniston January 2025 New Release - Sneak Peek Week Day 5 - Bouquet Bits

 Hello Crafty Friends and welcome! Today is day 5 of our Sneak Peek Week for Karen Burniston's January 2025 New Release. My card for you today uses the new Bouquet Bits along with the Flower Pot Pop-Up to create this Valentine's Day card. 


For this card, I started with a 5x7 card base using a light weight red cardstock. I then cut three rectangles from Lawn Fawn's 80lb smooth white cardstock. I created the heart background using a large stencil from Simon Says Stamps Fading Hearts stencil and Distress Oxide Ink in Spun Sugar, Worn Lipstick and Picked Raspberry. Then I splattered white paint onto the hearts using Copic Opaque paint. I set these aside to dry. 

While my background was drying, I created all the candy hearts and bouquet bits. I used the candy hearts from the Candy Hearts Box die set, cut them from heavy weight smooth white cardstock and colored them with Copic markers. I also cut the bouquet bits from heavy weight smooth white cardstock and colored them with Copic markers. I also added Glossy Accents and glitter gel to the bouquet bits to add some dimension. 

I die cut the Flower Pot Pop-Up from light weight white cardstock and added some pretty patterned paper I had in my scrap. I added all the candy hearts and bits to the flower pot using Lineco Neutral pH adhesive and my fine tip bottle. I also added two bows from the bouquet bits to the front of the flower pot pop-up. I used the same red cardstock as the card base for the little placemat under the flower pop pop-up. This is part of the new die set Flower Pot Add-Ons. 

I then die cut some Safari Animals and some Feathered Animals and colored them in with Copic markers. I added these to my card. Then I added two hearts using Karen Burniston's Hearts - Crosshatch dies. I stamped Love You Always on one heart using Simon Says Stamps Love Always stamp set. 

For the front of my card, I added more hearts and created a bouquet of candy using the new Bouquet Bits. Lastly I added the Happy Valentine's Day sentiment using a glitter cardstock glued onto black cardstock. Thank you so much for stopping by today. Karen Burniston's new release will be available on January 27th, 2025 and be sure to join our Blog Hop for a chance to win an online $25 gift certificate. Happy Crafting!

Supplies: For your shopping convenience, all products are linked below. Compensated affiliate links are used where possible with no extra cost to you. This helps me to continue to share all the projects I include on my blog. Please note I only use and share products I love. Thank you Crafty Friends!


Thursday, January 23, 2025

Karen Burniston January 2025 New Release - Sneak Peek Week Day 4 - Cruise Ship Add-Ons

 Hello Crafty Friends and welcome! I hope you are all enjoying all the fantastic cards our design team has been creating for the new release!! My card for you today uses the new Cruise Ship Add-Ons die set along with the Cruise Greetings stamp set!

For this card, I started with a 5.5x5.5 sized card base using Lawn Fawn's 80lb white cardstock. Then I cut two squares 1/8in smaller than my card base using the same cardstock. I created the ocean using Distress Oxide Ink in Tumbled Glass and Salty Ocean while using MFT - Perfect Pool Water stencil. I then spritzed some water on it and blotted it dry. 

I then created the two islands. I cut two strips of smooth white cardstock and drew out my islands, then trimmed them out with my craft scissors. I used Distress Ink in Vintage Photo and Antique Linen to create the sand, then spritz Distress Stray in Antique Linen on them. I set them aside to dry. 

While everything was drying, I die cut the palm trees using the Beach Charms and the Palm Tree Pop-Up to create the two palm trees. I die cut these from smooth white heavy weight cardstock and colored them in with Copic markers. I also die cut the crab from the Sea Charms and colored him with Copic markers. I used a size 10 white Gelly Pen to add the eyes. Then I die cut some shells from the Tropical Scene die set. 

I added my background to the card and then the islands. Then using Copic Opaque white paint, I added the white caps from the waves to the edges of the islands. I set this aside to dry, then began my Cruise Ship.

This entire card is based on the song Kokomo by the Beach Boys. As soon as I seen the cruise ship, I thought of that song. So I named my cruise ship Kokomo. I uses light weight white paper for everything but the two tabs on the Boat Pop-Up that attach the floor of the boat to the boat itself. I cut those from heavy weight cardstock. I find this helps keep the boat flat and gives it more support. 

Unfortunately, I accidentally spilt water on my desk and my card base got wet, that's why it doesn't sit completely flat, but it still works and that's the main thing! I added yellow for the smoke stack, cutting another smoke stack from white and adding a strip to the top. I also made the life boats yellow. 

For the front of my card, I wanted to add cruise tickets. So I created these on my Cricut. I added the writing as well and then put them together. I then added the cruise ship from the Cruise Charms die set. 

Thank you so much for stopping by today. The new Karen Burniston release will be available on January 27th and make sure to join for our Blog Hop for a chance to win a $25 online gift certificate! Happy Crafting!

Supplies: For your shopping convenience, all products are linked below. Compensated affiliate links are used where possible with no extra cost to you. This helps me to continue to share all the projects I include on my blog. Please note I only use and share products I love. Thank you Crafty Friends!


Wednesday, January 22, 2025

Karen Burniston January 2025 New Release - Sneak Peek Week Day 3 - Popcorn!

 Hello Crafty Friends and welcome! It's day 3 of our Sneak Peek Week and I am beyond excited to show you my card today! I used the new Popcorn add-on die that pairs with the Flower Pot Pop-Up to create this movie themed card!

For this card, I started with a 5x7 card base using a lightweight smooth red cardstock. I found this great paper pack from Simple Stories called Say Cheese Tinseltown, which I used as my background paper. 

I then used my Cricut Explore Air 2 to cut out the film strips. I cut them out four times and doubled up the film strips to add dimension. I then cut two pieces of smooth white cardstock to fit the back of each film strip. I taped off areas and added backgrounds to each film. 

I then used the new Paper People die, along with several other dies (all listed below) to create the different movie genres! 

Then I started to create my popcorn! I used a sheet of double sided adhesive on the back of white cardstock and then die cut the popcorn four times. I colored it in with Copic markers. I also die cut the popcorn from white cardstock without the adhesive. This is to stick on to the back of the popcorn with adhesive so it doesn't stick to my card. This sounds time consuming but honestly, it made it so much easier to decorate then gluing each popcorn in place. 

I die cut my popcorn box from light weight smooth white cardstock and then added the red strips to it, which comes with the Popcorn die set. I also added the word Popcorn and a heart to my box. 

I then used various label dies to create the stamped sentiments. I used the new Popcorn Phrases stamp set to add the sentiments. 

For the front of the card, I wanted to create the front of the theatre. I used some of Karen Burniston's label dies to create the Marquee and added gold Liquid Pearls around my sentiment to look like lights. I also added some gold dots to the top and bottom to look like bigger lights. 

I added a brick background on to grey cardstock and MFT - Small Brick Wall Stencil and white ink. I drew the pillars on either side of the curtain and colored it in with Copic markers. Then I used Spellbinders - Look Behind the Curtain die to create the theatre curtain opening!

My daughter said she thought this was one of the best cards I'd made lol. I know I'm pretty proud of it. Karen Burniston's new release will be available on Monday, January 27th, 2025. Be sure to join us for our Blog Hop on that day for a chance to win a $25 online gift certificate. Thank you so much for stopping by today and Happy Crafting!

Supplies: For your shopping convenience, all products are linked below. Compensated affiliate links are used where possible with no extra cost to you. This helps me to continue to share all the projects I include on my blog. Please note I only use and share products I love. Thank you Crafty Friends!


Tuesday, January 21, 2025

Karen Burniston January 2025 New Release - Sneak Peek Week Day 2 - Paper People!

 Hello Crafty Friends and welcome! It's day 2 of our Sneak Peek Week and my card today showcases the new Paper People die set. This set comes with 16 dies and allows you to create all kinds of people! For my card, I used the Photo Fan Pop-Up along with the Paper People to create a family tree card!

To make this card, I started with a 5x7 card base using Lawn Fawn's Ground Coffee cardstock. I then added Echo Parks I Love Family patterned paper to the background. I added another piece of patterned paper from the same paper pack to the edges of the card, trimming them in gold mirrored cardstock. 

I die cut the Photo Fan Pop-Up from light weight kraft cardstock and added the orange heart paper to it as decorator pieces. I glued that into my card using Lineco Neutral pH adhesive in a fine tip bottle. 

I then created my family. I used the Paper People dies and smooth white heavy weight cardstock to create us, then colored everything in with Copic markers. I added the paper people to different backgrounds and then created a frame around them to look like photo frames. I did this by cutting the two squares from the Photo Fan Pop-Up die together and die cutting them to create the frame. 

I die cut several branches and leaves from the Tiny Trees Pop-Up, using Lawn Fawn's Cilantro and Ground Coffee cardstock. I then used Distress Oxide Ink in Mowed Lawn to add detail to the edges of the leaves. 

I then added the tree trunk, which I drew by hand and then added some bark detail using a Copic marker. I die cut two labels to add to the inside of the card. I used the Seasons Sentiment stamp and the Photo Memories stamp for my card.

The new release will be available on January 27th, 2025. Be sure to join in our Blog Hop as well for a chance to win a $25.00 online gift certificate! Thank you so much for stopping by today and Happy Crafting!

Supplies: For your shopping convenience, all products are linked below. Compensated affiliate links are used where possible with no extra cost to you. This helps me to continue to share all the projects I include on my blog. Please note I only use and share products I love. Thank you Crafty Friends!


Monday, January 20, 2025

Karen Burniston January 2025 New Release - Sneak Peek Week Day 1 - Triple Platform Pop-Up!

 Hello Crafty Friends and welcome! I am so so excited for this new release. There are so many great add-ons to some new dies and some older dies. The new release comes with 8 new die sets and 4 new clear stamp sets. Click here to see all the new dies!

The die set I am showing today is a brand new pop-up die set! This die set comes with 10 dies in the set and is generic so it could be used for any occasion! This is called the Triple Platform Pop-Up!

For my card, I went with an Easter theme! I used the new Triple Platform Pop-Up along with the Spring Animals and the Easter Charms to create this adorable card. 

I started with an A2 sized card base, using Simon Says Stamps Lemon Chiffon cardstock. I then added some pretty patterned paper from Carta Bella called Here Comes Easter, to the card base for my background paper. 

I die cut the pop-up mechanism from the same yellow cardstock. I will say that I would recommend a light weight cardstock for this. I used 100lb and it was way too heavy and bulky. I added it to the card using Lineco Neutral pH glue in a fine tip bottle. 

I added some decorative white cardstock to the bottom of the card using Lawn Fawn's 80lb white cardstock and die cut it with MFT - Stitched Basic Edges 2 die set. I added some grass using Karen Burniston's Natures Edges grass die and Lawn Fawn's Cilantro cardstock. 

I die cut the Spring Animals from smooth white heavy weight cardstock and colored them in with Copic Markers. I also die cut a second set of Spring Animals to add to the labels on the pop-up. 

I stamped the sentiments using Lawn Fawn's Eggstra Amazing Easter stamp set. I then added two corner decorative pieces using the reverse side of my patterned paper and the same MFT dies as the bottom of the card for a scalloped edge. 

For the front of my card, I used Karen Burniston's Woven Basket Box Card Pop-Up to create an Easter basket on the front. Then I used the Easter Charms to create all the goodies for the basket. I die these from smooth white heavy weight cardstock and colored them in with Copic markers. 

I added the sentiment using the word "Happy" from Karen Burniston's Birthday/Belated stamp set. I stamped it on heavy weight black cardstock with VersaMark Ink and white embossing powder. Then I die cut the "Easter" sentiment using Karen Burniston's Happy Easter die, twice, once from the same yellow cardstock as the card base and once from black cardstock. Then I trimmed out the word Easter and added the yellow on to the black to create a back shadow. 

I added a white oval using Karen Burniston's Ovals - Crosshatch dies on top of the same patterned paper as the inside of the card. 

The new release will be available at www.karenburniston.com on January 27th, 2025. Be sure to come back tomorrow for the next sneak peek card! Thank you for stopping by today and Happy Crafting!

Supplies: For your shopping convenience, all products are linked below. Compensated affiliate links are used where possible with no extra cost to you. This helps me to continue to share all the projects I include on my blog. Please note I only use and share products I love. Thank you Crafty Friends!


Tuesday, January 7, 2025

Karen Burniston Designer Challenge - January 2025 - The First 100 Dies!

 Hello Crafty Friends and welcome! I hope you all had a wonderful holiday! I spent lots of time with family and friends and took a much needed break, but I am back and ready to get crafty! It's our first Designer Challenge for 2025 and we are throwing it back this month, allllll the way back. We were challenged to make a card using the first 100 dies that Karen created. 

For my Designer Challenge card, I used the Tag Book Pop-Up, Birthday Charms and Dog and Cat dies to create this colourful birthday card.


For this card, I was inspired by an upcoming zoom class card that Karen will be making. I started by cutting a 5x7 piece of cardstock using Hero Arts Adriatic dark teal 80lb cardstock. Then I cut another piece of cardstock 4.75x4 and scored it at 4.5 to create a hinge. With my bone folder, I made this score line into a crisp fold. Then using my Lineco Neutral pH adhesive and my fine tip bottle I glued it to the side of my 5x7 piece. 

I then dug through my stash to find this fun polka dot patterned paper by Doodlebug Designs called Pumpkin Spice. I added it as my background to my card, cutting each piece 1/8" smaller then my card base to give it a blue edge all around. 

I die cut the Tag Book Pop-Up from Lawn Fawn's Cilantro cardstock. I then used Lawn Fawn's Sunflower cardstock to add some colour to my tag book. I also added some more of the dark teal and green, trying to keep with the same colour combo. I added some more patterned paper as well. 

I then die cut the Dog and Cat from heavy weight smooth white cardstock. I coloured them in using Copic markers. I also die cut some of the Birthday Charms from the same cardstock and coloured them in as well with Copic makers. I added Glossy Accents to the balloons to give them some shine. 

I added some glitter blue and yellow cardstock around the card to add some sparkle. I used the Border Blends - Party dies to create a yellow and blue glitter trim to go down the side of the card. I also added a banner to hang on the left side of the tag book pop-up. 

I die cut the sentiment "make a wish" from Word Set 2 - Birthday Die Set from black and green cardstock, then layer them together to make the sentiment pop. I also added some stamped sentiments to the centre area of the tag book pop-up. These aren't part of the first 100 dies but they are part of the first stamps that Karen created and they fit the tag book perfectly!


For the front of the card, I added the "Happy Birthday" sentiment using the Happy Birthday die and added a large cupcake using the Cupcake Pop-Up. 

This is such a bright and cheerful birthday card! I am so pleased with how it turned out. Thank you so much for joining me today on our first Challenge of 2025. I hope this year will be the craftiest yet! Happy Crafting!

Supplies: For your shopping convenience, all products are linked below. Compensated affiliate links are used where possible with no extra cost to you. This helps me to continue to share all the projects I include on my blog. Please note I only use and share products I love. Thank you Crafty Friends!


Friday, January 3, 2025

Snow Much Fun Card!

 Hello Crafty Friends and welcome! My first card of the year is a snow themed birthday card using Karen Burniston's Twist Flower Pop-Up! So get ready to have snow much fun! Lol.

This card is a slimline design, using a dark blue, light weight cardstock from Michaels. I then added two pieces of pretty patterned paper for my background. I then added my pop-up mechanisms, using heavy weight smooth white cardstock. I placed the top and bottom mechanism right ways up and the middle pop-up mechanism upside down so that they turned in different directions. 

I then created my circle pieces to add to my card. I measured the circle die to make sure it was the same or similar size to the flower from the Twist Flower Pop-Up. Then added some cute Winter Animals and background scenes. 

I then cut some ovals using Karen Burniston's Ovals - Crosshatch and added some stamped sentiments using VersaMark ink and white embossing powder. Lastly, I added a snowflake border to the top and bottom using Long Nature Edges 2 die set. 


For the front of my card, I added three Winter Animals on toboggans. Then using Distress Texture Paste, made it look like snow flying out from behind each toboggan. 

I die cut the sentiment "snow much fun!" using Karen Burniston's Mini Alphabet and Numbers die set. I cut these twice and glued them together to give the sentiment dimension. Lastly, I added some holographic glitter bits to add some "snow" to the front of my card. 

How adorable are those little critters tobogganing? I just love how this card turned out. To watch how I made this card, step by step, click on the video below. Also listed below are all the products I used to make this card. Thank you so much for stopping by and Happy Crafting!


Supplies: For your shopping convenience, all products are linked below. Compensated affiliate links are used where possible with no extra cost to you. This helps me to continue to share all the projects I include on my blog. Please note I only use and share products I love. Thank you Crafty Friends!


Who You Gonna Call? Ghostbusters Themed Card using Sassy Club Stamps!

 Hello Crafty Friends and welcome. My card for you today features stamps from Sassy Club Stamps called Ghost-Hunters, Stay-Puft and Slyme-Ti...