Hello crafty friends and welcome! I am so excited for this new release! Karen, once again, knocked it out of the park (but doesn't she always?). This release features 15 new dies and 5 new stamp sets!!

My sneak peek for you today features the new Animal Add-Ons 6. This add-on for the Surprise Ball, Bitty Ball and Mini Ball lets you create a grasshopper, bee and lady bug! How adorable are these cuties!!

For this card, I started with a card base that was 6 x 8.25. I scored it at 4" and 4.25" to create a large enough space to fit my pop-up balls. I used a smooth, heavy weight black cardstock. I also cut a piece of cardstock 3.5 x 4 to create a flap to keep my card closed. Karen has a great video on how to create this. If you would like to watch it, click here to check it out.
I added some pretty green patterned paper to the inside of my card, 1/8" smaller than my card base. I die cut the fence for the back ground using the Fence Add-On die set and the flowers in various colors to give my card a more garden feel.
Using the Bitty Ball Pop-Up, I die cut a green ball using Spellbinders Rainforest cardstock. This is my new favourite cardstock and I highly recommend it. There are lots of colours to choose from and it's great quality! I added some Distress Oxide Ink to the edges of my little trapezoids then added them to my Bitty Ball. I used the flower from the Twist Flower Pop-Up and leaves to add a flower to the top of my ball. I cut these from smooth white heavy weight cardstock and coloured them in with Copic markers.

I used the Mini Ball to create my little bee. I die cut the Mini Ball from black cardstock and die cut the trapezoid pieces for the top of my ball from yellow cardstock. Then using a black copic marker, I added the fuzzy lines on my bee.
I die cut the pieces from the new Animal Add-Ons 6 to create my bee, from scrap cardstock. I have a drawer system in which I keep my scrap cardstock in. This is very handy when it comes to needing just a small piece of cardstock.
I then positioned my bee so that you could still see the flower he's perched on and making sure everything still fit into my card. Then using my Lineco Neutral pH adhesive and a fine tip bottle I glued everything into my card.
I added a little tag using the new Greeting Labels and stamped the "just bee cause" sentiment using the new Bug Sayings stamp set and Pink Fresh Studios Detail Black Ink.

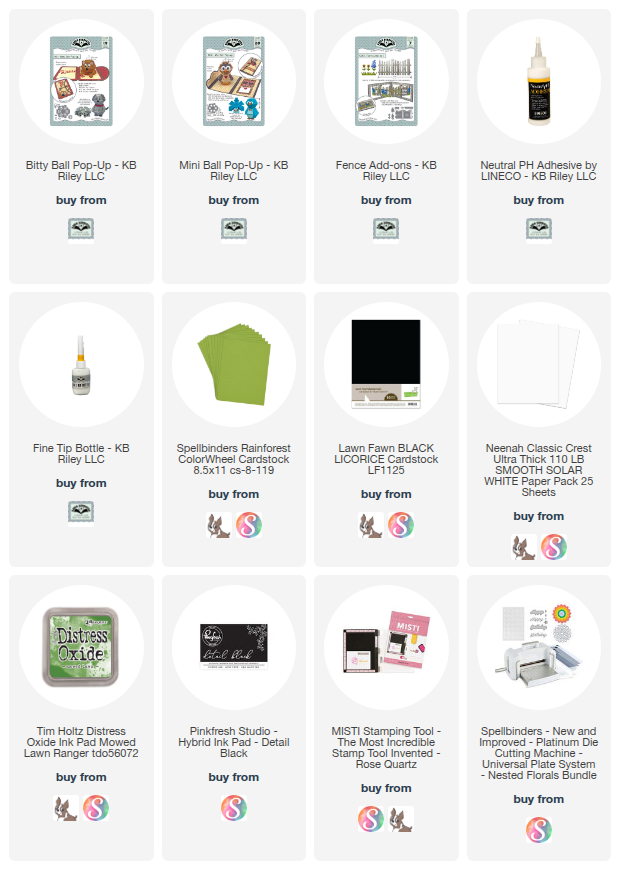
Supplies: For your shopping convenience, all products are linked below. Compensated affiliate links are used where possible with no extra cost to you. This helps me to continue to share all the projects I include on my blog. Please note I only use and share products I love. Thank you Crafty Friends!


Super cute. Started with Dec challenge card. And as usual ended up down the proverbial rabbit hole. I love checking out past post. I just ordered fence add on. You have several cute cards, then this bee came up. So adorable. Waiting for those dies to. 😀
ReplyDeleteLove your cards.