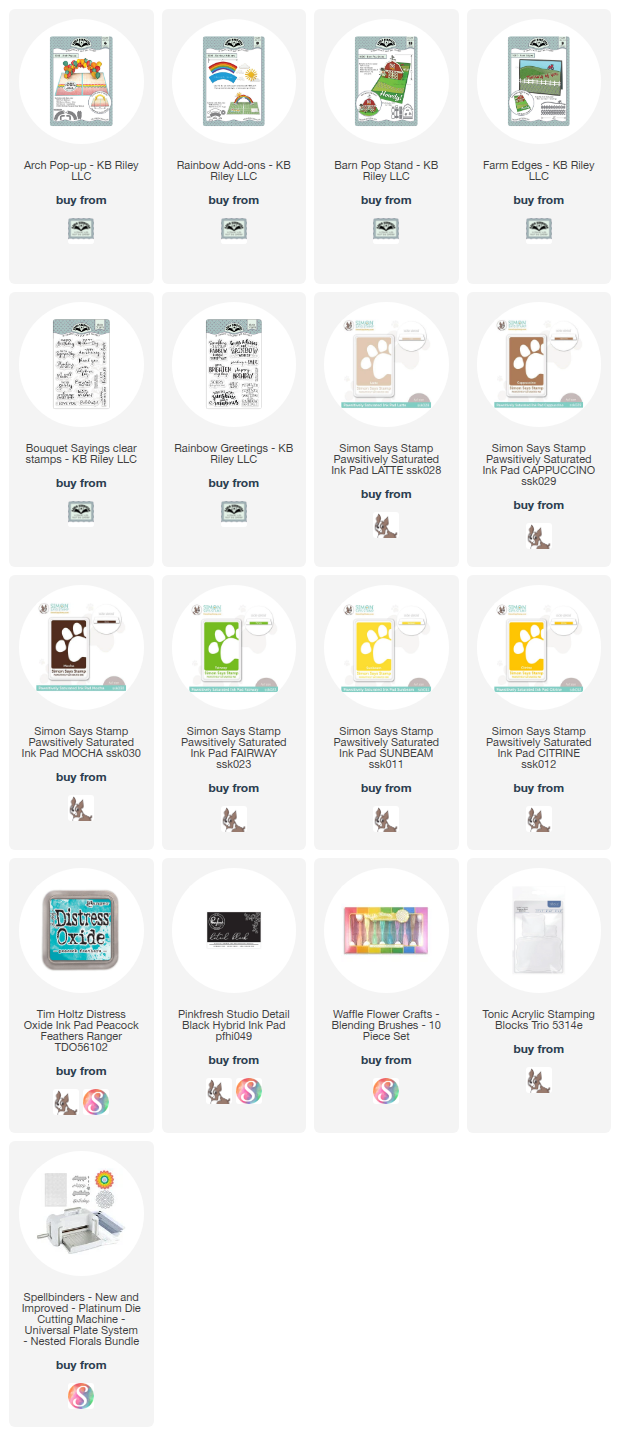
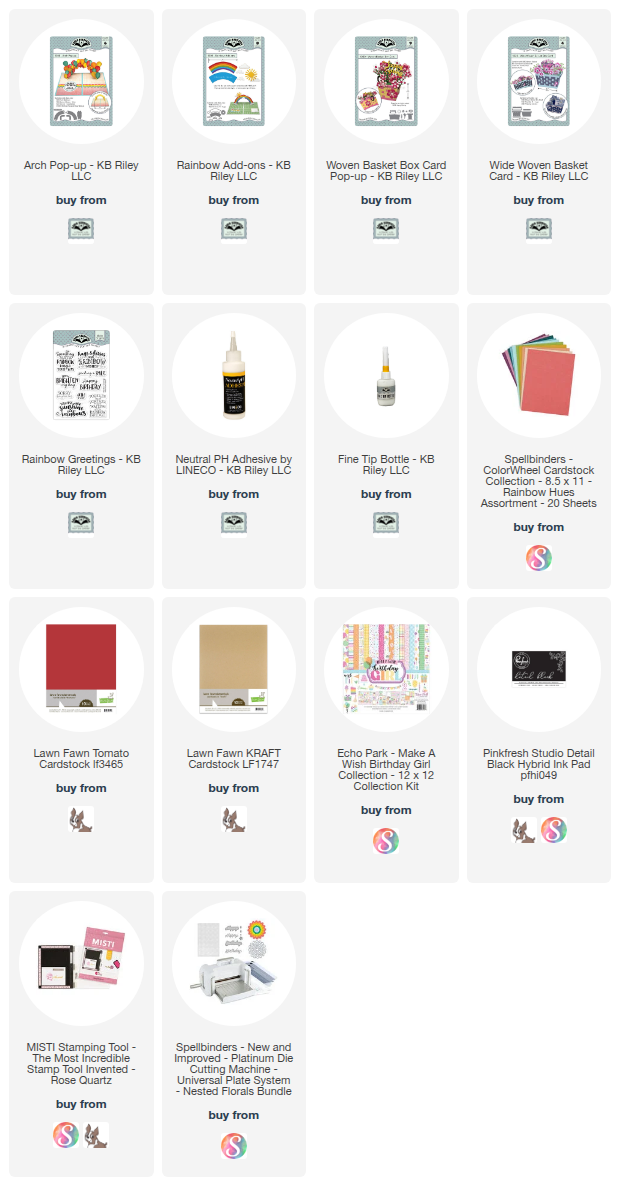
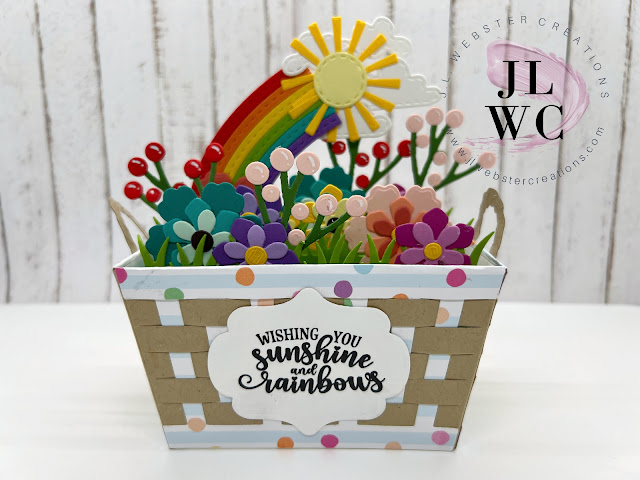
Hello Crafty Friends and welcome! I have a really fun card for you today. When the new Karen Burniston dies were shown to me, I immediately went to Sassy Club Stamps and ordered their Wizard of Oz themed stamps, The Wiz and Over the Rainbow. I knew I had to make a card using the new Arch Pop-Up with the Rainbow Add-Ons.
These two products were like a match made in Oz! I started with an A2 sized card base using a light weight black cardstock. Then I cut two rectangles 1/8" smaller than my card base. I taped off a portion of the bottom of the two background pieces and used Simon Says Stamps Pawsitively Saturated Ink in Sunbeam and Citrine along with my Small Brick Wall Stencil from MFT to create the yellow brick road.
Then I taped off the road, and placed the Emerald City stamp where I wanted it to go. I stamped it with black ink and created a mask using Gina K masking paper. I placed the mask on top then I created grass using SSS Pawsitively Saturated Ink in Fairway and my Grassy Edges Stencil from MFT. I removed the mask and colored in my Emerald City with different green Copic makers.
Using my Misti stamping tool, I stamped my Ruby Slippers, Lion, Tin Man and Scarecrow onto heavy weight smooth white cardstock and black detail ink. Then I colored my images in with Copic markers and fussy cut the images out with my craft scissors. Then I glued them into my card.
I die cut the Arch Pop-Up from teal blue cardstock and glued the Rainbow Add-On pieces to the arch. Then I glued that into my card. I added some die cut clouds to the bottom of each rainbow arch.
I used Karen Burniston's new Rainbow Greetings stamp set to add a sentiment into my card, using black ink and a stamp block.
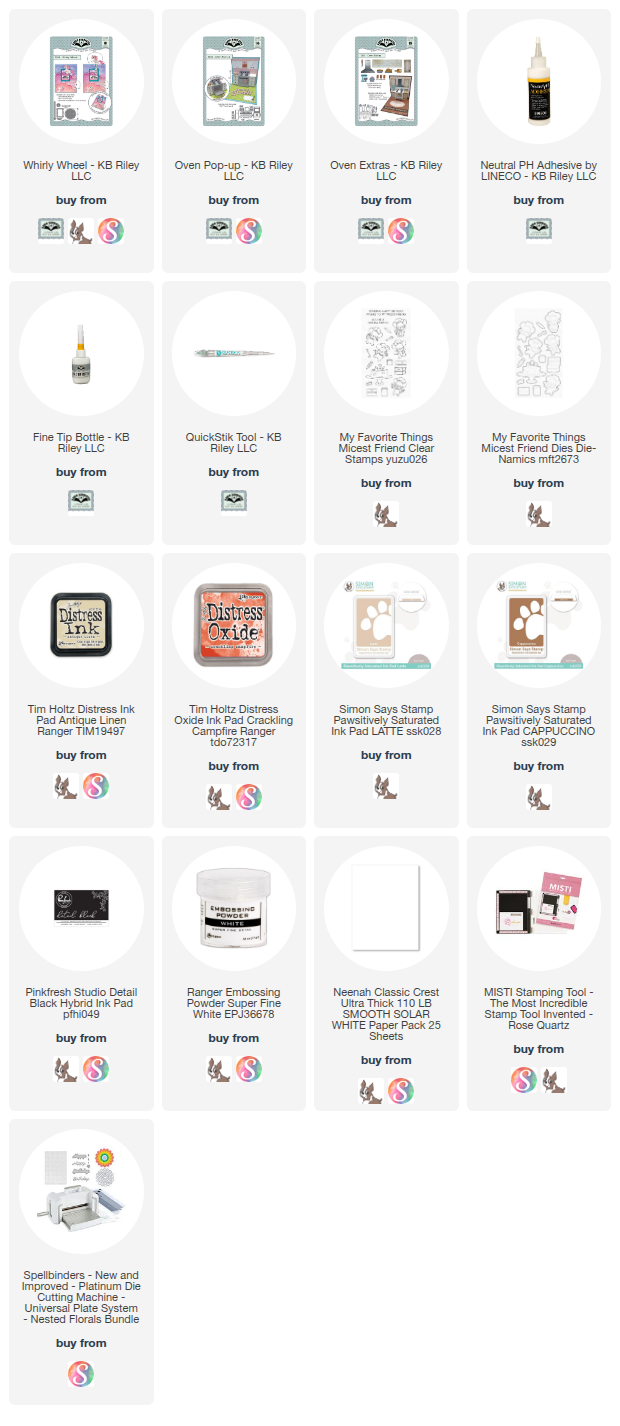
For the front of my card, I made everything in sepia, so it's like the movie! Starts in sepia (or black and white) and then you get to Oz and it's an explosion of color!
For this, I created my background using my Mini Cloud Stencil from MFT, Grassy Edges Stencil (also from MFT) and SSS Pawsitively Saturated Ink in Latte, Cappuccino and Mocha. I used Karen Burniston's Barn Pop-Up die to create the barn, cutting it out with heavy weight smooth white cardstock and ink blending with the SSS inks. I also added the fence from the Farm Edges die set. I stamped the wood texture onto my barn using a Wood Grain stamp from MFT.
I stamped my images from Sassy Club Stamps The Wiz, with black ink and colored them in with Copic markers. Then fussy cut them out with my craft scissors. I glued Dorothy and Toto to my card and added a Happy Birthday sentiment using Karen Burnistons Bouquet Sayings stamp set.
This is such a great combination and a super birthday card for anyone who (like me!) loves The Wizard of Oz. Thank you so much for stopping by today. See below for a list of the supplies I used to make this card. Happy Crafting!
Supplies: For your shopping convenience, all products are linked below. Compensated affiliate links are used where possible with no extra cost to you. This helps me to continue to share all the projects I include on my blog. Please note I only use and share products I love. Thank you Crafty Friends!