Hello Crafty Friends and welcome! My card for you today was created for Craft Roulette. The parameters for this week were a Thinking of You card, Hometown Colours, Cup or Glass and Add a Doodle. I decided, since my hometown flag colours are red, blue, white and gold, that I would create a Christmas card using Karen Burniston's Tea and Coffee Pop-Up. Karen came up with a fabulous idea for stacking the tea cups, so I followed her video on how to create the pop-up.

I started with a 5x12" card base using Bazzil Basics dark blue cardstock and folded it a the 6" mark, so the folded card would be 5x6". I then added some pretty Christmas patterned paper from Echo Park called A Perfect Winter, cutting it 1/8" smaller than the card base.
I die cut two pop up mechanisms and glued them together to extend the actual pop-up. You can see how to do this by checking out Karen Burniston's great assembly video on YouTube by clicking here. I die cut the pop up mechanism from Tomato cardstock from Lawn Fawn. I die cut three saucers from red, green and white cardstock, then cut three tea cups from white cardstock.
I coloured the tea cups with Copic markers to add the border along the top and bottom of the tea cup. Then I added some details to each tea cup to create a snowman, Santa and Elf tea cup. I used Karen Burniston's Snowman and Santa and Gnome die sets to create the faces. I added Glossy Accents to the eyes and Snowman's mouth to give it some shine.
I die cut Karen Burniston's Thinking of You sentiment three times, once from light glitter blue cardstock and twice from white cardstock then glued them all together to make the sentiment stand out. Then I stamped the "at Christmas" sentiment on to black cardstock using VersaMark Ink and white embossing powder.
I added some red and white cardstock to the bottom of the card, then added a label using Karen Burniston's Lorna Label, so there is place to sign the card.

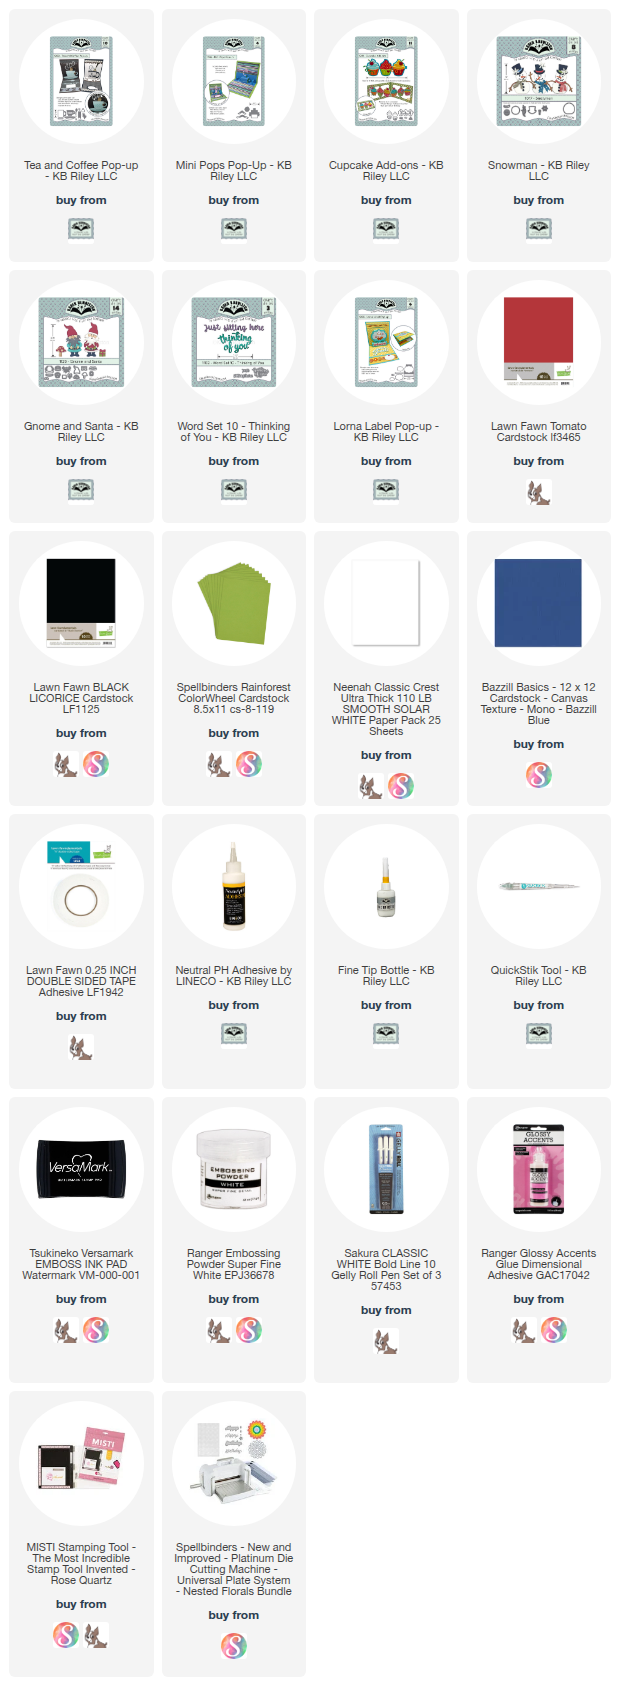
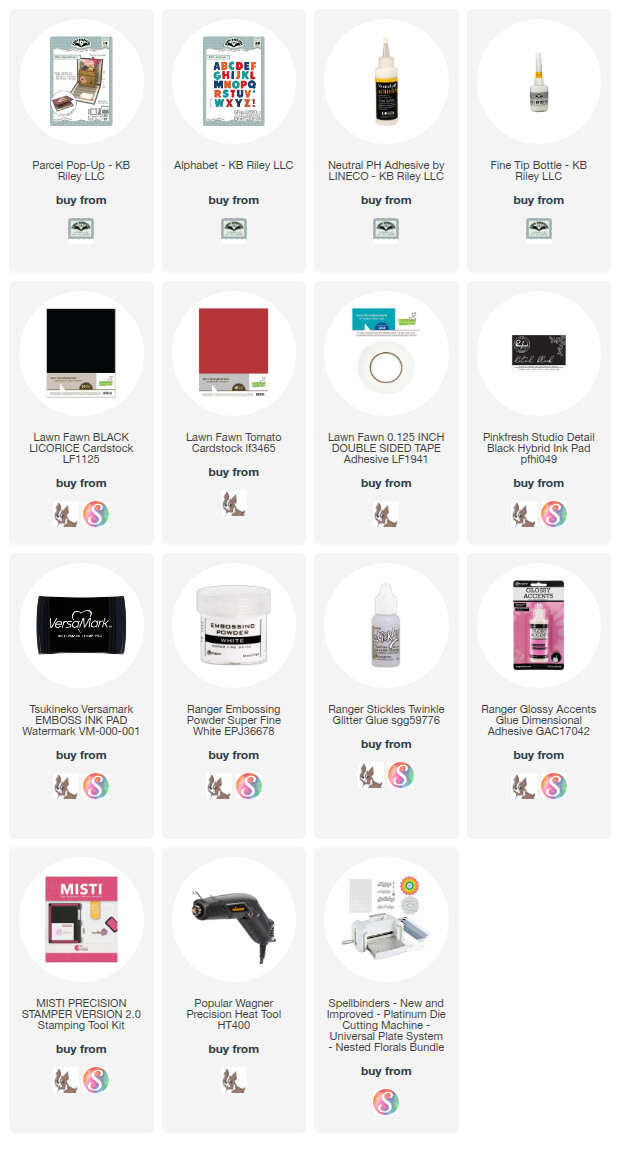
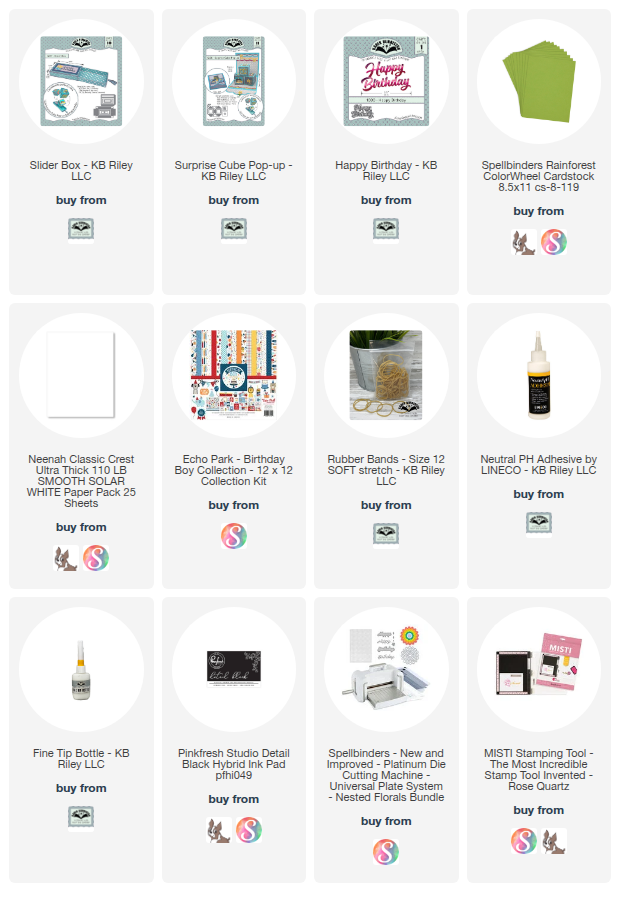
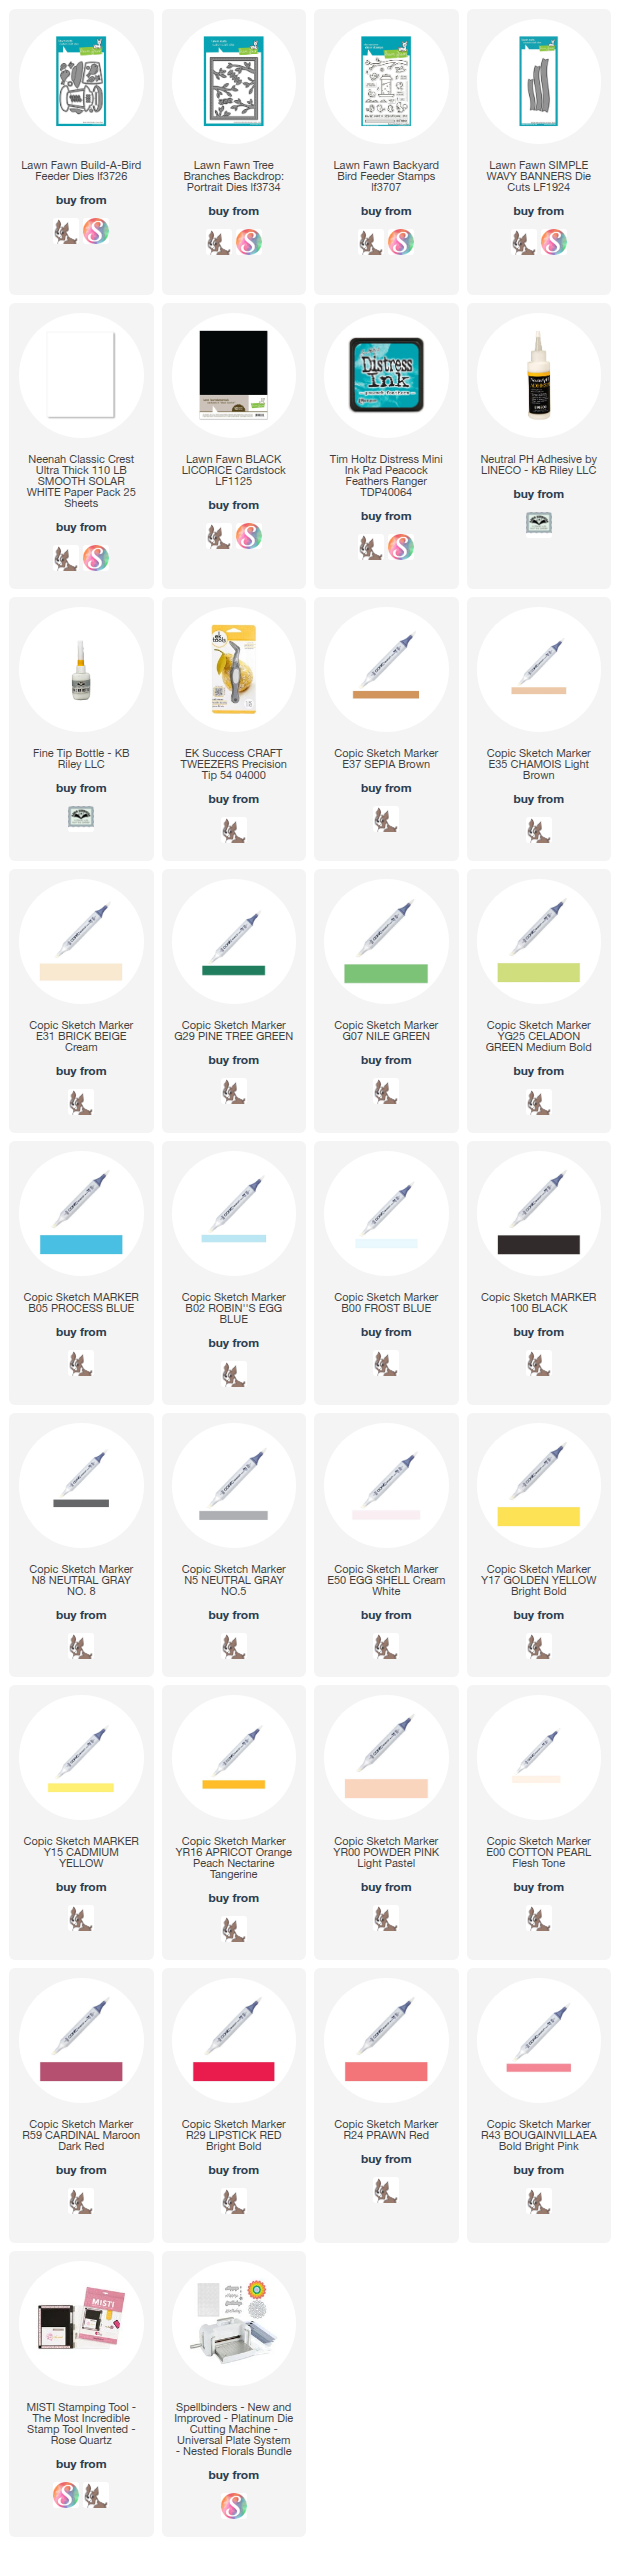
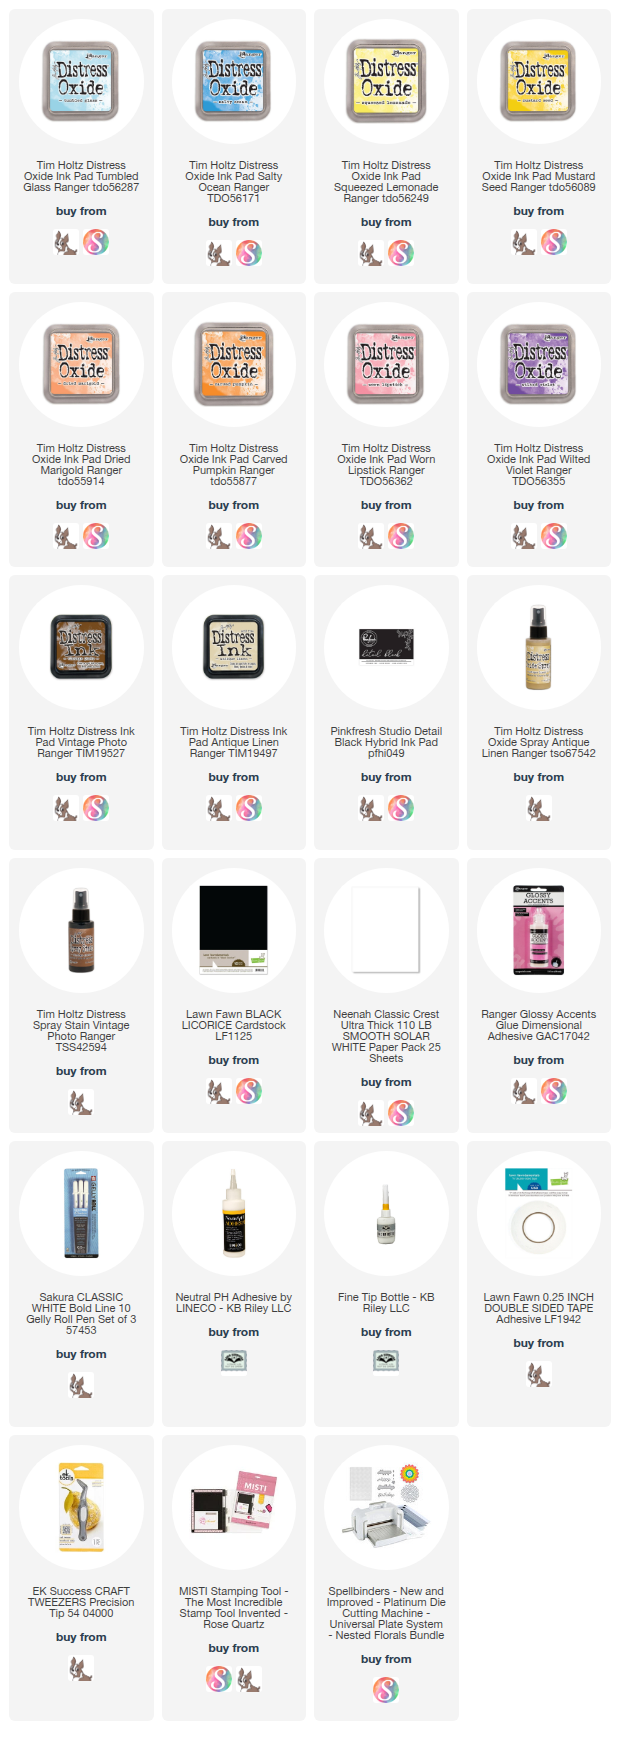
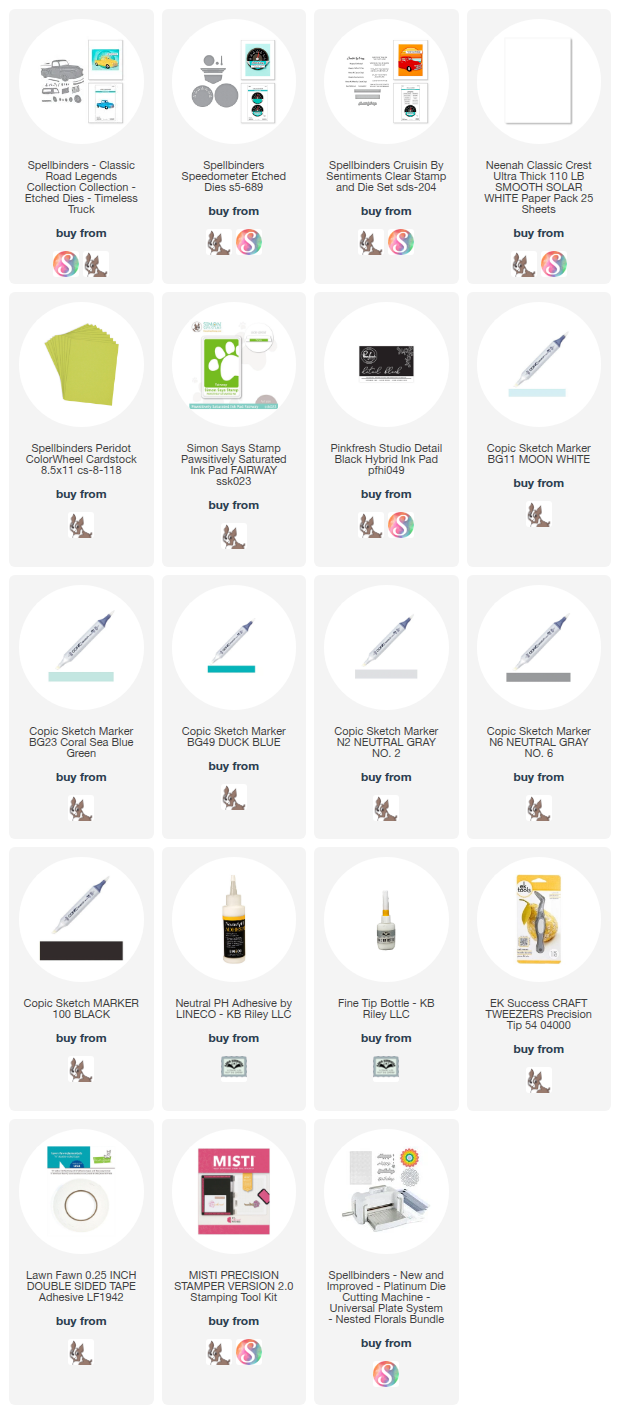
Supplies: For your shopping convenience, all products are linked below. Compensated affiliate links are used where possible with no extra cost to you. This helps me to continue to share all the projects I include on my blog. Please note I only use and share products I love. Thank you Crafty Friends!