Hello Crafty Friends and welcome. My card for you today was made for Craft Roulette Episode #278. This is my 25th submission so I knew I had to make it special! The parameters were a Thank You card, Bakery Colors, Shop(s)(ing) and Ombre. For this card, I used Scrappy Tails Storefront Pop-Up along with the Coffee Shop and Florist Add-On.

Before I put the building together, I started adding all the details to the coffee shop. I started by cutting out the window in the front. I added a piece of acetate to the inside of the shop to make it look like an actual window. Then I die cut the curtains from a scrap piece of Lawn Fawn patterned paper. I'm sorry I can't remember what it's called, but it's really pretty with little white flowers and a yellow background.

I die cut the door and the steps leading up to the door from scrap cardstock and extra pieces of the Spellbinders cardstock. I die cut the door windows from Neenah cardstock and coloured them in with Copic markers. I did an ombre gradient on all my coloured die cuts.
I die cut the table and chairs from black cardstock, twice and placed them in front of the window of my shop and then on the side of the shop. I added some tea cups and cupcakes along with a tea pot and for the other table, I added to go coffee cups. I added plants and flower pots as well. These were all coloured by hand using Copic markers.

I started by creating a counter, then adding two bar seats and some coffee mugs and cupcakes. Then I added a second strip, with a shelf that I made from a window die. I added bottles, cups, cupcakes and coffee bean bags. Then I added a coffee pot and a computer to check customers out with.

I added the strips to the inside of the card using liquid glue. This is what I used for all my die cuts for this card. That way, it's strong and won't eventually come apart.
Before I put the roof on my shop, I die cut lights and added them to the third strip I had die cut. I added Pear Blossom Press lights to three die cut lights for my shop. I taped the wires to the inside of my card using Scotch Tape. Then I added the battery to the back of my roof. So my coffee shop would light up inside so you could see all the little things inside.
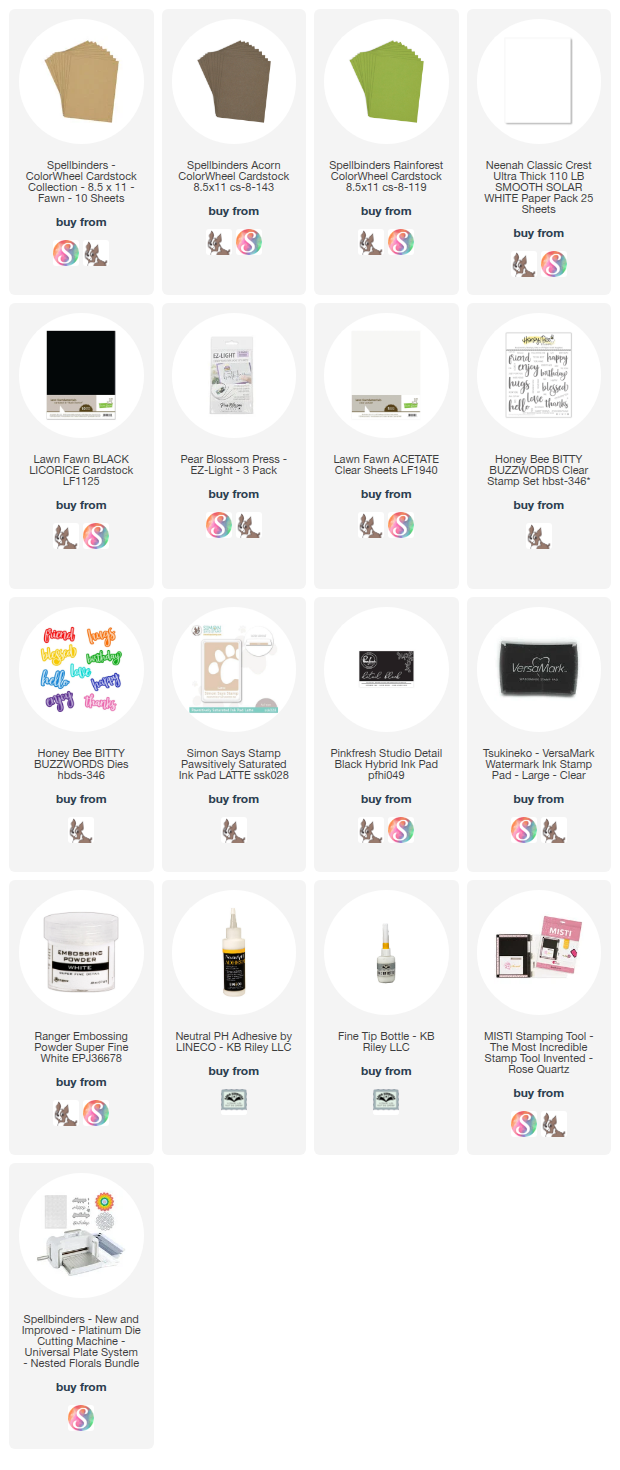
I had so much fun making this card! Thank you so much for stopping by today. Below is a list of the products that I used. Not all products are listed as they are only available on the actual website of they are older and no longer available. Happy Crafting!
Supplies: For your shopping convenience, all products are linked below. Compensated affiliate links are used where possible with no extra cost to you. This helps me to continue to share all the projects I include on my blog. Please note I only use and share products I love. Thank you Crafty Friends!


Έλεγξα αυτό το είδος άρθρου και βρήκα το άρθρο σας που σχετίζεται με το ενδιαφέρον μου.επιπλα γραφείου Πραγματικά είναι καλές και διδακτικές πληροφορίες. Σας ευχαριστώ που μοιραστήκατε ένα τέτοιο άρθρο.
ReplyDelete