Hello Crafty Friends and welcome! When I posted my first Upsy Daisy card, Karen showed me a picture of this great card using the Upsy Daisy die set along with the Treasure Chest die that created a pop up chest where the lid slides to the side to reveal the treasure. Well, I just had to make a card doing this and thought a Pirate theme was in order!
To start, I cut a piece of Ground Coffee cardstock 4.25x11 and scored it at 5.5. Then I used my bone folder to make a good crisp fold. I also cut two rectangles 1/8" smaller then my card base and created backgrounds for the inside of my card. I used MFT - Clouds stencil and Distress Ink in Peacock Feathers to create my bright cloudy background.
For the Pirate side of my card, I used Karen Burniston's Ocean Edges to create two different waves. Then I die cut the Boat Pop-Up from heavy weight smooth white cardstock and trimmed it to just show the front of the boat. I colored in my boat using Copic markers. I used the Pirate Ship Add-On to create my pirate ship. I used MFT - Party Like a Pirate stamp set to add the Pirate Captain and First Mate. Then I also used this stamp set to stamp the skull that is on the flag. I stamped the Yo Ho Ho! sentiment using Karen Burniston's Pirate Sentiments.
For the pop-up side of my card, I added a sandy beach background using Karen Burniston's Nature Edges die set and smooth white cardstock. I used Distress Ink in Antique Linen and Vintage Photo to create my sand. I also die cut the sand mound in the Treasure Chest die set and colored it in with Distress Ink as well. I also stamped a sentiment in the top right corner using the Pirate Sentiments and Detail Black ink from Pink Fresh Studios.
I die cut the Treasure Chest from kraft and black cardstock, then used Distress Ink in Vintage Photo on the chest to make the woodgrain stand out. I also used a white size 10 Gelly Pen to create the rivets on the chest. I followed along with Karen's great how to video which you can check out by clicking here.
I die cut two pop-up mechanisms from the same cardstock as my card base and glued them into my card using Lineco Neutral pH adhesive in a fine tip bottle. Then I put my treasure chest together. I added two kinds of gold coins, mirrored gold and sparkly gold. I also die cut the lock and key from matte silver cardstock. I added the Treasure Chest to the pop-up mechanisms as Karen shows in here video. Then tested my card to make sure it worked well. Lastly I added two palm trees from the Beach Charms and Beach Bar Tiny House Add-Ons.
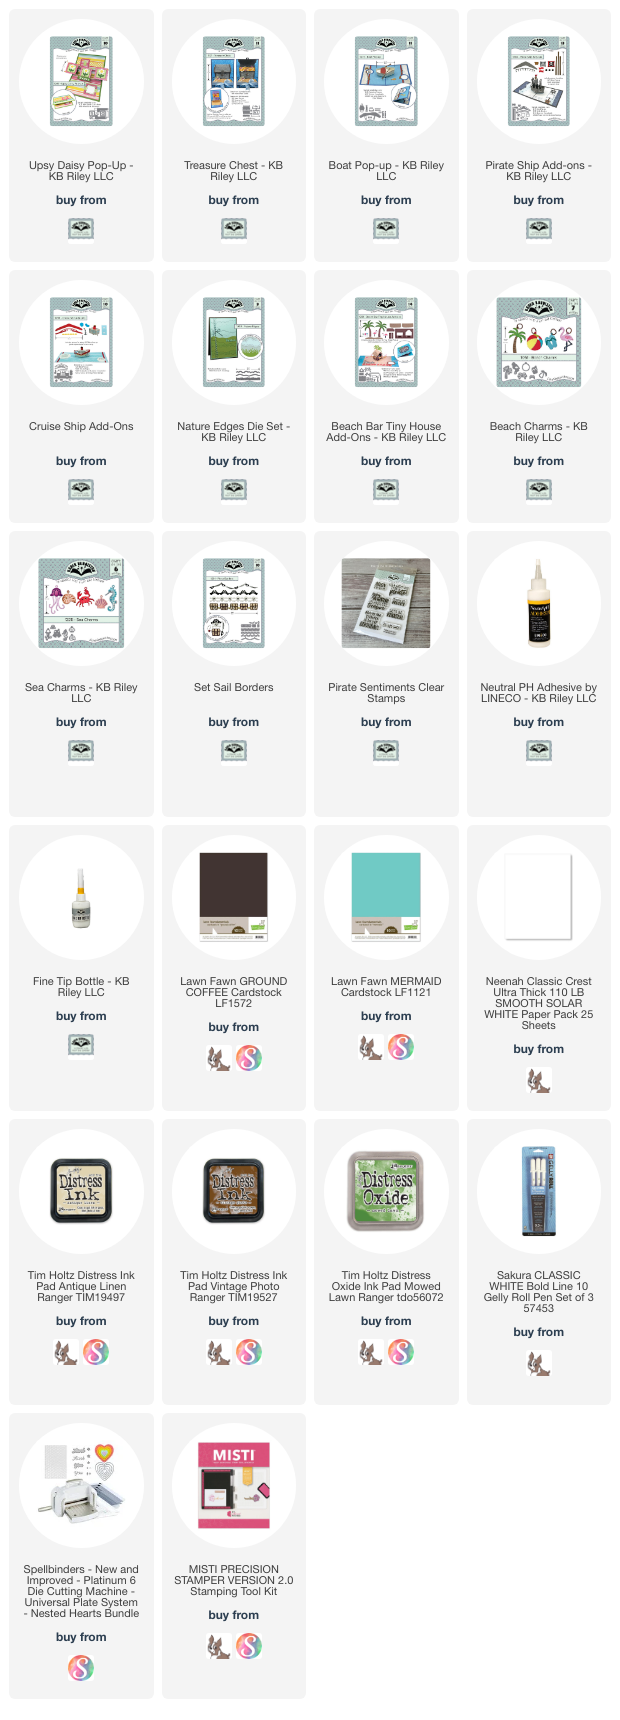
For the front of my card, I created a treasure map. I cut a piece of Mermaid cardstock to the fit just 1/8" smaller than my card base. Then I die a piece of smooth white cardstock the same size and with a pencil, created two islands. I cut these out with my craft scissors.Supplies: For your shopping convenience, all products are linked below. Compensated affiliate links are used where possible with no extra cost to you. This helps me to continue to share all the projects I include on my blog. Please note I only use and share products I love. Thank you Crafty Friends!


Awesome! Thanks for sharing the “how to” !
ReplyDelete