Tuesday, March 31, 2026

Lawn Fawn Build a Critter Easter Card

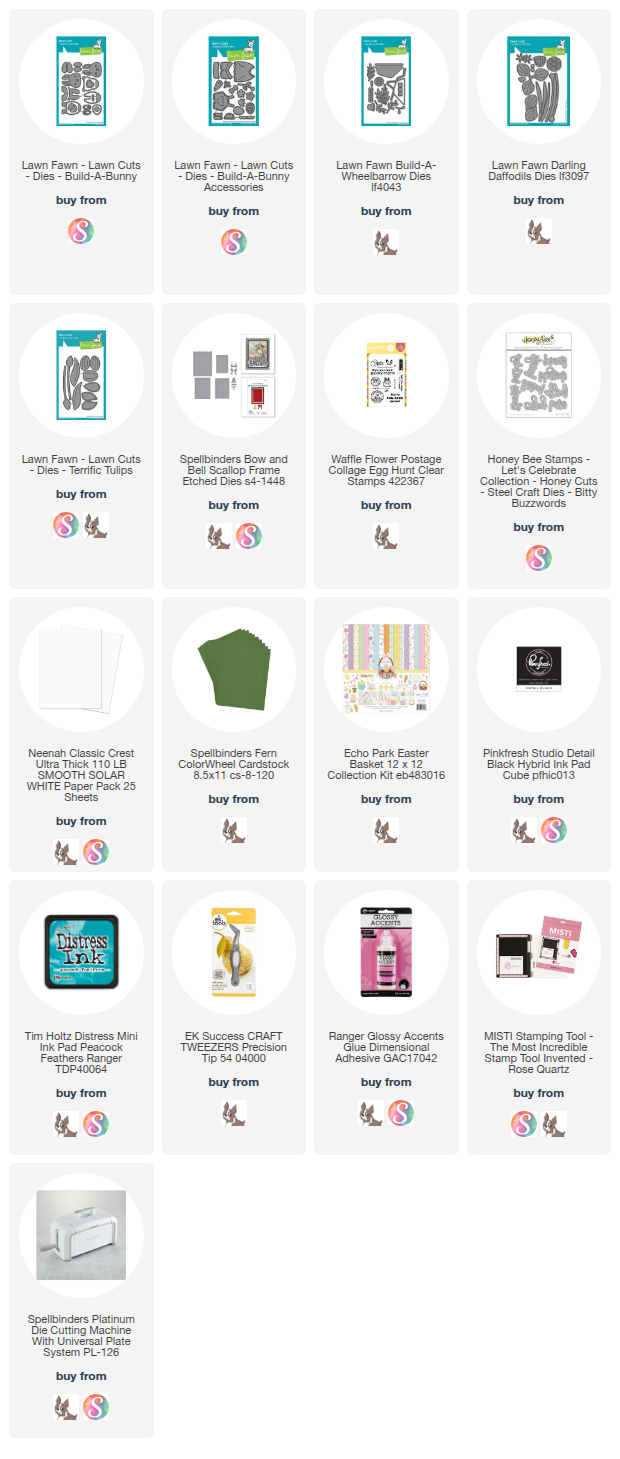
 Hello Crafty Friends and welcome. I have two cards for you today. Both these cards use Lawn Fawn's Build a Critter die set. How stinkin' adorable are these bunnies!? Oh my gosh, I could have made 20 of these adorable cards. They also paired perfectly with the tulip and daffodil die sets. 


Both cards started with an A2 sized card base, one top fold and one side fold. I used smooth white heavy weight cardstock for both. Then I added some pretty patterned paper from Echo Park called Easter Basket. This paper pack is very pretty and has lots of options. I also added the scalloped background to both cards using Spellbinders Bow & Bell Scallop Frame die set. 


For my first card, I added two bunnies and used Lawn Fawn's Terrific Tulips and Darling Daffodils to the background. I die cut the bunnies from smooth white heavy weight cardstock. All my other die cuts I used Spellbinders cardstock to cut the pieces out. I added some detail to my die cuts using Copic markers.

For the background, I added clouds using MFT - Mini Clouds stencil and Distress Ink in Peacock Feathers, then I die cut a grass area using Spellbinders green cardstock and MFT - Slimline Grassy Hills. 

I die cut the word "happy" from Honey Bee Stamps - Bitty Buzzwords three times and glued them together. This makes it more stable, but adds dimension. Then I stamped the sentiment "spring!" using Lawn Fawn's Eggsraordinary Easter stamp set and black ink. 


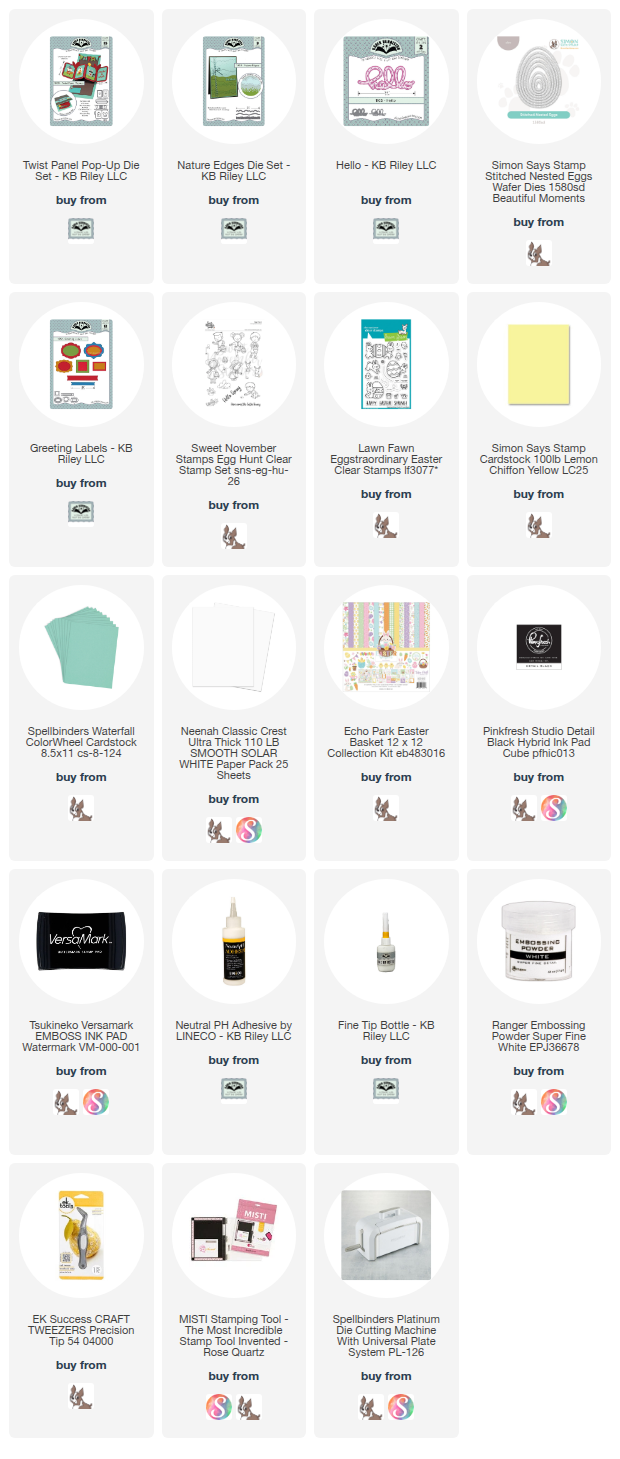
For this card, I added two more bunnies, adding detail with Copic markers. This time, I added the Build a Wheelbarrow and filled it with carrots and one of my bunnies. 

Like the previous card, I added a cloud background using MFT - Mini Clouds stencil and Peacock Feathers ink and then added a grass background to that. 

I added a sentiment from Waffleflower Crafts called Postage Collage Egg Hunt. I stamped this on to my background using black ink. 

I just love how both these cards turned out and those bunnies are going to get a lot of use! The scalloped background fit perfectly with my design and added to the cuteness of my cards. Thank you so much for stopping by today. Below is a list of the supplies I used to make this card. Happy Crafting!

Supplies: For your shopping convenience, all products are linked below. Compensated affiliate links are used where possible with no extra cost to you. This helps me to continue to share all the projects I include on my blog. Please note I only use and share products I love. Thank you Crafty Friends!


Monday, March 30, 2026

Cute Easter Twist Panel Pop Up Card

 Hello Crafty Friends and welcome to my week of Easter cards! I love making Easter cards. They are all so cute with the bunnies and chicks. The colours, the eggs, they are just adorable! Which my daughter finds funny since I only ever wear black and I listen to metal music while making cute, adorable bunny cards lol. 

My first card for this week uses Karen Burniston's Twist Panel Pop Up along with Sweet November Stamps Egg Hunt stamp set. 

I started by cutting a card base using a light pink cardstock. I created an A2 top fold card base. I cut two rectangles 1/8" smaller than my card base from some Easter themed patterned paper from Echo Park called Easter Basket. I die cut the pop-up mechanism pieces from some scrap teal blue cardstock. I taped the centre pop up piece to the centre of my patterned paper, then I die cut the arms for the Twist Panel Pop-Up. Then I adhered the patterned paper to my card base, making sure I didn't glue down my twist panel arms. 

I added the Twist Panel mechanism pieces to the patterned paper arms. Then I die cut the four panels for the Twist Panel using a light yellow cardstock. I didn't glue them into my card, I wanted to add all my decorator pieces first. 

I die cut four smaller panels from smooth white cardstock. On another piece of smooth white cardstock, I stamped all the images I wanted to use. Then I coloured them all in using Copic makers. I fussy cut them out and set them aside. I created backgrounds for each panel using Copic markers then added my cut stamped images. 

I added the Twist Panel to the pop up mechanism. I then die cut two pieces to add grass to the bottom of my card. I used two different green cardstocks for the grass and the grass die from Nature Edges. Then I added another cut out stamped image and a label to sign the card.

For the top of the card, I added some patterned paper I die cut with MFT - Stitched Basic Edges 2 die set, then added a banner with a stamped sentiment and embossed with white embossing powder. 


For the front of my card, I used Simon Says Stamps stitched egg dies to create an egg shaped window for the front of my card. I added some more stamped images. I added the "hello" from Karen Burniston. Then I added another banner, which I shortened and stamped "spring" on it. 

This card turned out so cute! Those Sweet November Stamps are just so adorable! Thank you so much for stopping by today. Below is a list of the materials I used to make this card. Happy Crafting!

Supplies: For your shopping convenience, all products are linked below. Compensated affiliate links are used where possible with no extra cost to you. This helps me to continue to share all the projects I include on my blog. Please note I only use and share products I love. Thank you Crafty Friends!


Wednesday, March 25, 2026

Stage Pop Up Birthday Card

 Hello Crafty Friends and welcome. I'm sorry it's been a while since I've posted a card, but I've been very sick. I am finally on the mend so I was able to get back to work making cards after a week or more being ill. My card for you today features Karen Burniston's Stage Pop Up and Sassy Club Stamps SpongeBob stamp sets. 


For this card, I started by making my card base. In order to fit the Stage Pop-Up, I made my card base 5.5x6.5. I used two pieces of white cardstock (adding a 1/2 in to one piece to make a seam) and glued them together to make my card base. 

I cut two pieces of the same white cardstock 1/8" smaller than my card base. I used Distress Oxide Ink and Distress Ink to create my sandy ocean bottom and my water background. Once dry, I added these to my card base. 

I then die cut the Stage Pop-Up from cream coloured cardstock. I added the two panels on the top and used Distress Ink to create a beach look. Then I butted the two top pieces together, making sure they were even, then taped down the tab piece from the Palm Tree Pop-Up. I ran that through my die cutting machine so that I could have a place to add the Palm Tree. 

I die cut the Sea Stage Add-On and the fish and seaweed as well. I die cut three small rectangles from black cardstock so that I could add sentiments as well to my Sea Stage add-on. I coloured all the fish and seaweed with Copic markers. I stamped the sentiments using VersaMark Ink and white embossing powder. 
Then I added everything to the band before I attached it to the stage. Once I had everything ready, I added the band to the stage. In hindsight, I should have put the stage into my card base, then added the add-on, because it didn't want to sit properly. In the future I will do this. 

I added the Stage to my card base, then added the Palm Tree Pop-Up which I cut from various scrap cardstock and added some Copic marker to give it some detail. 


I then stamped my images from Sassy Club Stamps. I used Ocean Bottom, Spongetastic and Crabby stamp sets. I fussy cut all the images out and added them to my card. I used a size 10 white Gelly Pen to add shine lines where they were needed on my images. 


For the front of my card, I added more stamped images on to Karen Burniston's Oval Crosshatch dies. I used some fun patterned paper from Sassy Club that matched the SpongeBob theme. I just love these stamp sets so much! And I also love how well they work with Karen's fantastic Pop Up dies! Thank you so much for stopping by today. Below is a list of the supplies I used, other than Sassy Club stamps. But be sure to check out their website - www.thesassyclub.com. Happy Crafting!

Supplies: For your shopping convenience, all products are linked below. Compensated affiliate links are used where possible with no extra cost to you. This helps me to continue to share all the projects I include on my blog. Please note I only use and share products I love. Thank you Crafty Friends!


Monday, March 16, 2026

Craft Roulette - Accordion Baby Card

 Hello Crafty Friends and welcome. I finally had time to join in the fun with Craft Roulette! It's been forever since I had a chance to play along. This Friday's parameters were:

Project - Tri Fold Card

Colours - Vegetable Garden

Element - Nursery

Random - Star(s) or Starry


For my card, I used Karen Burniston's Fancy Label Accordion die set to create my tri fold card. I added some patterned paper from Doodlebug Design Inc called Special Delivery. I created my three label areas using more patterned paper from the same paper pack. Then I added a floor and used Honey Bee Stamps Rock a Bye Baby die set to create my nursery. 

The greens, browns and yellows reminded me of my vegetable garden just starting to grow the little yellow flowers on the stems, then they would grow into, pumpkins, squash, cucumbers, etc. For the random element, the background paper has stars on it, so it worked out perfectly! 

Thank you so much for stopping by today, below is a list of the supplies I used to make this card. Happy Crafting!!

Supplies: For your shopping convenience, all products are linked below. Compensated affiliate links are used where possible with no extra cost to you. This helps me to continue to share all the projects I include on my blog. Please note I only use and share products I love. Thank you Crafty Friends!


Friday, March 13, 2026

Surprise 65th Birthday Card!

 Hello Crafty Friends and welcome. My card for you today was created for a friend of my Mom and Dad's. It's his 65th Birthday and him and his partner do so much for our local Legion. Whenever there is a big party, like their annual New Year's Eve party, they do up big balloon displays, arches and arrangements. So I knew what to make for his Birthday card. 

I used Karen Burniston's Arch Pop-Up and Party Balloons to create this elegant card. 

For this card, I started with a 5 x7 card base using heavy weight black cardstock. I then used Karen Burniston's Rectangles and Labels - Crosshatch die set to cut out the mirrored gold background. I used the next smallest die to cut out the white rectangle. I glued these onto my card base. 

I then die cut the Arch Pop-Up pieces from the same heavy weight black cardstock. I added these to my card base. Then I die cut the balloons. I used three different kinds of black cardstock, mirrored, flat shimmery and glitter and three different gold cardstock, mirrored, bright glitter and darker glitter. I began glueing them to my arch, closing the card each time to make sure that there was no catch points and that the card would open and close smoothly. 

Once I had all my balloons on, I added two pieces of the flat shimmery black cardstock to the card base. I added a place to sign the card and I used Karen Burniston's Happy Birthday sentiment to add to the left side of the card. 

For the front of my card, I used the same papers, but added a balloon arrangement using some of my left over balloons. Then I used Honey Bee Stamps Balloon Numbers to add a 65 to the front. I also used MFT - Let's Toast Dienamics die set to add two wine glasses to the front. I cut these from heavy weight smooth white cardstock and coloured them in with Copic markers. 

I added a sentiment to the front using MFT - Uncorked stamp set, along with VersaMark Ink and black embossing powder. Lastly, I added some shimmery confetti. 

I love how elegant this card turned out. I hope that the gentleman who is receiving this card likes it as well. Thank you so much for stopping by today. Below is a list of the supplies I used to make this card. Happy Crafting!

Supplies: For your shopping convenience, all products are linked below. Compensated affiliate links are used where possible with no extra cost to you. This helps me to continue to share all the projects I include on my blog. Please note I only use and share products I love. Thank you Crafty Friends!


Tuesday, March 3, 2026

Karen Burniston Designer Challenge - March 2026 - For the Birds

 Hello Crafty Friends and welcome! It's Designer Challenge time and our theme for this month is For the Birds. For my "card" I used the Mini Ball Pop-Up and Karens awesome box design to create this fun surprise card!

For this card, I started by making all three owls. I used some of Karen's paper packs to make them along with the Mini Ball Pop-Up and the accessories that come with it to make the little owls. I added glossy accents to their beaks and used a Gelly Pen to add shine dots to the eyes. 

If you want to see how to make the owls, Karen has a fantastic assembly video on YouTube for this, which you can see by clicking here

Once I had my owls done and set aside to let the beaks dry, I created the box. This is a FREE pattern on Karen Burniston's website. Here is the link: https://karenburniston.com/karens-pretty-springy-ball-box-templates/?searchid=284390&search_query=box

I used some heavy weight brown cardstock and some pretty patterned paper from Echo Park called My Favorite Fall. I used both sides of the paper to add to my box. 


For the front of the box, I added two circles, then added the "hip hip" sentiment to the top of the white circle. Then I die cut the word Hooooo-ray from green cardstock and added it underneath. I die cut a large banner piece to added a sentiment to using black cardstock. Then I stamped the sentiment with VersaMark Ink and white embossing powder. Lastly I added a little owl using the Feather Animals die set. 

Check out the card in action below!

Thank you so much for stopping by today. Below is a list of all the supplies I used to make this card. Happy Crafting!

Supplies: For your shopping convenience, all products are linked below. Compensated affiliate links are used where possible with no extra cost to you. This helps me to continue to share all the projects I include on my blog. Please note I only use and share products I love. Thank you Crafty Friends!


Easter Card with Sweet November Stamps

 Hello Crafty Friends and welcome. My next card for you uses Sweet November Stamps Spring Windows stamp set and Hoppy Easter stamp set.  For...