Hello Crafty Friends and welcome! It's been a while since I've posted a card and I apologize for that. Both my kids have been sick and then my hubby got sick. So it's been a crazy couple of weeks, but I'm back and I have a fun card for you today.
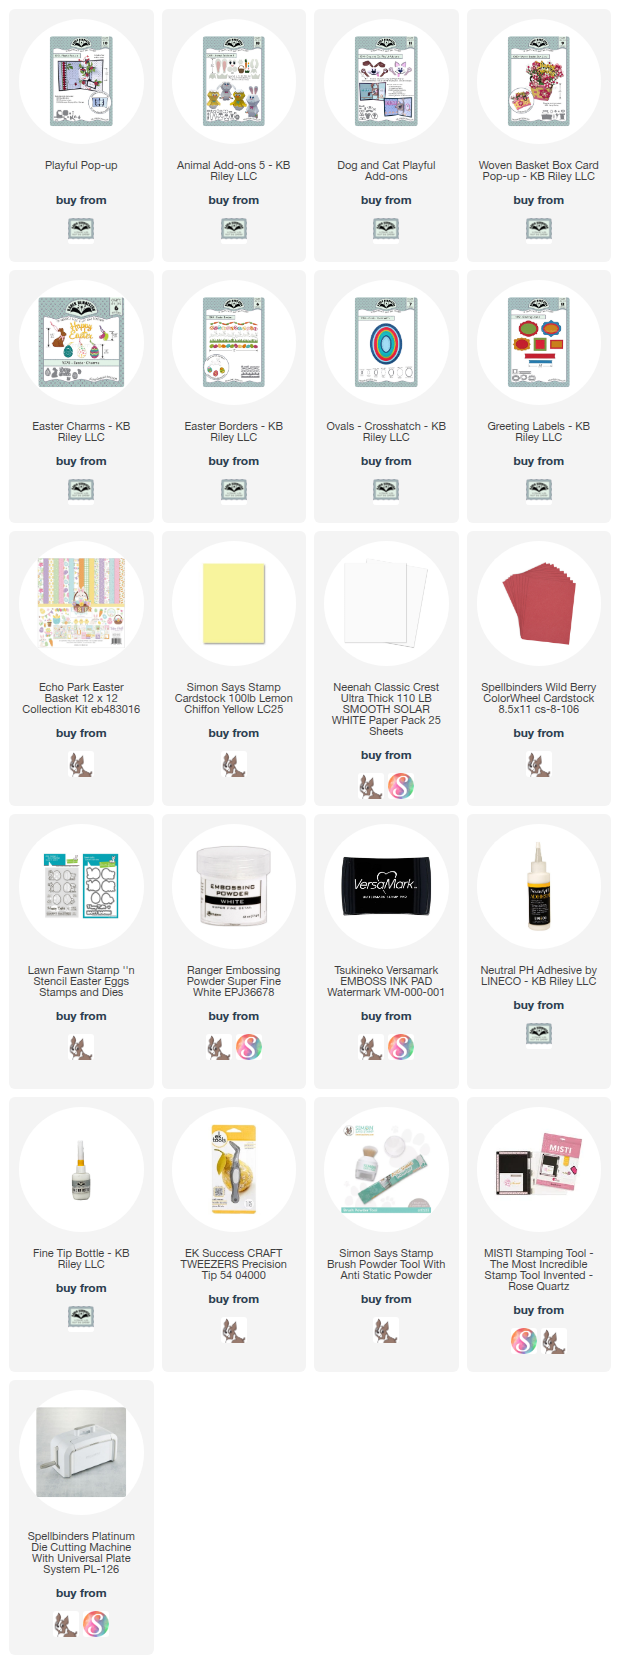
I used Karen Burniston's Playful Pop-Up and Animal Add-Ons 5 die sets to create this super cute Easter card. I love how the Animal Add-Ons can work on the Playful Pop Up and now I'm curious to see just how many I can make work!

I stated by cutting an A2 sized card base from a light yellow cardstock. I then added some pretty patterned paper I just picked up from Echo Park called Easter Basket. I also cut two 1" wide strips using the back side of the paper and set these aside.
I die cut the Playful Pop Up mechanism pieces from heavy weight cardstock. I know Karen suggests light weight cardstock, but unfortunately I never have very good luck using light weight cardstock, so I use heavy weight. It's a little more bulky, but it's strong enough to handle the moving mechanisms. I added packing tape to the piece that moves the tongue. This was a test to see if it made the movement smoother and I found that it did. I die cut the piece that goes on the top of the pop-up for the face. I decorated this before adding it to my pop up.
For that, I die cut the cheeks, tongue and whiskers from the Dog and Cat Playful Add-Ons. Then using the Animal Add-Ons 5, I die cut the bunny ears, nose, eyes and arms. I coloured in some of the pieces with Copic markers. Then I added my face pieces on to the top Playful Pop Up piece. I glued it on to the mechanism. I added Glossy Accents to the eyes and nose and set it aside to dry.
I then die cut the pieces from the Animal Add-Ons 5 to make the basket and carrots. I coloured these in with Copic markers. I also die cut two borders using the Easter Borders die set. I coloured the eggs in with Copic markers.
Once my eyes and nose were dry, I added the pop up to my card. I tested to make sure the ears and arms would work and they did, perfectly! I added my borders along the side, starting with the two paper strips, then I used a sticker border that came with my paper pack and then added my egg border. I added my basket of carrots, testing to make sure there were to catch points.
I added a label using the Greetings Labels and from that same die set, added a banner with a sentiment stamped on it from Lawn Fawn's new Stamp and Stencil Easter Eggs stamp set.

For the front of my card, I reversed my paper, adding the cute bunny paper as the background and the pink paper to my oval. I die cut two ovals using the Ovals - Crosshatch dies. Then I used the Woven Basket Box Card Pop-Up and created a basket for my smaller oval. I added the Easter Charms to the basket, colouring everything in with Copic markers.
I stenciled clouds on to my background, then glued the basket down and trimmed the excess around the oval. Then I glued the ovals together and added it to my card front. I die cut another banner and added another sentiment from Lawn Fawn's Eggstra Amazing Easter stamp set.
I love Easter cards, the colours, the bunnies, it's just so cute! Thank you so much for stopping by today, below is a list of all the supplies I used to make this card. Happy Crafting!
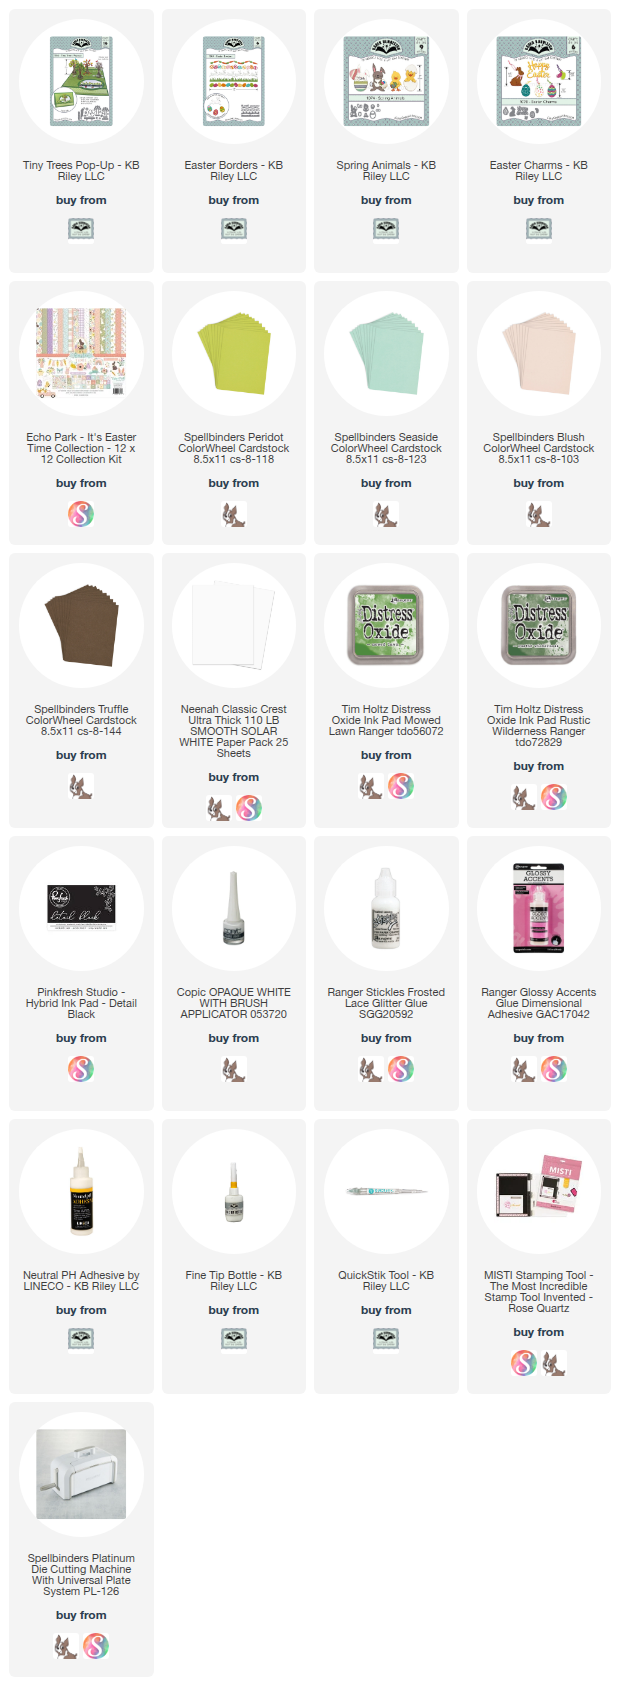
Supplies: For your shopping convenience, all products are linked below. Compensated affiliate links are used where possible with no extra cost to you. This helps me to continue to share all the projects I include on my blog. Please note I only use and share products I love. Thank you Crafty Friends!