Wednesday, May 7, 2025

Hap-bee Birthday Card using Karen Burniston's Oval Frame Pop-Up!

 Hello Crafty Friends and welcome! I recently purchased Karen Burniston's Oval Frames Pop-Up (I know, there are still some dies I don't have yet! Lol) and just had to try it out. I found it very easy to install into my card base and I love how I could have it raise up or down. I wanted to make a bee themed card and thought this pop-up would be perfect for that!

I started with an 5x5 card base using Bazzill cardstock in Sunbeam yellow. Then I added three smaller squares of patterned paper. I used Echo Parks Bee Happy patterned paper (one of my favorite packs from them) for the inside and front of my card. 

I die cut the pop-up mechanism from the same yellow cardstock. This wasn't a thick cardstock so it didn't bulk up the pop-up. I also followed along with Karen Burniston's instructional video (as this was my first time using this die set) which you can view by clicking here

I knew I wanted to have two bees kind of floating in the centre, so I die cut two bees from the Flutter Charms die set, from heavy weight smooth white cardstock and colored them in with Copic markers. I also die cut the back of the bee body from black cardstock, this was so I could run my clear thread behind the bee and secure it to the body without it coming off. I also die cut the frames that attach on to the pop up a second time and trimmed them out so I could sandwich the thread in between the frames. I used an "invisible" sewing thread to do this. 

I die cut several flowers and leaves from Karen Burniston's Fun Flowers, Flower Pot Add-On, Fence Add-On and Flutter Charms for the honey comb. I cut everything but the honey comb from heavy weight smooth white cardstock and colored everything with Copic markers. I die cut the honeycomb from Lawn Fawn Number 2. Pencil cardstock. 

Lastly, I added some sentiments to the two outer frames using Simon Says Stamps Sweet Birthday stamp set. I thought this worked perfectly with my card. 

For the front of my card, I die cut two circles using Karen Burniston's Circle - Crosshatch die set. Then I used Gina K - Beautiful Bees stamp set to add a sentiment to the smaller circle. I added these to the front of my card using Lineco Neutral pH adhesive in my fine tip bottle. 

I added more flowers and leaves and another bee to carry the theme from inside the card to the front. 

I think this card turned out beautifully! The Oval Frames Pop-Up is perfect for any theme of card, which makes it a very versatile die set to have. I also really loved how easy it was to install. There was no guesswork because as long as you stay inside the card you can place the pop-up anywhere along the seam! It would also fit into many card sizes. 

Thank you so much for stopping by today. All the products I used to make this card is listed below (unless they are no longer available). Happy Crafting!!


Supplies: For your shopping convenience, all products are linked below. Compensated affiliate links are used where possible with no extra cost to you. This helps me to continue to share all the projects I include on my blog. Please note I only use and share products I love. Thank you Crafty Friends!


Tuesday, May 6, 2025

Karen Burniston Designer Challenge - May 2025 - Make It Fluffy!

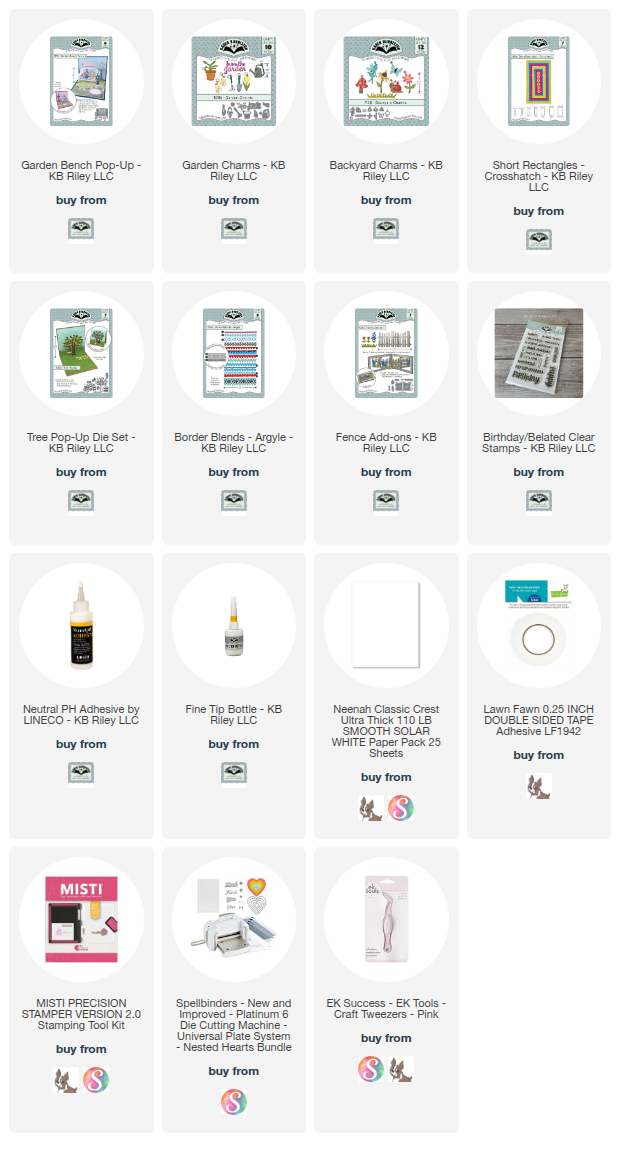
 Hello Crafty Friends and welcome! It's Designer Challenge time for the Karen Burniston Design Team and our theme this month was "Make it Fluffy!". What could be better than relaxing, surrounded by lots of soft, fluffy pillows? Not much! So for my take on this challenge, I used the Garden Bench Pop-Up to make a place for all my fluffy pillows!

I started with an A2 sized top fold card using heavy weight Neenah Classic Crest 110lb cardstock. I dug through my stash and found this paper by Simple Stories called Simple Vintage Life in Bloom to use as my background paper.

I die cut the bench from the same cardstock as the card base, then added it to my card. I die cut several pillows from scrap patterned paper I saved. Then I used my Lineco Neutral pH adhesive in a fine tip bottle and added all my pillows to my bench. 

I die cut the tree from the Tree Pop-Up from brown and green cardstock. I die cut several of the blue bonnets that come in the Fence Add-On die set, from white cardstock. Then I used Simon Says Stamps Pawsitively Saturated Ink in Bubblegum and Taffy to ink the "flowers". I trimmed them out to create the look of a Lilac tree. 

I used the Garden Charms to add the flower pots and plants and the Backyard Charms to add the butterflies. I added these all to the card, then added more pillows to the base and leaning against the flower pot. I cut a piece to add to the bottom for a place to sign. Then added some sentiments using the Birthday/Belated stamp set. 

For the front of the card, I added more of the patterned paper background, then used the Border Blends - Argyle die to create a scalloped border. I added this to the middle of the card. 

I used a sentiment stamp from Pink Fresh Studio called Happy Birthday Sentiments, which I stamped onto rectangles cut from the Short Rectangles - Crosshatch dies. I added this to the middle of the card. 

This will be a great birthday card for anyone who loves the garden or just sitting and watching nature. 

Thank you so much for stopping by today. To see all the supplies I used to make this card, see the list below! Happy Crafting!

P.S. Be sure to check out all the other amazing cards that our Design Team created by visiting www.karenburniston.com!


Supplies: For your shopping convenience, all products are linked below. Compensated affiliate links are used where possible with no extra cost to you. This helps me to continue to share all the projects I include on my blog. Please note I only use and share products I love. Thank you Crafty Friends!


Saturday, May 3, 2025

Lawn Fawn Challenge 195 - Bingo!!

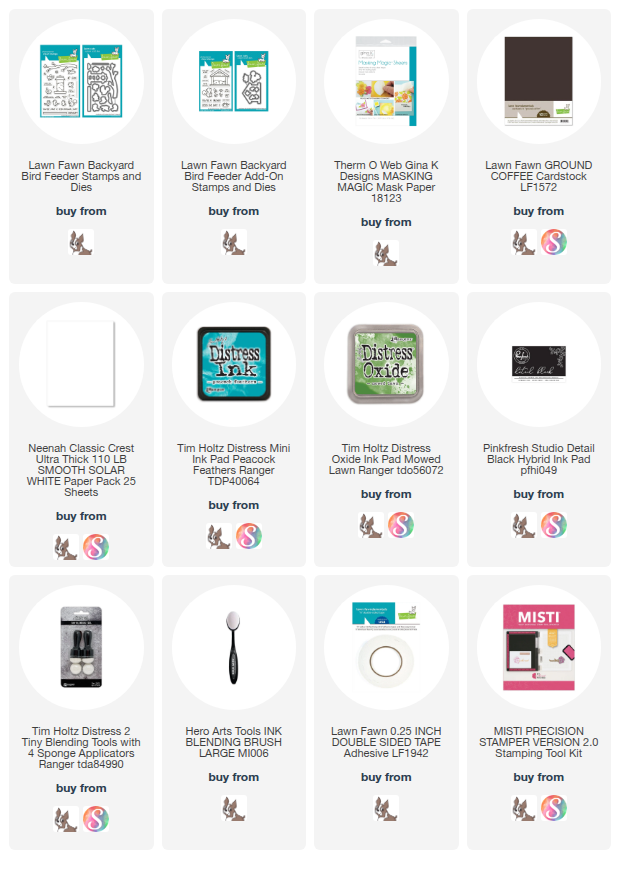
Hello Crafty Friends and welcome! My card for you today was created for Lawn Fawn's Challenge 195 - Bingo! I went diagonally down the Bingo card and chose Glitter, Grass, Stamp, Cardstock and Ink Blending. So for my card, I created this cute scene using Lawn Fawn's Backyard Bird Feeder and Backyard Bird Feeder Add-On. 

To start, I created an A2 sized card base using Lawn Fawn's Ground Coffee cardstock. Then I die cut a rectangle using MFT - A2 Stitched Rectangle STAX in the largest die from heavy weight smooth white cardstock. I stamped the images from Lawn Fawn's Backyard Bird Feeder and Add-On using Detail Black Ink from Pinkfresh Studios and masking paper from Gina K. 

I ink blended the background using Peacock Feathers Distress Ink and the Mini Clouds stencil from MFT. I also used MFT - Grassy Edges stencil and ink blended Mowed Lawn Distress Oxide Ink to create the grass at the bottom. 

I then removed all the masking paper and colored all the stamped images in with Copic markers. I tried to create actual birds in nature, so there are bluejays, robins, sparrows and finch. I stamped the sentiment onto the card. Then I added glitter gel to the red bird feeder. 

These new stamp sets are just adorable!!! I highly recommend them. Thank you so much for stopping by today. All of the supplies used to make this card are listed below. Happy Crafting!

Supplies: For your shopping convenience, all products are linked below. Compensated affiliate links are used where possible with no extra cost to you. This helps me to continue to share all the projects I include on my blog. Please note I only use and share products I love. Thank you Crafty Friends!


Hap-bee Birthday Card using Karen Burniston's Oval Frame Pop-Up!

 Hello Crafty Friends and welcome! I recently purchased Karen Burniston's Oval Frames Pop-Up (I know, there are still some dies I don...