Saturday, July 26, 2025

Happy Birthday Slider Box with Surprise Cubes!

 Hello Crafty Friends and welcome! I have another very special card for you today. This one was made for my Dad's upcoming Birthday. He will be turning 77 this year and he is not only an awesome Dad but he really is the world's best Grandpa. So I knew I had to make something that would show just how awesome he really is. 

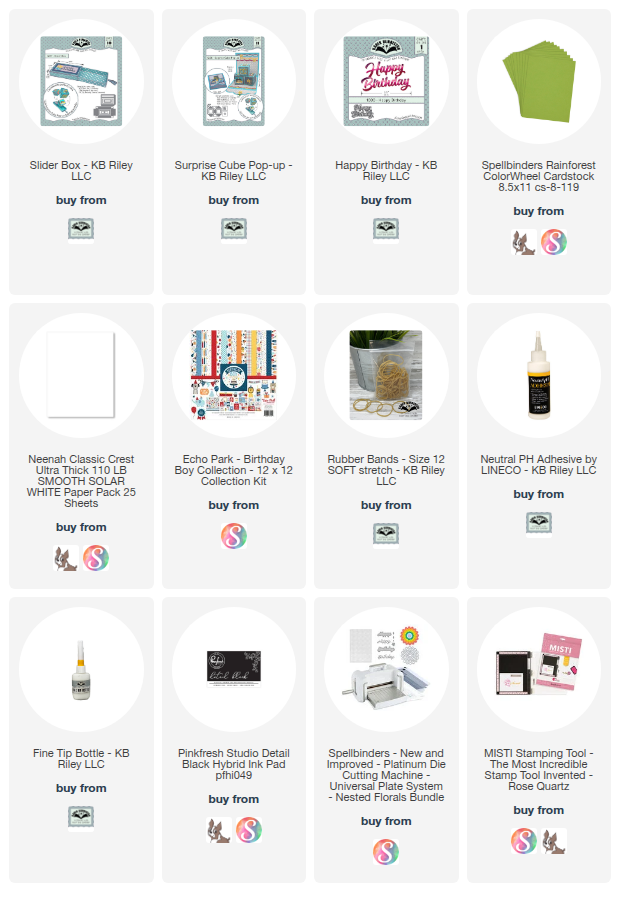
For this "card" I used Karen Burniston's Slider Box and Surprise Cubes. I made both the box and cubes from a light weight dark blue cardstock that I got from Michaels. Then I used Spellbinders Rainforest cardstock and Echo Park Birthday Boy patterned paper. 

I live in Canada so I don't have a Walgreens so to make my photos I used PicMonkey online and printed the photos on my printer. I wish we had a way to print photos like Karen does at Walgreens and when I figure it out I will be sure to let you all know. 

I followed Karen's amazing assembly videos for both the cube and slider box to put everything together. I added the Birthday die cut to the top of my box using Karen Burniston's Happy Birthday die than stamped the "wishes" underneath it. 

Here is a short clip on how my surprise slider box works. I can't wait to see my Dad's reaction!


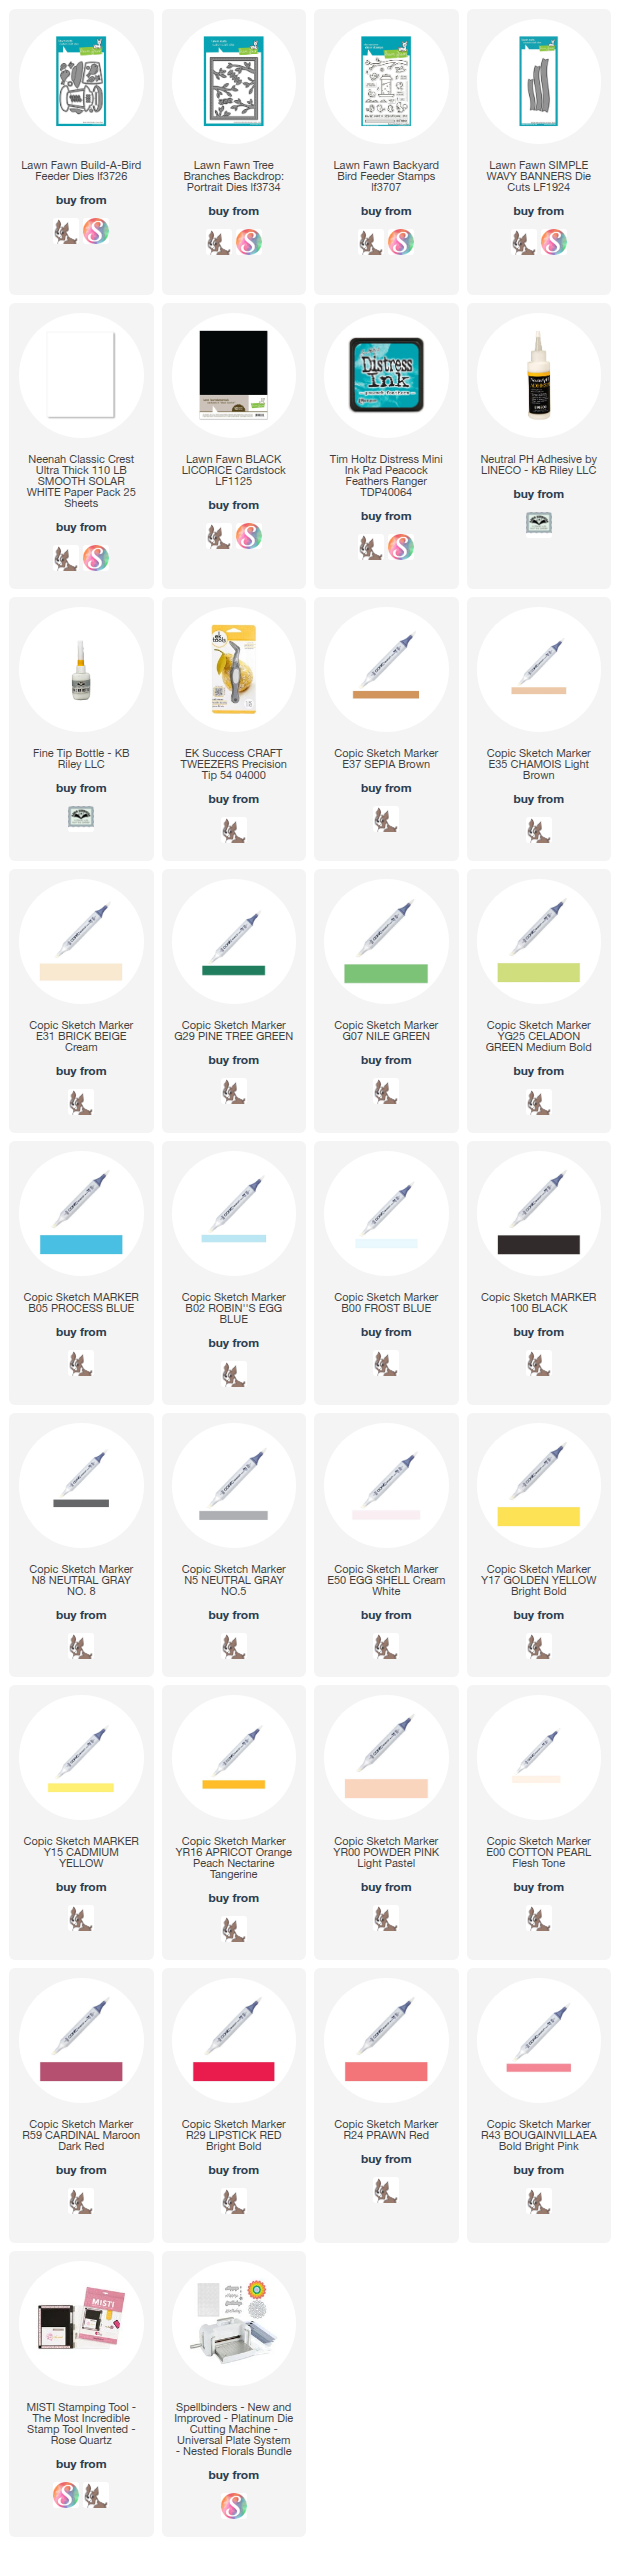
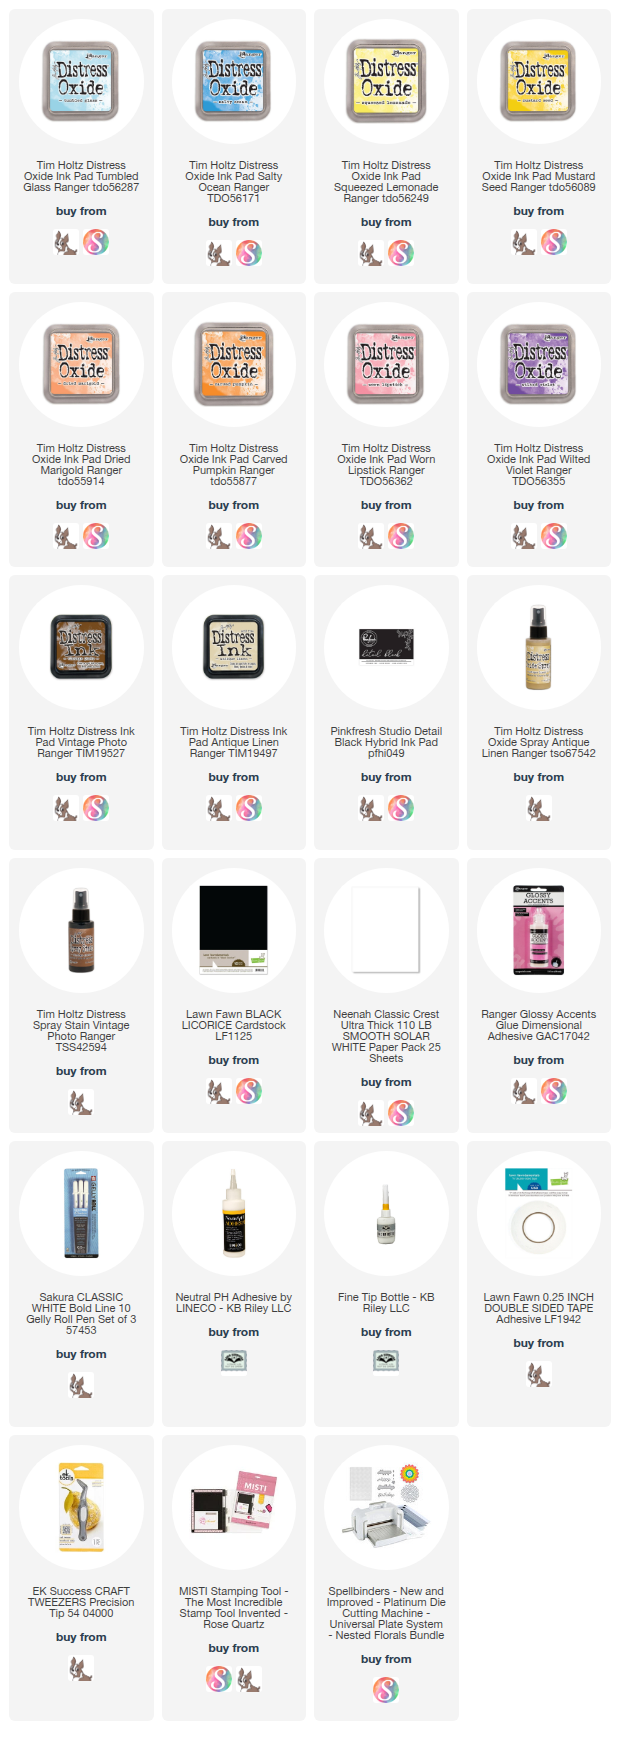
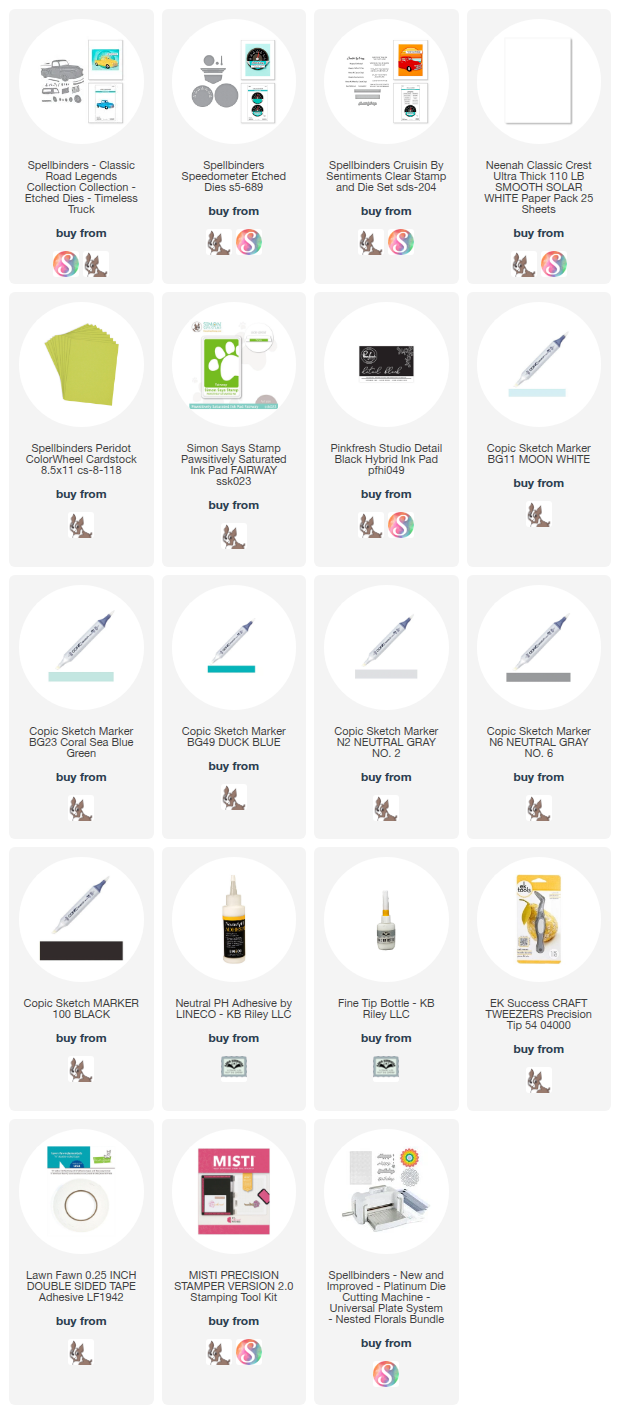
Thank you so much for joining me today. Below is a list of all the supplies I used to make this card. Some supplies are no longer available. Happy Crafting!!

Supplies: For your shopping convenience, all products are linked below. Compensated affiliate links are used where possible with no extra cost to you. This helps me to continue to share all the projects I include on my blog. Please note I only use and share products I love. Thank you Crafty Friends!


Tuesday, July 22, 2025

A Seed-sational Birthday Card!

 Hello Crafty Friends and welcome! I have a cute card for you today, which uses Lawn Fawn's Build a Bird Feeder die set!

I started with an A2 sized card base from heavy weight smooth white cardstock. Then I cut a rectangle from the same smooth white cardstock and created my background. I used MFT - Mini Clouds stencil and Distress Ink in Peacock Feathers to create my clouds. 

I die cut Lawn Fawn's Tree Branches Backdrop (Portrait) twice, once from white cardstock and once from black cardstock. I coloured in the branches and leaves on the white die cut, using Copic markers. Then I trimmed the branches off the die cut from black cardstock, just leaving the frame. 

I die cut the bird feeder and birds from smooth white cardstock and coloured everything in with Copic markers. I die cut two windows from acetate and created a shaker for the bird feeder. 

I glued everything on with my Lineco Neutral pH adhesive in a fine tip bottle. Lastly, I used Lawn Fawn's Simple Wavy Banners to create my sentiment on the front of my card. This came from Lawn Fawn's Backyard Bird Feeder stamp set. 

Thank you so much for stopping by today, you will find a list of the supplies I used to make this card below. Some supplies are no longer available. Happy Crafting!

Supplies: For your shopping convenience, all products are linked below. Compensated affiliate links are used where possible with no extra cost to you. This helps me to continue to share all the projects I include on my blog. Please note I only use and share products I love. Thank you Crafty Friends!


Monday, July 21, 2025

Saddle Up and Celebrate!

 Hello Crafty Friends and welcome! My card for you today was created for Craft Roulette Episode 276. The parameters this week were to make an Easel card, use rainbow colours, have a western theme and use a black and white image. 

For my card, I created an A2 sized Easel card, used every colour in the rainbow, used MFT - Saddle Up and Celebrate Stamp set and created black and white balloons!


I started by cutting a piece of heavy weight black cardstock 4.25 x 11 and scored it in in the middle at 5.5 and then scored it again at 2.5. I used my bone folder and went over all my fold lines, then set the card base aside. 

I cut a piece of heavy weight smooth white cardstock 1/8" smaller than my card base. I also die cut Spellbinders - Colorblock Landscape from smooth white cardstock. Then I used Distress Oxide Ink to create my background. I wanted it to look like the sun rising behind the mountains. Once I had my background created, I used MFT - Ray of Light stencil and white ink to create the sun rays. I set the background aside to dry. 

I stamped my images from the Saddle Up and Celebrate stamp set using my Misti stamping tool and Pink Fresh Studios Detail Black Ink. Then I coloured my images in with Copic markers. Once I had my images coloured in, I added some details using my size 10 white Gelly Pen. I also added Glossy Accents to my balloons. Once they were dry, I added shine lines with my Gelly Pen. 

I stamped the sentiment to the top of my card base, using detail black ink and then added my stamped images to the front. I cut a piece of cardstock 4.125 x 0.75 twice and glued them together. Then I stamped my second sentiment "Saddle Up and Celebrate" using the detail black ink. I added that to the inside of my card base as a blocker for my Easel card. 

I really enjoy making Easel cards, they are fun and they make for a fun surprise to the recipient. Thank you for stopping by today. Below is a list of all the products that I used to make this card. Some of these products I am unable to post as some companies only allow affiliate link in the USA only. Also some die sets are from a monthly subscription and only available on the companies website. Sorry for any inconvenience. Happy Crafting!

Supplies: For your shopping convenience, all products are linked below. Compensated affiliate links are used where possible with no extra cost to you. This helps me to continue to share all the projects I include on my blog. Please note I only use and share products I love. Thank you Crafty Friends!


Thursday, July 17, 2025

Vintage Truck Birthday Card

 Hello Crafty Friends and Welcome! My card for you today uses Spellbinders Timeless Truck Etched die set along with the Speedometer die set to create this custom made Birthday Card!

This card was created for my cousins 50th Birthday which is coming up. He is a real car/truck guy and over the years has had some pretty spectacular vehicles! There was even a couple of times where I was under a car helping him fix things. So when I was asked to make him something special, I knew I had to recreate his truck. It's not this exact truck, but it still turned out pretty good. 

I started with an A2 card base from smooth white cardstock, then I cut two rectangles from a lime green cardstock 1/8" smaller than my card base. I used MFT - Balloon Strings Background stamp and Simon Says Stamps Pawsitively Saturated Ink in Fairway to create my background. I made two backgrounds, one for the front of the card and one for the inside. 

I die cut all the pieces of the truck, some in gray, black and silver cardstock and the rest in white cardstock. I colored in the truck using Copic markers. I used a picture of my cousins truck as an example and tried my best to make it look similar. 

I die cut the pieces for the speedometer and then placed that on the background of my card. I used foam squares on the back of my truck then added that to the front of my card. 

I used Spellbinders Cruisin' By sentiment stamp to add a sentiment to the front. 

I really hope my cousin likes his card. Thank you so much for stopping by. See below for a list of all the supplies I used in this card (some are not available as they are older stamps). Happy Crafting!

Supplies: For your shopping convenience, all products are linked below. Compensated affiliate links are used where possible with no extra cost to you. This helps me to continue to share all the projects I include on my blog. Please note I only use and share products I love. Thank you Crafty Friends!


Tuesday, July 15, 2025

Craft Roulette - Mailbox Card

Hello Crafty Friends and Welcome! My card for you today was created for Craft Roulette. The parameters this week were:

Project: Include and ATC 

Colors: Starry Night

Element: Down

Random: White Dots

This was actually a bit of challenge for me, as I had never created an ATC (Artistic Trading Card) before. I wasn't sure what to put on it or where I would attach it. But as I was going through some die sets I had an idea to use Spellbinders Lock and Key Mailbox die set and use the mail slot to add my ATC. 


 For this card, I started with an A2 sized card base using Neenah Classic Crest 110lb cardstock. then I cut a piece of Lemon Chiffon cardstock 1/8" smaller than my card base. I ran it through my Simon Says Stamps Pinnacle Hearts 3D embossing folder than added it to my card. 

I die cut the mailbox from different shades of blue and put it all together, adding some gold accents. I used Spellbinders Be Bold Blooms die set to cut flowers in blue and yellow (Van Gogh Starry Night colors), adding some Copic markers to them to add some dimension, then glued them around my mailbox. The Lock and Key Mailbox was a Large Die of the Month so it is only available through Spellbinders. 

I used a size 10 white Gelly Pen to add some small white dots to the bottom of my mailbox. 

I cut my ATC from the same cardstock as my card base. I printed out an Australian stamp (they are the Land Down Under) and added it to my card. I used Spellbinders Sending You stamp set and Waffle Flower Crafts Postage Collage Stamp set to created my letter front. Then I added some more flowers. This fit perfectly into the mail slot! 

Thank you so much for stopping by today, see below for a list of the supplies I used that are available to you. Happy Crafting!!

Supplies: For your shopping convenience, all products are linked below. Compensated affiliate links are used where possible with no extra cost to you. This helps me to continue to share all the projects I include on my blog. Please note I only use and share products I love. Thank you Crafty Friends!


Monday, July 14, 2025

Happy Birthday Mom - Karen Burniston's Cupcake Pop-Up

 Hello Crafty Friends and welcome! I have a very special card for you today. It is my Mom's 76th Birthday card, so please join me in wishing her a very happy day! For this card, I used Karen Burniston's Cupcake Pop-up and Pear Blossom Press lights. 

I started with an A2 sized card base using a heavy weight teal colored cardstock. Then I cut some fun birthday paper from Echo Park called Birthday Girl, 1/8" smaller than my card base. I folded it in half and used the Cupcake Pop-Up die to die cut the pop-up area. 

I have misplaced my little banner die from the Lorna Label die set so I used MFT - Elegantly Folded Banner die set to add a sentiment to the front of the pop-up. I die cut it from Tomato cardstock from Lawn Fawn and then stamped a birthday sentiment using Bitty Birthday Wishes stamp set from MFT. I used VersaMark ink and white embossing powder. 

I die cut the large cupcake and two smaller cupcakes (all which come with the Cupcake Pop-Up die set) from scrap cardstock. I added some detail to the cupcake wrappers and colored in the icing to look like buttercream icing. I added the bow and cherry on top of my large cupcake. I also added my candle, making sure that I left enough over the top of the pop-up for my light. I then added some glitter gel to my cupcake and set it aside to dry. 

Once everything was dry, I put everything together inside the card. I added a border to the top and bottom using a pretty dark pink cardstock. I stamped a sentiment to the top using Waffle Flower Crafts Hey Cupcake sentiment stamp with VersaMark ink and white embossing powder. 

I added my light to the back of my cupcake using foam squares and double sided adhesive. Then I added the bottom scalloped border to the card and added a small label from the Lorna Label die set so I have a place to sign the card. 

I used the Baking Borders die set to add a cupcake border to the bottom of my card. For the front of my card, I kept the same color scheme. This time adding a "Sweet" sentiment to the front using Lawn Fawn's Sweet die. 


I added some more cupcakes and another sentiment using MFT Bitty Birthday Wishes stamp set. Lastly, I added the word "push" so my Mom would know to push there to turn the light on for the inside of the card. To see the video on how made this card step by step, visit my YouTube channel by clicking on the video below. 


Thank you so much for stopping by today, all the supplies I used to make this card are listed below. Happy Crafting and Happy Birthday Mom!

Supplies: For your shopping convenience, all products are linked below. Compensated affiliate links are used where possible with no extra cost to you. This helps me to continue to share all the projects I include on my blog. Please note I only use and share products I love. Thank you Crafty Friends!


Tuesday, July 1, 2025

Karen Burniston July 2025 Designer Challenge - Rainbow

Hello Crafty Friends and welcome! It's Karen Burniston's Designer Challenge time once again and our theme for July 2025 is Rainbow. With the new Rainbow Add-Ons die set this was a perfect opportunity to use this, but not with the Arch Pop-Up, something different! 


For this card, I used the Wide Woven Basket and the Woven Basket to create this card. I started by die cutting two Wide Woven Basket pieces from Kraft cardstock. Then I found this great polka-dot paper and die cut the Wide Woven inserts to go through the basket. I did the same for the Woven Basket pieces, only die cutting the half with the tab then trimming the extra I didn't need. 

I then die cut three pieces for the inside of my basket from the same Kraft cardstock. I also die cut the handles for the sides of the basket from the same cardstock as well. Then I put my basket together. 

Once I had my basket together, I set it aside and die cut all my flowers and rainbow pieces. I glued these all together and set them aside. Then I put everything together in my basket. I had to trim my rainbow to fit better, but I think it turned out great!! 

Thank you so much for stopping by today. See below for the full list of all the supplies I used to make this card. Happy Crafting!

Supplies: For your shopping convenience, all products are linked below. Compensated affiliate links are used where possible with no extra cost to you. This helps me to continue to share all the projects I include on my blog. Please note I only use and share products I love. Thank you Crafty Friends!


Pop-Up Super Birthday Card!

 Hello Crafty Friends and welcome. My card for you today features Karen Burniston's Parcel Pop-Up along with Sassy Club Stamps Plumber B...