Hello Crafty Friends and welcome! I have a fun Halloween card for you today, using Karen Burniston's Lorna Label Pop-Up and Explosion Pop-Up!
For this card, I started with a 5.5 x 5.5 sized card base using a light weight black cardstock (65lb). Then I used some new patterned paper I just picked up from Michaels. If you are in Canada, they currently have some of their seasonal patterned paper packs buy one get one free! I cut the patterned paper 1/8" smaller than the card base, then used double sided adhesive to tape it down to the base.
I also picked up some really pretty thin patterned paper that was double sided and perfect for the Explosion Pop-Up because it's so thin. I die cut the two explosion sides and folded as per Karen Burniston's instructional video, which you can watch by clicking here. I glued these into my card using Lineco Neutral pH adhesive and my fine tip bottle.
I then added two 3 x 3 pieces of pumpkin patterned paper to the centre. This was to give the card some more color and to cover the edges of the explosion pieces.
I then added the Lorna Label Pop-Up. I die cut the centre out of it so that I could hang a charm! I added some black sparkly cardstock to the front, not only to add dimension but to glue the charm in place. For the charm, I used the ghost from the Halloween Charms. I die cut the ghost twice so that if the charm spun you would see the ghost on both sides.
I then added a skull border to the top and bottom to hide the paper lines. I used the Halloween Borders die to do this.
I die cut the sentiment "Spook" using the Alphabet die set and the word "tacular" using the Mini Alphabet and Numbers die set. I die cut this from gold glitter cardstock and black cardstock for the word Spook, then black glitter cardstock for the tacular.
Then I added some more ghosts and cobwebs using pieces from the Halloween Elements and Halloween Scene dies. Lastly, I added a place to sign the card using a rectangle from the Short Rectangles - Crosshatch die set.
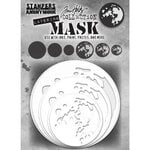
For the front of my card, I continued the same patterned paper as the inside. Then I added a scene using the Halloween Scenes die set.I die cut a circle using the Circles - Crosshatch die and added some moon detail to it using a moon stencil from Tim Holtz called Moon Mask.
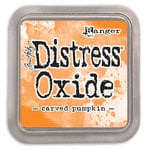
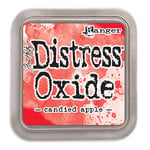
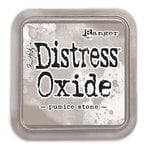
I glued everything down, then I die the sentiment on the front using the Halloween sentiment die and mixing Carved Pumpkin and Candied Apple Distress Oxide Ink.
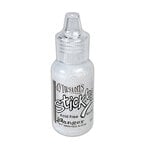
I added some glitter gel to the sentiment to make it pop!
I just love this card!! Thank you so much for stopping by. To see the whole video on how I made this card, click the clip below to visit my YouTube Channel. Be sure to subscribe and like. Happy Crafting!
Supplies: For your shopping convenience, all products are linked below and in bolded text in post. Compensated affiliate links are used where possible with no extra cost to you. This helps me to continue to share all the projects I include on my blog. Please note I only use and share products I love. Thank you Crafty Friends!


Where did you find the thin paper for the explosion?
ReplyDeleteMichaels. I am located in Canada, so I am not sure if it's in all stores across North America.
Delete