Friday, June 13, 2025

Karen Burniston June 2025 New Release - Sneak Peek Week Day 5 - Baby Balloon Arch

 Hello Crafty Friends and welcome! Well we are almost to our new release date and I hope that you have been inspired by all the Design Teams amazing cards! The new release has 10 new dies and 5 new stamps!

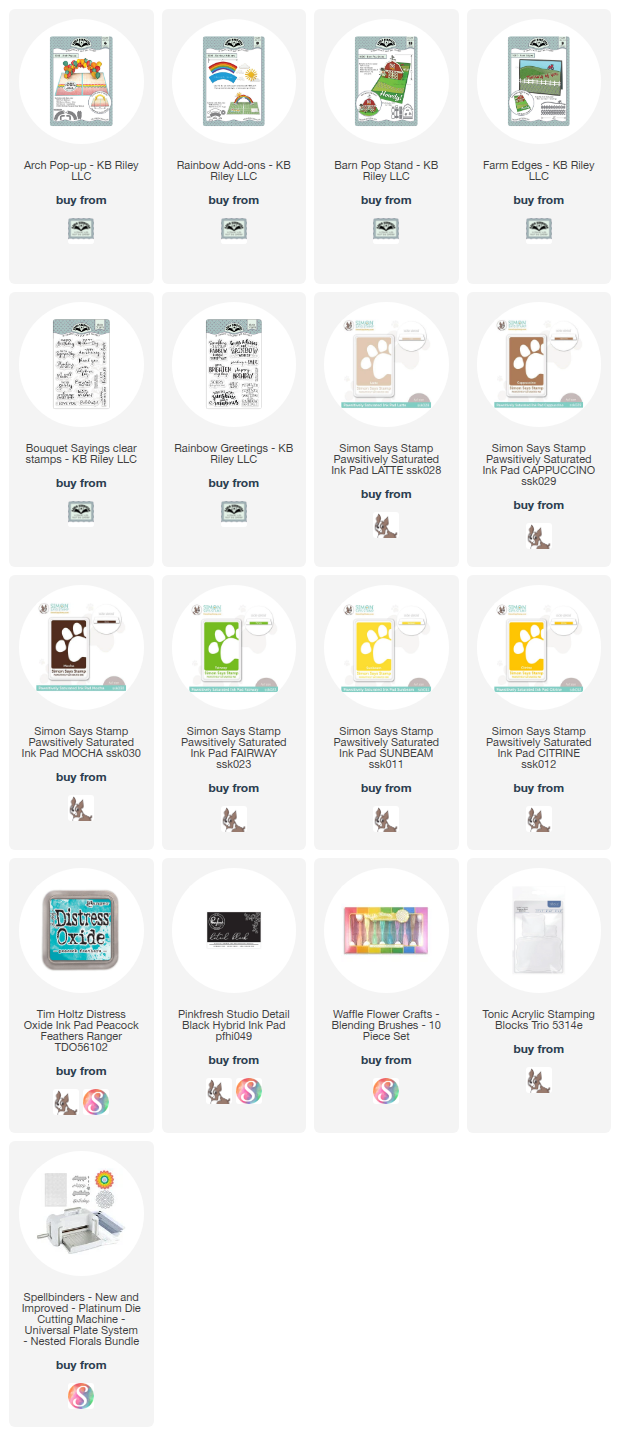
My card for you today uses the new Arch Pop-Up along with the Party Balloons to create this baby card! When I was pregnant with my daughter, my Mom and my Aunt held a baby shower for me and they had this amazing balloon arch made to sit behind the chair they had for me. When I saw the arch and balloons that was the first thing I thought of. 


For this card, I started with an A2 sized card base using a light weight smooth white cardstock. Then I found some pretty baby patterned paper in my stash and added it as the background. 

I die cut the Arch Pop-Up from pink cardstock (this was cardstock I picked up at Michaels) and I also die cut several balloons from 3 different colors of pink cardstock and glitter white cardstock. 

I added my arch to the card using Lineco Neutral pH adhesive in a fine tip bottle, and then began adding all my balloons. I think this is the fun part!! Once I had all my balloons in place and tested the card to make sure it would close and open with no problem, I started on all the other details of my card. 

I used the Baby Charms to add the baby blocks at the bottom of the left side of my card, then used the word welcome from Word Set 7 - Autumn. I added some more balloons beside my sentiment. Then I used a label from the Little Twist Panel Pop-Up so there would be a place to sign the card and more balloons. I also added some Glossy Accents to the some of the balloons. 


For the front of the card, I used the Postage Pop-Up to create my card front, then added some more of the Baby Charms to the little postage areas. 

I used a sentiment from Honey Bee Stamps - Welcome Baby sentiments and added it the bottom of the card. I also added more balloons. 

This could be used for a boy, girl or gender neutral baby cards. The ideas are endless!! Thank you so much for stopping by today. The list of all the supplies I used to make this cards are below (except the new release dies which will be updated once the new release is available). Happy Crafting!

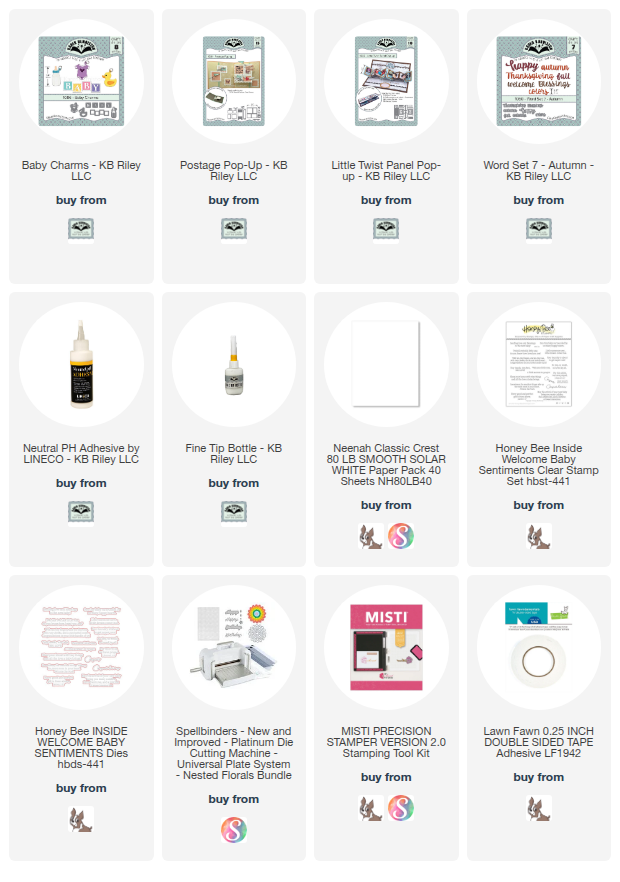
Supplies: For your shopping convenience, all products are linked below. Compensated affiliate links are used where possible with no extra cost to you. This helps me to continue to share all the projects I include on my blog. Please note I only use and share products I love. Thank you Crafty Friends!


Thursday, June 12, 2025

Karen Burniston June 2025 New Release - Sneak Peek Week Day 4 - Witchy Whirly Wheel

 Hello Crafty Friends and Welcome! The countdown is on to the new release day and I know I'm excited!!! There are 10 new dies in this release and 5 new stamp sets. 

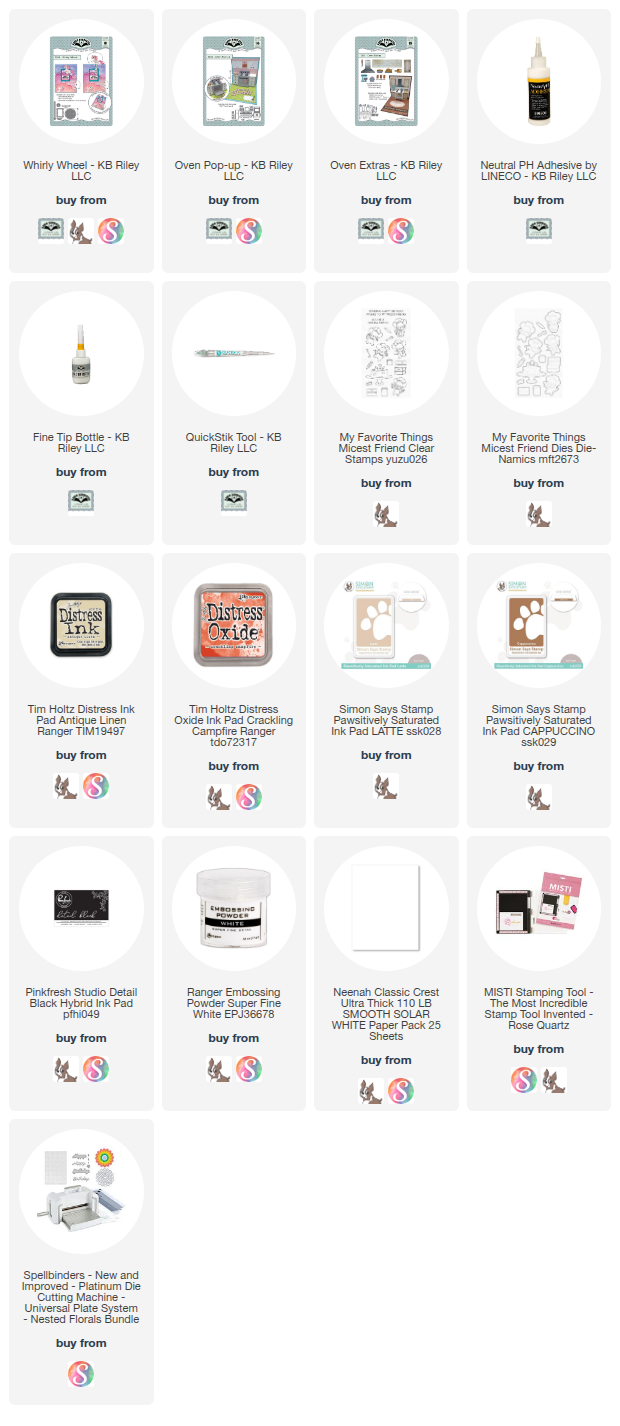
My card for you today uses the Whirly Wheel along with the Witch and Cauldron die set, to create this spooky scene!! 

For this card, I started with an A2 sized card base using a light weight black cardstock. Then I used the Rectangles - Crosshatch to die cut a rectangle for the background. I created the sky background using Tim Holtz - Moon Mask stencil and Distress Oxide Ink in Tumbled Glass, Salty Ocean, Chipped Sapphire and Black Soot. Once the background was dry, I used a paint brush and white Copic Opaque paint to create stars. I removed the mask for the moon and used the stencil to add detail to the moon using Distress Oxide Ink in Pumice Stone. 

I die cut the Witch and Cauldron pieces from smooth white cardstock and colored them in with Copic markers. The cauldron I cut from glossy black cardstock. I die cut pieces from the Autumn Elements, Halloween Scene and Halloween Elements. Some of these I colored in with Copic markers and some from glitter cardstock. 

I then die cut the Whirly Wheel pieces and put the mechanism together. I glued the Witch to the arm of the Whirly Wheel and tested the mechanism. I just love how this turned out and it's so fun to watch that witch take flight!!! 


Thank you so much for stopping by today. Below is a list of all the products that I used to make this card (except for the new release and I will be updating the list once the new release is available). Happy Crafting!

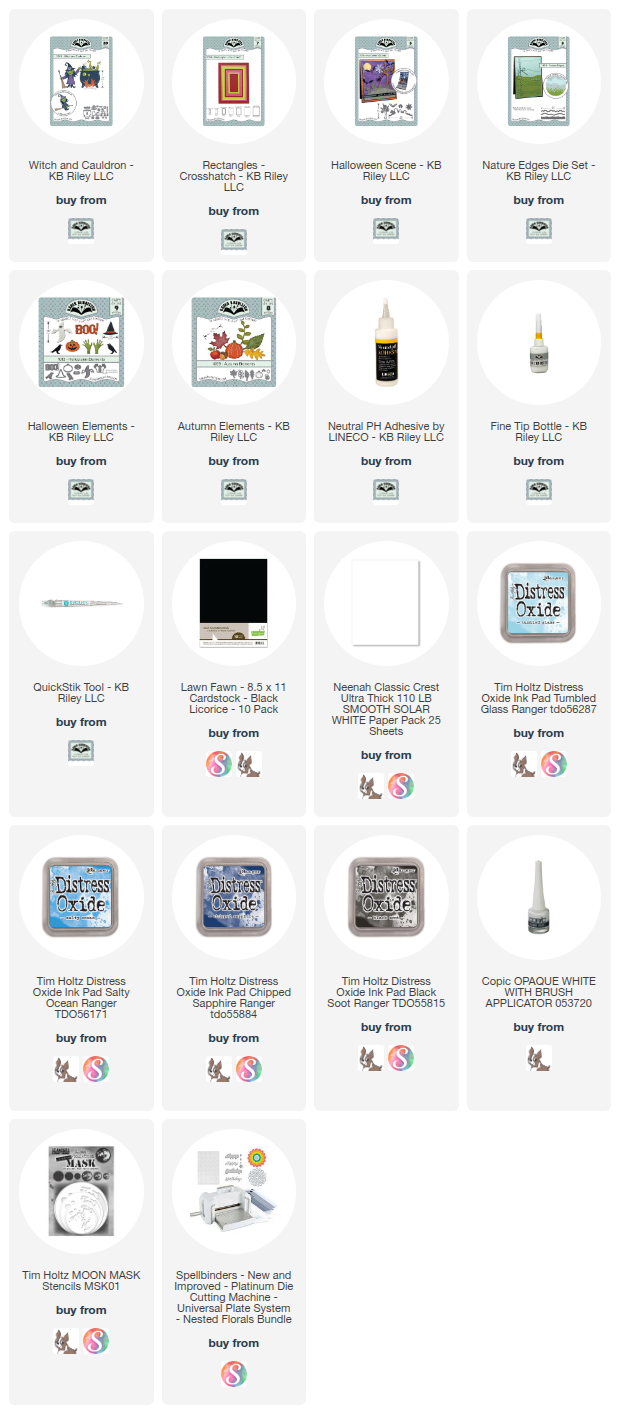
Supplies: For your shopping convenience, all products are linked below. Compensated affiliate links are used where possible with no extra cost to you. This helps me to continue to share all the projects I include on my blog. Please note I only use and share products I love. Thank you Crafty Friends!


Wednesday, June 11, 2025

Karen Burniston June 2025 New Release - Sneak Peek Week Day 3 - Fishing Lure Charms

 Hello Crafty Friends and welcome! It's Day 3 of our Sneak Peek Week and my card for you today features the new Fishing Lure Charms!!! The perfect die set for any fisherman or fisherwoman! Cast your eyes on all the new amazing dies that will be available on Monday, June 16th. 

When I seen the fishing lures my first thought was that they would make a great background for the front of a card!! So that's exactly what I did. I die cut several of the fishing lures from heavy weight smooth white cardstock and colored them in with Copic markers. 

It was actually pretty fun colouring these in. I looked up different lures online to get an idea how they would look in real life. I don't know any avid fishermen so I wasn't sure, but there is a lot of find online!!!

I started with and A2 sized card base using Lawn Fawn Kraft cardstock. Then I added a piece of blue cardstock using Karen Burnistons Rectangle - Crosshatch dies. In my scrap I found this great checked blue patterned paper and thought it would be perfect for the background. Then using my Lineco Neutral pH adhesive and my fine tip bottle, I glued all my lures on to the front of my card. 


For the inside of my card, I added more blue cardstock for the water in the background. Then I added the Boat Pop-Up and the Fishing Boat Add-Ons. I also made a little fisherman using the Paper People die set. 


I stamped a sentiment using the Fishing Phrases stamp set and some labels (but I can't remember exactly which set I used them from). 

This is a great set to have if you have some one in your life that loves to fish!!! Thank you so much for stopping by today. All the tools I used to make this card are listed below (except the new release and I will be updating my list once they are available for purchase). Happy Crafting!

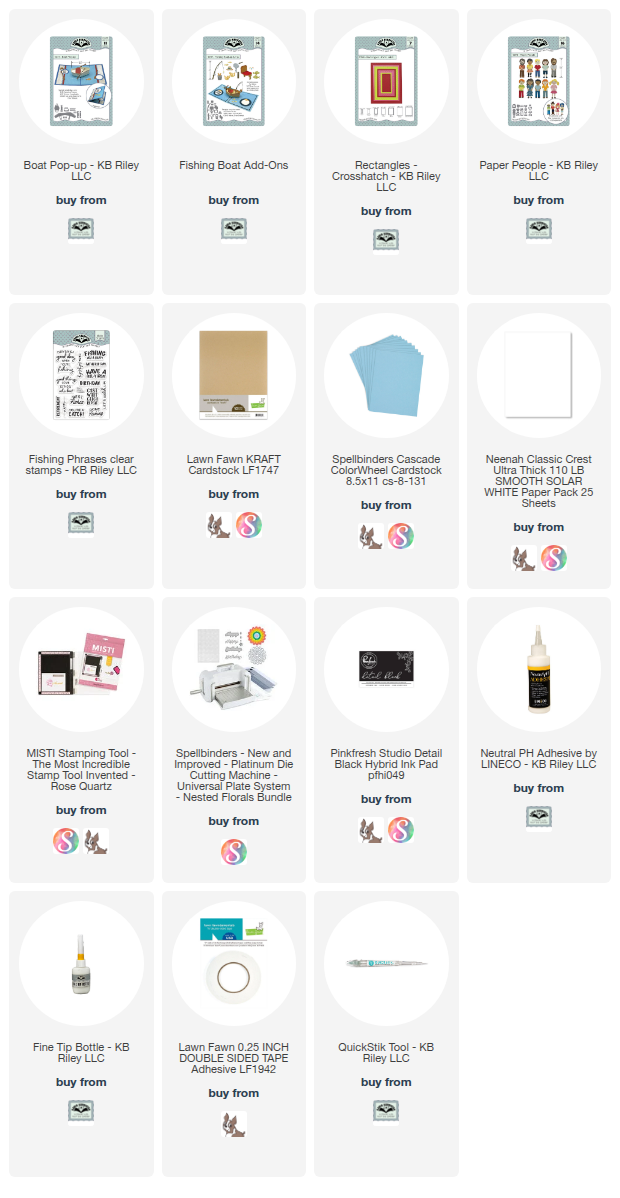
Supplies: For your shopping convenience, all products are linked below. Compensated affiliate links are used where possible with no extra cost to you. This helps me to continue to share all the projects I include on my blog. Please note I only use and share products I love. Thank you Crafty Friends!


Tuesday, June 10, 2025

Karen Burniston June 2025 New Release - Sneak Peek Week Day 2 - Whirly Wheel Dolphin Card!

 Hello Crafty Friends and Welcome! It's Day 2 of our Sneak Peek Week and I am very excited to share with you today one of my most favorite dies of the new release, the Whirly Wheel!!! This die looks like it would be hard to assemble, but once you do it, you will say "wow!! that was easy!!". 


The new release consists of 10 new dies and 5 new stamp sets. The new release will be available for sale on Monday, June 16th and that will also be our blog hop day so be sure to join us for that for a chance to win a $25 online gift certificate to Karen's store!

The Whirly Wheel is kind of unique because it's not actually a pop-up die but you could add another pop-up to the inside of your card if you wanted too!

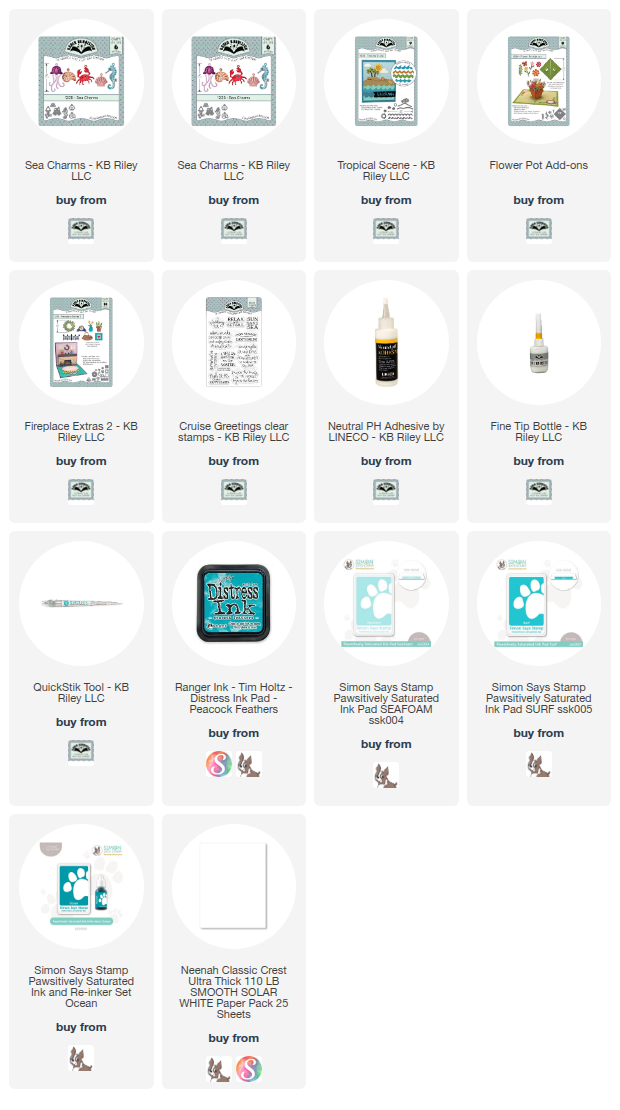
For this card, I started with an A2 sized card base using a dark blue cardstock. Then I used the new Curved Edges on three different colors of blue cardstock to make the waves. I used Simon Says Stamps Pawsitively Saturated Ink in Seafoam, Surf and Ocean to add some color to the edges of the waves. I glued the waves together but only along the sides and bottom. I did that because I knew I was going to add sea creatures and seaweed later. 

I then created my background by cutting a rectangle 1/8" smaller than my card base, from heavy weight smooth white cardstock. I added a cloudy background using Distress Ink in Peacock Feathers and my Mini Clouds stencil from My Favorite Things. 

Once I had all the pieces ready, I placed my background to my card front and held it in place with removable tape. Then I ran it through my die cutting machine with the die to cut out the little half moon along the side of the card. This creates a place to be able to spin the wheel. 

I removed my background pieces and glued down the cloudy background piece using Lineco Neutral pH adhesive and a fine tip bottle. Then I die cut the wheel and the other pieces needed to make the wheel work. I die cut the arm from acetate. Then I put it all together and added it to my card. 

I added foam pieces to the corners of my ocean waves and placed them over the wheel. Then tested the whirly wheel. Once I knew it was working properly, I started adding the sea creatures. I used the Sea Animals, Sea Charms, the plant from the Flower Pot Add-On and the little plant from Fireplace Extras 2 to create the scene. I die cut these from smooth white cardstock and colored them in with Copic markers. I also add some sea shells from the Tropical Scene die set. 

Lastly I stamped a sentiment on the front using the Cruise Greetings stamp set and added the dolphin from the new Leaping Animals die set. I can't wait to see all your amazing creations using the new Whirly Wheel. Thank you for stopping by today, below is a list of all the supplies I used to make this card (except the new release which I will update when it comes out). Happy Crafting!

Supplies: For your shopping convenience, all products are linked below. Compensated affiliate links are used where possible with no extra cost to you. This helps me to continue to share all the projects I include on my blog. Please note I only use and share products I love. Thank you Crafty Friends!


Monday, June 9, 2025

Karen Burniston June 2025 New Release - Sneak Peek Week Day 1 - Arch Pop-Up Graduation Card

 Hello Crafty Friends and welcome to day one of the new Karen Burniston new release sneak peek week! This new release has 10 new die sets and 6 new sentiment stamp sets. I know you are all as excited as I am about this new release and trust me it is amazing!!!

My first sneak peek card uses the new Arch Pop-Up die set. This die set creates a pop-up arch that you can decorate with the add-ons, such as the Party Balloons or the Rainbow Add-Ons. For this card, I created a graduation themed card using the Arch Pop-Up, Party Balloons and the new Graduation Elements die. 


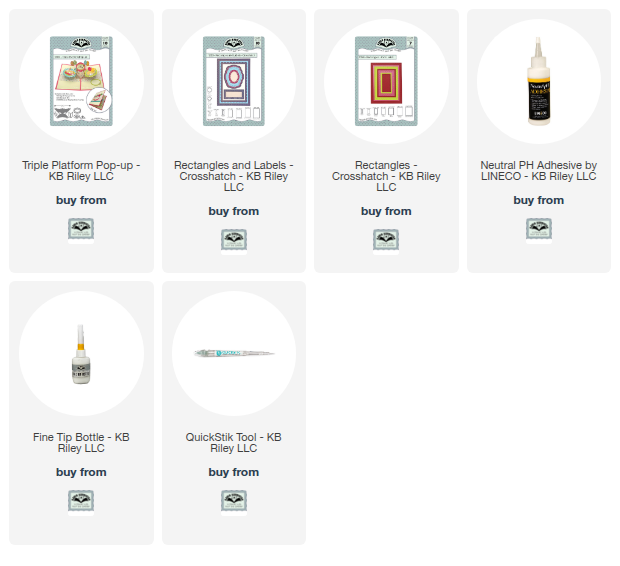
For this card, I started with an A2 sized card base from a light weight black cardstock. I found this great graduation patterned paper from my local Michaels. I added two different patterned papers and added a glitter gold border in between both papers. Then I die cut the pop-up arch from the same light weight cardstock as the card base. I glued the arch into my card base using Lineco Neutral pH adhesive in a fine tip bottle. I measured 2" from the center of my card and butted the tab from the arch up to my line, then glued it in in the flat position. Then I glued the other side of the arch by adding glue to the tab and closing my card. Once the arch was glued in place, I could add the additional tabs to the arch. 

I then die cut several balloons from glitter gold, silver, sparkly white and glitter black cardstock. Then the fun part! Adding all the balloons in place. I did keep closing the card, to make sure that nothing went outside the card and that the card closed without issue. 

I used the new Grad Greetings sentiment stamp to add a sentiment to the inside of my card. I used the labels from the Triple Platform Pop-Up to add the sentiment and a place to sign the card. I added more balloons as well. 

For the front of the card, I used the Rectangles and Labels die to add a large label to the front. I added another sentiment stamp from the Grad Greetings. Then I used the Paper People and Graduation Elements die to create a graduate to the front of my card. Lastly I added some more balloons! 

This Arch Pop-Up looks intimidating but it's actually very easy to put together. This would be great for a wedding card, a birthday card, really any card!! Thank you so much for stopping by today. You will find a list of all the supplies I used to make this card (except the new release dies, but that will be updated once the new release is available for purchase Monday, June 16th). Happy Crafting!

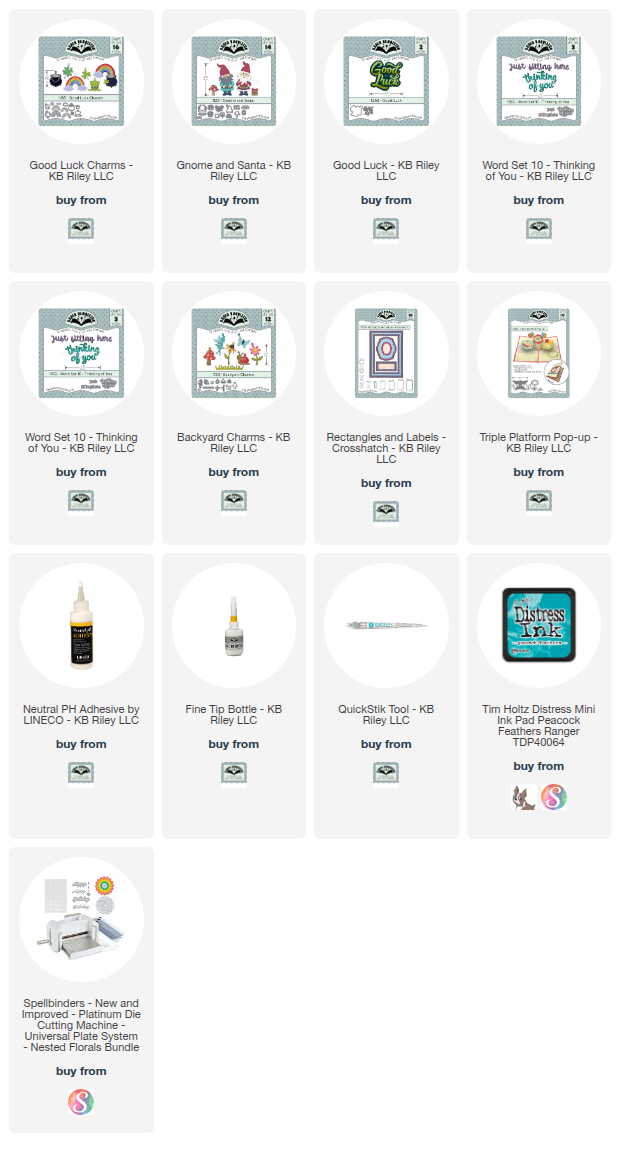
Supplies: For your shopping convenience, all products are linked below. Compensated affiliate links are used where possible with no extra cost to you. This helps me to continue to share all the projects I include on my blog. Please note I only use and share products I love. Thank you Crafty Friends!


Wednesday, June 4, 2025

Two Cards using Be Bold Blooms

 Hello Crafty Friends and welcome! I have two cards for you today, both use Spellbinders Be Bold Blooms die set. This versatile die set makes some really beautiful flowers and is perfect for any card!


I was commissioned to make a Retirement card and thought I would use the Be Bold Blooms die set. Since I had all my scrap paper out, I decided to make two cards using the same die set. So I did the same steps for both cards. 

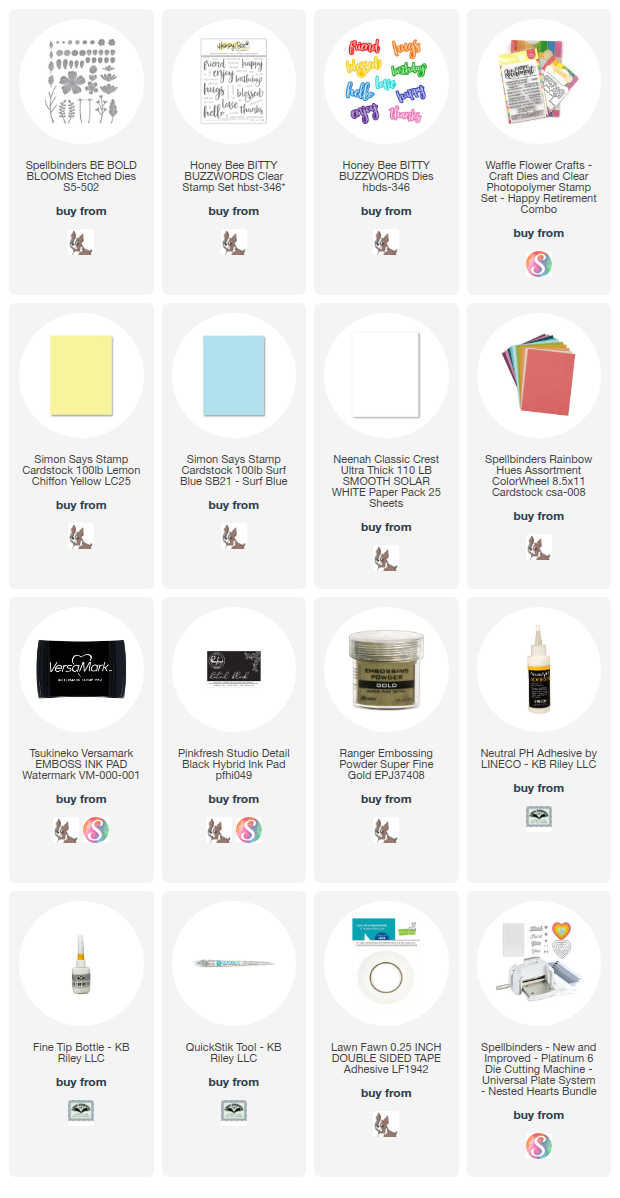
I started by creating two card bases, one from a light blue cardstock and one from light yellow cardstock. Then I cut two rectangles from heavy weight smooth white cardstock. I used an old Cuttlebug embossing folder to emboss a floral leaf pattern on to the two rectangles. 

I then die cut out all the flowers and leaves using Spellbinders cardstock. Once I had all the pieces die cut, I began putting the flowers together using Lineco Neutral pH adhesive and my fine tip bottle. 


Once I had all the flower pieces together, I began to place them on each card where I wanted them to go and gluing them down. I left a small space in the centre so I could put the sentiment there once I was finished gluing all the flowers down. 

For the sentiments, I used Honey Bee Stamps Bitty Buzzwords and Waffle Flower Crafts Happy Retirement stamp and matching die set. I stamped these both sentiments using VersaMark Ink on black cardstock and used gold embossing powder to make the sentiments pop.

I place foams squares on the back of both sentiments and added them to the front of my card. I just love how both these cards turned out. I also highly recommend Spellbinders new cardstock line. It is really good quality cardstock and you can get a rainbow pack with one sheet of each color to try it out. I loved using it and have purchased more!

Thank you so much for stopping by today and Happy Crafting!

Supplies: For your shopping convenience, all products are linked below. Compensated affiliate links are used where possible with no extra cost to you. This helps me to continue to share all the projects I include on my blog. Please note I only use and share products I love. Thank you Crafty Friends!


Tuesday, June 3, 2025

Karen Burniston Designer Challenge - June 2025 - Animals and Characters

 Hello Crafty Friends and welcome! It's Designer Challenge time and our theme for June is Animals and Characters. We were challenged to make a card of any theme using any of Karen Burniston's amazing animal or character dies. 

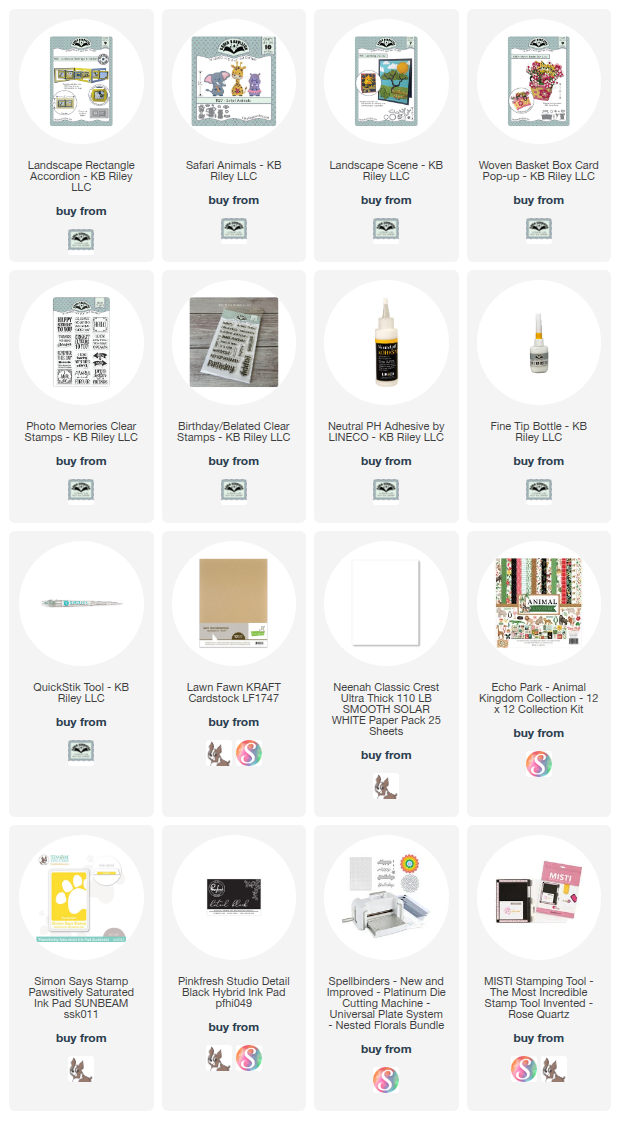
For my card, I went with a safari theme and used the Safari Animals along with the Landscape Rectangle Accordion die set. 


I started by die cutting three landscape rectangle accordion pieces from Lawn Fawn Kraft cardstock. I then cut four rectangles from a very neat patterned paper from Echo Park called Animal Kingdom. I added this as the border around each panel. 

I die cut three centre areas from smooth white cardstock to create the backgrounds for each panel. For the first panel, I added a sentiment using Karen Burniston's Photo Memories stamp set. I added the elephant from the Safari Animals die set and then added some leaves that came from the Landscape Scene. I added some flowers I die cut from the Woven Basket die set. I die cut everything from smooth white cardstock and then colored it in with Copic markers. 


For the second panel, I added the tree from the Landscape Scene die set. I die cut this from smooth white cardstock and colored it in with Copic markers. I die cut the Giraffe from the Safari Animals set and colored him in with Copic markers. Lastly, I added the sentiment "make a wish" from Karen Burniston's Birthday/Belated stamp set. 


For the last panel, I added another sentiment I stamped from the Photo Memories stamp set. Then I added more leaves and flowers and used the Hippo from the Safari Animals. I die cut everything from smooth white cardstock and colored it in with Copic markers. I left space for the card to be signed on this panel.


For all my background pieces, I used MFT Mini Clouds stencil and Simon Says Stamps Pawsitively Saturated Ink in Sunbeam. I thought it would look more like the savannah that way. I just love the Safari Animals (Giraffes are my favorite animal next to Bernese Mountain Dogs). Thank you so much for stopping by today, below is a list of all the products I used to make this card. Happy Crafting!

Supplies: For your shopping convenience, all products are linked below. Compensated affiliate links are used where possible with no extra cost to you. This helps me to continue to share all the projects I include on my blog. Please note I only use and share products I love. Thank you Crafty Friends!


Monday, June 2, 2025

Summer Birthday Wishes Card

 Hello Crafty Friends and welcome! My card today was created for Craft Roulette. The parameters this week were:

Project: Square Card

Colors: Butterfly/ies

Element: Cloud(s)/Cloudy

Random: Tied

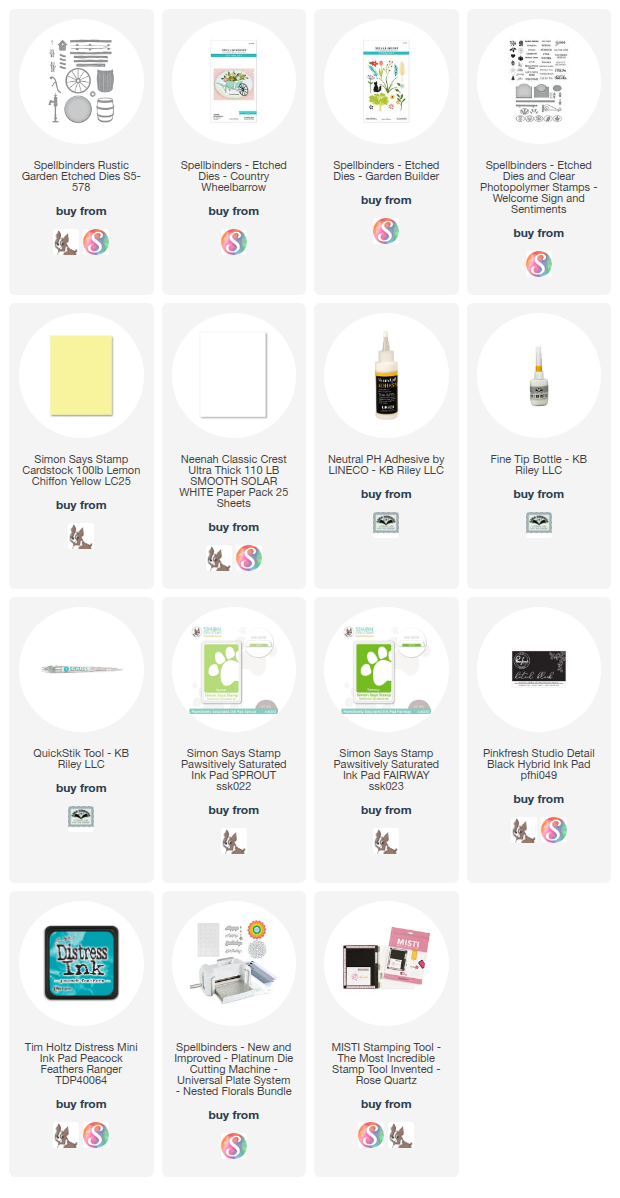
For my card, I used Spellbinders Country Road Collection dies to create my summery Birthday card. 

For this card, I created a card base that was 5.5 x 5.5 from Lemon Chiffon cardstock. I cut a square that was 1/8" smaller than my card base from smooth white heavy weight cardstock. 

I used MFT - Mini Clouds stencil and Distress Ink in Peacock Feathers to create my cloudy sky. Then I used MFT - Grass stencil, along with Simon Says Stamps Pawsitively Saturated Ink in Sprout and Fairway to create the grass. 

I die cut all my pieces from the Country Wheelbarrow, Rustic Garden, Garden Builder and Welcome Sign and Sentiments. I colored all my die cuts using Copic markers. I glued all the pieces together using Lineco Neutral pH adhesive in a fine tip bottle. Then, once I had all my pieces ready, I began to place them on my card. Before I glued them down, I stamped a sentiment on to the front of my card using Spellbinders Sending You sentiment stamp and Detail Black ink. Then I glued all my pieces down. 

Once the glue had dried, I trimmed any over hanging pieces with my craft scissors. I just love how this card turned out. It is so cheerful and perfect for any summer birthday! Thank you so much for stopping by today. You will find a list of all the materials I used to make this card listed below. Happy Crafting!

Supplies: For your shopping convenience, all products are linked below. Compensated affiliate links are used where possible with no extra cost to you. This helps me to continue to share all the projects I include on my blog. Please note I only use and share products I love. Thank you Crafty Friends!


Karen Burniston June 2025 New Release - Sneak Peek Week Day 5 - Baby Balloon Arch

 Hello Crafty Friends and welcome! Well we are almost to our new release date and I hope that you have been inspired by all the Design Teams...