Monday, November 24, 2025

Karen Burniston - KB Riley LLC November 2025 Release Blog Hop

Hi Crafty Friends, 
Welcome to our Karen Burniston Products - KB Riley LLC November Release Blog Hop. The Design Team have come together with Karen today for a fun blog hop to celebrate the release of 15 new dies and 5 new stamp sets. Sneak peeks of the new release started last week, and the dies are available to order NOW!


This release includes:
  • 1 new Pop-up Die Sets
  • 2 new Playful Add-on Die Sets
  • 1 new Ball Add-on Die Sets
  • 3 new Ball Access Tab Die Sets
  • 3 new Word Die Sets
  • 3 new Border Die Sets 
  • 1 new Greetings Label Die Set
  • 1 new Stand Alone Die Sets
  • 5 new Clear Sentiment Stamp Sets
Dies are available to pre-order now on the website. 
GIVEAWAY:
To celebrate the release Karen Burniston and each of the Karen Burniston - KB Riley LLC Design Team members will be giving away a $25 Gift Certificate to some lucky person who comments on our blog posts, so make sure you join the hop and comment on everyone's blog post. Winners will be randomly chosen from ALL of the blog hop comments received on our blog posts by Monday, 1st December 2025. Lots of chances to win some goodies, so just leave a comment on this post or any other blog hop posts to enter! Don't forget to leave some way for us to contact you, in case you are a lucky winner!
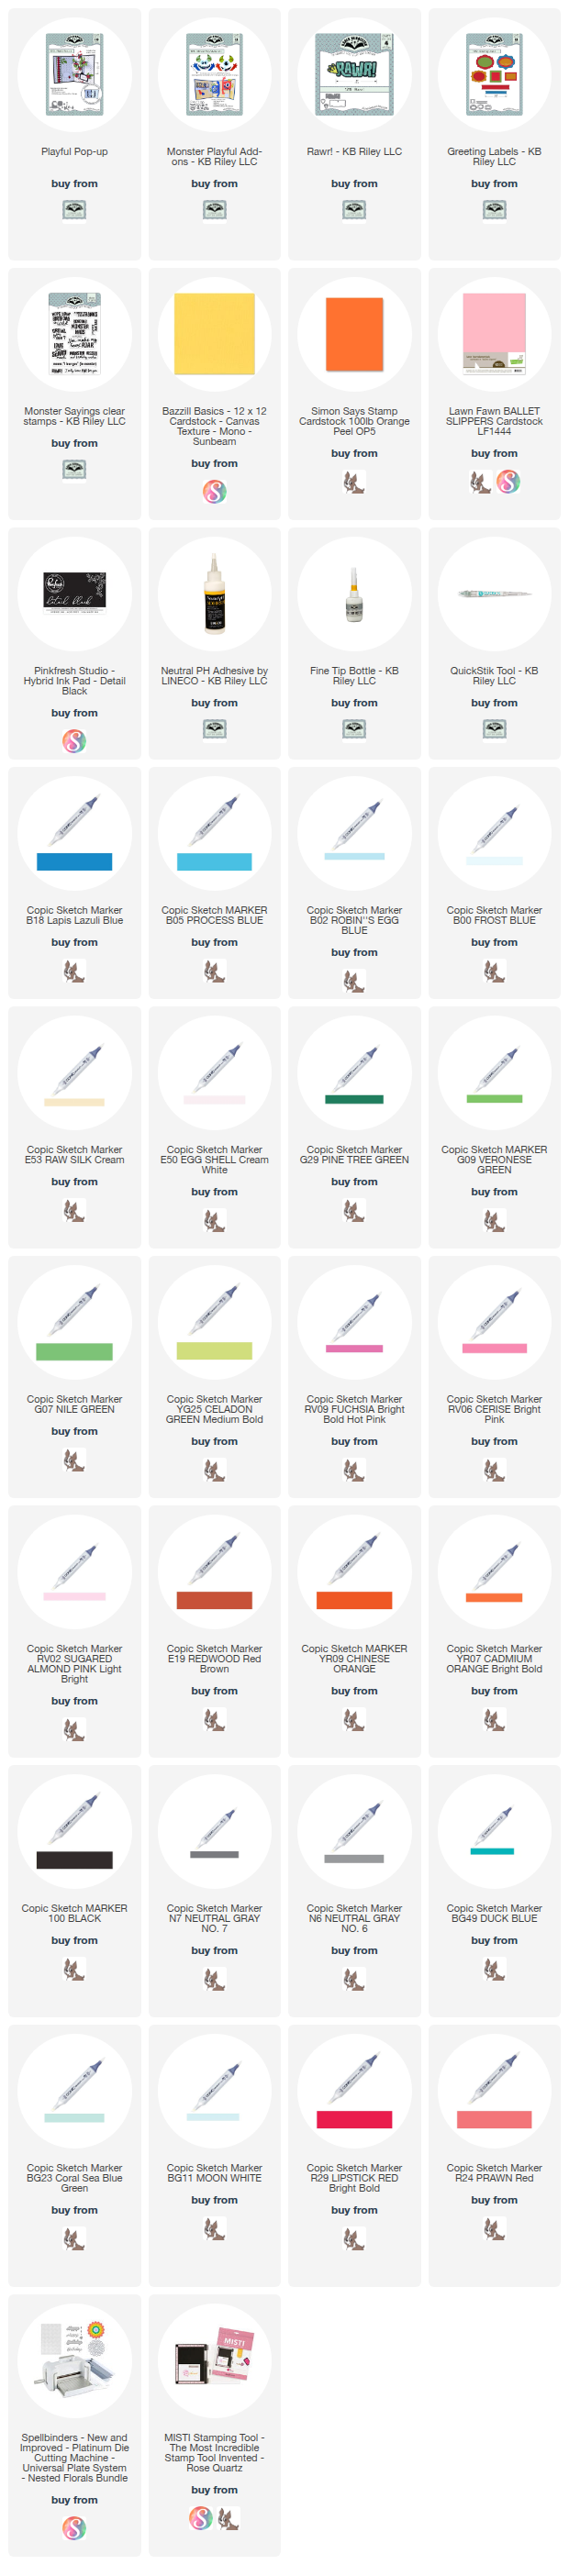
For my card, I decided to use the new Monster Playful Add-On! 

For this card, I started by cutting a piece of 12x12 cardstock in half so I had a 12x6 piece of yellow Bazzill Basics cardstock. Then I scored it at 3" and 9". I used my bone folder to get a good fold on each side. 
I added some fun polka dot patterned paper. This was actually Halloween paper from Photoplay called Fright Night. I found some pretty patterned purple paper from Close to My Heart called I Heart Us and added two 1 1/4" pieces down each side. Then I added a strip of the same yellow cardstock as my card base. 
I die cut the pop-up mechanism for each monster from orange and pink cardstock. I used 100lb cardstock for this as I find that it keeps the moving arms in place better. The pink monster was folded the right way, but in order to get the orange monster to face the way he is, I had to turn the mechanism backwards and fold it that way. 
I die cut the face, horns and face pieces along with the square piece that goes on top of the mechanism all from smooth white heavy weight cardstock. I coloured everything in using Copic markers. I tried to add some "fur" to my monsters with my markers. I added long fur to my pink monster, and fluffy fur to my orange monster. 
I added Glossy Accents to the eyes and nose on the monsters. Once dry, I used a size 10 white Gelly Pen to add some shine lines. 
I die cut two different labels from the new Greeting Labels die set. I stamped a sentiment on to the smaller label using the new Monster Saying sentiment stamp set. I glued the other label down for a place to sign the card. 
At this point, I felt the card needed something else, so I used the monster foot prints that come with the new Rawr! die and created a fun foot print border up each side of the card. 

For the front of the card, I used the same patterned paper. I added a belly band to keep the card closed and then die cut the Rawr! sentiment to go on the front of the card. 
This was such a fun die set to play with and I know it's one I will get a lot of use out of!!! Thank you so much for stopping by today, be sure to leave a comment with your name and email address so you can be entered to win a $25 online gift certificate to spend on Karen's amazing dies!! Below the Blog Hop list is the list of supplies I used to create this card. Happy Crafting!
Jennifer Webster - you are here

Supplies: For your shopping convenience, all products are linked below. Compensated affiliate links are used where possible with no extra cost to you. This helps me to continue to share all the projects I include on my blog. Please note I only use and share products I love. Thank you Crafty Friends!


Saturday, November 22, 2025

Karen Burniston November 2025 New Release - Sneak Peek Week Day 4 - Cheshire Cat Card

 Hello Crafty Friends and welcome! I hope you have been checking out all the fantastic cards our Design Team has been posting. My card for you today is a little different. I used the Dog and Cat Playful Add-On along with some of Karens other great dies to create the Cheshire Cat from Alice in Wonderland! As I'm sure most of you know, I love Alice in Wonderland. So as soon as I seen the cat, I knew I had to the Cheshire Cat!

For this card, I started with an A2 sized card base from heavy weight smooth black cardstock. Then I cut two pieces of white cardstock 1/8" small than my card base. I created my background to look like the tree that the Cheshire cat sits in. I drew it out with pencil, then coloured it in with Copic markers. I added masking paper to the tree and then used Distress Oxide Ink in Wilted Violet, Villainous Potion and Black Soot to create my background. 

I used my Cricut to draw out the sentiment on the tag and then with a fine tip pen, coloured it in black. I die cut the sentiment with a Topper Tag and used Distress Oxide Ink in Peacock Feathers to go around the tag. Then I added some Black Soot. I also used some black ink and water to spray some flecks of dark on the tag. Lastly, I added a black ribbon and glued it into my card. 

For the Cheshire Cat, I used some cardstock from Spellbinders to cut everything out. I have that listed below in my supply list. I used both pieces from the cat and dog dies for the new Dog and Cat Playful Add-Ons. 

Lastly, I added a place to sign the card near the bottom, using the new Greeting Labels die set. I love how this card turned out!! I am going to have to see what other characters I can make with this new Playful Pop-Up! 

Thank you so much for stopping by today. Below is a list of the supplies I used to make this card, other than the new release. Happy Crafting!

Supplies: For your shopping convenience, all products are linked below. Compensated affiliate links are used where possible with no extra cost to you. This helps me to continue to share all the projects I include on my blog. Please note I only use and share products I love. Thank you Crafty Friends!


Friday, November 21, 2025

Karen Burniston November 2025 New Release - Sneak Peek Week Day 3 - Dog and Cat Playful Add-On

Hello Crafty Friends and welcome to Day 3 of our Sneak Peek Week. I hope you have been enjoying all the fantastic cards our Design Team has made and that you are all as excited as we are for the new release. There are 15 new dies and 5 new stamp sets in this release. 

Pre-Orders will be available on Monday, November 24th. We will also be hosting our Blog Hop, so be sure to join us for a chance to win a $25 gift certificate for Karen's online store. 

My card for you today uses the new Playful Pop-Up and the Dog and Cat Add-On. 

For this card, I started with an A2 sized card base using a smooth cream coloured cardstock. I added a cute gingham patterned paper from Simple Stories called Fur Baby. 

I die cut the pop-up mechanisms from the same cream cardstock as my card base. I also die cut the dog pieces from the same cardstock. For the dog, I added some Distress Ink in Vintage Photo and Antique Linen. I die cut the nose and tongue from smooth white cardstock and coloured them in with Copic markers. 

I glued my dog face onto my Playful Pop-Up, making sure to match up the mouth and also making sure it was centred in the middle of the pop-up. Then I added my dog arms/paws to the two swing arms that are attached the side of the Playful Pop-Up. Lastly, I added the tongue to my dog. I glued the pop-up into my card, making sure to give it time to set. Before gluing the side that goes up against the top side of the card, I added my one ear, then finished gluing the pop-up into the card. 

Once the glue had set, I added my second ear to the swing arm on the right side of my dog. I waited to add this so that I knew exactly where it needed to go. Then I glued it on to the swing arm. I tested my pop-up to make sure everything worked so far.

I added some of the new Dog Borders from the new release, adding the paws and bones to my card. Then I used the Alphabet die set to add a sentiment to the top. I also added a strip to the bottom to sign the card. 


For the front of the card, I used the new WOOF! sentiment die and added more the Alphabet die cuts to create my sentiment. 

I added more borders and of course my dog from the Cat and Dog die set. I used two different patterned papers on the front of my card. 

This Playful Pop-Up is such a great die set to add to your collection! And those Dog and Cat Add-Ons? OMG so adorable! 

Thank you so much for stopping by today. Below is a list of supplies I used to make this card, other than the new release. Happy Crafting!

Supplies: For your shopping convenience, all products are linked below. Compensated affiliate links are used where possible with no extra cost to you. This helps me to continue to share all the projects I include on my blog. Please note I only use and share products I love. Thank you Crafty Friends!


Thursday, November 20, 2025

Karen Burniston November 2025 New Release - Sneak Peek Week Day 2 - Pine Cone

 Hello Crafty Friends and welcome! I hope you had a chance yesterday to check out all the fantastic cards that the Design Team has made so far and are as excited as we are for the new release. This new release consists of 15 new dies and 5 new stamp sets. 

My card for you today features the new Pine Cone die set. This beautiful die set creates two different sized pine cones, and some pine needles with berries as well!

For this card, I started with an A2 sized card base using a heavy weight smooth white cardstock. I cut two rectangles using my paper trimmer and a pretty blue cardstock from Spellbinders called Cascade. I used Spellbinders Sparkling Snow 3D embossing folder to create my background. 

I die cut the Pine Cone and leaves from smooth white cardstock and coloured them with Copic markers. I used Karen Burniston's Poinsettia die set with Tomato cardstock and added some detail with Copic markers. I also added the leaves and berries from the Poinsettia die set. 

Lastly, I added a sentiment using the new Forest Sayings stamp set and a label from the new Greeting Labels die set. I stamped this using Detail Black Ink from Pink Fresh Studios. 

I added some glossy accents to my berries and once dry, I added some white shine lines using a size 10 Gelly Pen. This was a simple card, but makes one pretty Christmas or Holiday card. 

The new release will be available for pre-sale on November 24th. Be sure to join us on that day for our Blog Hop for a chance to win a $25 gift certificate to spend on Karen Burniston's dies and stamps! Thank you so much for stopping by today. Below is a list of the supplies I used to make this card, other than the new release. Happy Crafting!

Supplies: For your shopping convenience, all products are linked below. Compensated affiliate links are used where possible with no extra cost to you. This helps me to continue to share all the projects I include on my blog. Please note I only use and share products I love. Thank you Crafty Friends!


Wednesday, November 19, 2025

Karen Burniston November 2025 New Release - Sneak Peek Week Day 1 - Animal Add-Ons 6

 Hello crafty friends and welcome! I am so excited for this new release! Karen, once again, knocked it out of the park (but doesn't she always?). This release features 15 new dies and 5 new stamp sets!! 

My sneak peek for you today features the new Animal Add-Ons 6. This add-on for the Surprise Ball, Bitty Ball and Mini Ball lets you create a grasshopper, bee and lady bug! How adorable are these cuties!!

For this card, I started with a card base that was 6 x 8.25. I scored it at 4" and 4.25" to create a large enough space to fit my pop-up balls. I used a smooth, heavy weight black cardstock. I also cut a piece of cardstock 3.5 x 4 to create a flap to keep my card closed. Karen has a great video on how to create this. If you would like to watch it, click here to check it out. 

I added some pretty green patterned paper to the inside of my card, 1/8" smaller than my card base. I die cut the fence for the back ground using the Fence Add-On die set and the flowers in various colors to give my card a more garden feel. 

Using the Bitty Ball Pop-Up, I die cut a green ball using Spellbinders Rainforest cardstock. This is my new favourite cardstock and I highly recommend it. There are lots of colours to choose from and it's great quality! I added some Distress Oxide Ink to the edges of my little trapezoids then added them to my Bitty Ball. I used the flower from the Twist Flower Pop-Up and leaves to add a flower to the top of my ball. I cut these from smooth white heavy weight cardstock and coloured them in with Copic markers.

I used the Mini Ball to create my little bee. I die cut the Mini Ball from black cardstock and die cut the trapezoid pieces for the top of my ball from yellow cardstock. Then using a black copic marker, I added the fuzzy lines on my bee. 

I die cut the pieces from the new Animal Add-Ons 6 to create my bee, from scrap cardstock. I have a drawer system in which I keep my scrap cardstock in. This is very handy when it comes to needing just a small piece of cardstock. 

I then positioned my bee so that you could still see the flower he's perched on and making sure everything still fit into my card. Then using my Lineco Neutral pH adhesive and a fine tip bottle I glued everything into my card. 

I added a little tag using the new Greeting Labels and stamped the "just bee cause" sentiment using the new Bug Sayings stamp set and Pink Fresh Studios Detail Black Ink. 


For the front of my card, I kept it pretty simple. I added some pretty floral and bee patterned paper and added another sentiment from the Bug Sayings sentiment stamp set. I also added some more of the floral green patterned paper. 

Thank you so much for stopping by today. Be sure to check out the other Design Team members fantastic cards! Come back tomorrow for the next sneak peek card. Below is a list of the supplies I used to make this card, other than the new die/stamp set. Happy Crafting!

Supplies: For your shopping convenience, all products are linked below. Compensated affiliate links are used where possible with no extra cost to you. This helps me to continue to share all the projects I include on my blog. Please note I only use and share products I love. Thank you Crafty Friends!


Tuesday, November 4, 2025

Karen Burniston Designer Challenge - November 2025 - Fun Faces

Hello Crafty Friends and welcome! It's Designer Challenge time again and for our November challenge we were tasked with making a card using the new Fun Faces stamp set. This new stamp set help create faces for all Karen's character, animal and paper people dies. For my card, I wanted to do something different. I thought I would create one last Halloween themed card and used the Fun Faces to make glow in the dark faces on my background!


 I started by created an A2 sized card base using smooth black heavy weight cardstock. I added some wood pattern paper to the floor of my card. Then I cut a piece of black and white striped patterned paper from Photoplay called Skulls and Crossbones. 

I used VersaMark ink and Lawn Fawn's Glow in the Dark embossing powder to create my fun background. I heat set the embossing powder then added it to my card using double sided adhesive tape. 

I added the Fireplace Pop-Up and added some fun accessories to the fireplace and surround. Check out the YouTube video below on how I created this card. 

I added a sentiment to a small oval I cut using the Ovals - Crosshatch die set and the Halloween Phrases stamp set. Then I added it to a slightly larger orange oval. I glued this into my card. 


For the front of my card, I did the same thing to the background, adding the Fun Faces and using the Glow in the Dark embossing powder. 


I added another sentiment from the Halloween Phrases stamp set and added it to the front of my card. I kept it very basic, because look at all the fun with glow in the dark faces!!


Thank you so much for stopping by today. Be sure to check out the other Designer Challenge cards from our very talented Design Team. Below is a list of the products I used to create this card. Happy Crafting!

Supplies: For your shopping convenience, all products are linked below. Compensated affiliate links are used where possible with no extra cost to you. This helps me to continue to share all the projects I include on my blog. Please note I only use and share products I love. Thank you Crafty Friends!


Gingerbread Accordion Card!

 Hello Crafty Friends and welcome. I was scrolling through YouTube the other day and this older video came on my feed from Karen Burniston. ...