Hello Crafty Friends and welcome! It's our first Designer Challenge for 2026 and our theme to start off our new year is Insects. I had so many ideas floating around, but decided (since I love bee themed pattern paper) on a bee card. For this card, I used the Postage Pop-Up along with the new Bug Borders and my very favourite Flutter Charms.

For this card, I wanted to make a window card so that you could see the postage square before you even open the card. To start, I made an A2 side fold card, using a terra cotta coloured cardstock. I then added my three panels of pretty bee themed patterned paper. I have a short video below on how I made the window card. Unfortunately, my camera didn't record how I decorated it, I'm very sorry about that.
For the window in the front, I decided to use the Square - Crosshatch die set to find a square that would fit the postage square. I used the second square from the largest to die cut the window in the front of the card. I added a piece of acetate to the inside to create my window. Because the card wasn't big enough to used the largest square in the crosshatch set to make a frame for my windows, I had to cut a piece of paper just slightly larger than my window square and then use that square die to cut out a frame. It's very thin, but just gives my window a finishing touch. I added a frame to the front and inside of the window.
Then I die cut my Postage Pop-Up from black cardstock. I added the pop-up mechanism into the card first. Then I set that aside while I decorated my Postage Pop-Up.
I used the new Greeting Labels to add frames for each postage stamp area. Then added the white backgrounds on top. I used the Tiny Gnomes, Flutter Charms, Fun Flowers and Fence Landscape Add-On to add bees, flowers and gnomes! I added a sentiment to one postage stamp using the new Bug Greetings stamp set from Karen Burniston.
I added this to my card, by placing the Postage Pop-Up in to my window, then adding glue to the mechanism and then closing the card on to the Postage stamp piece. This ensures its centre in my window and that you will be able to see it when the card is closed.
I added some Gnome Bee patterned paper to the edge of the inside of my card, adding some extra decorative paper. Then added more bee themed decorations.

For the front of the card, I added another bee border and another little gnome guy. I just love how this card turned out. With those little gnomes and the bees!! Then the big window on the front, just makes this card extra special. Thank you so much for stopping by today. Be sure to check out the other fantastic cards by our Design Team. Below is a list of the supplies I used to make this card and the video on how to make the window card base! Happy Crafting!
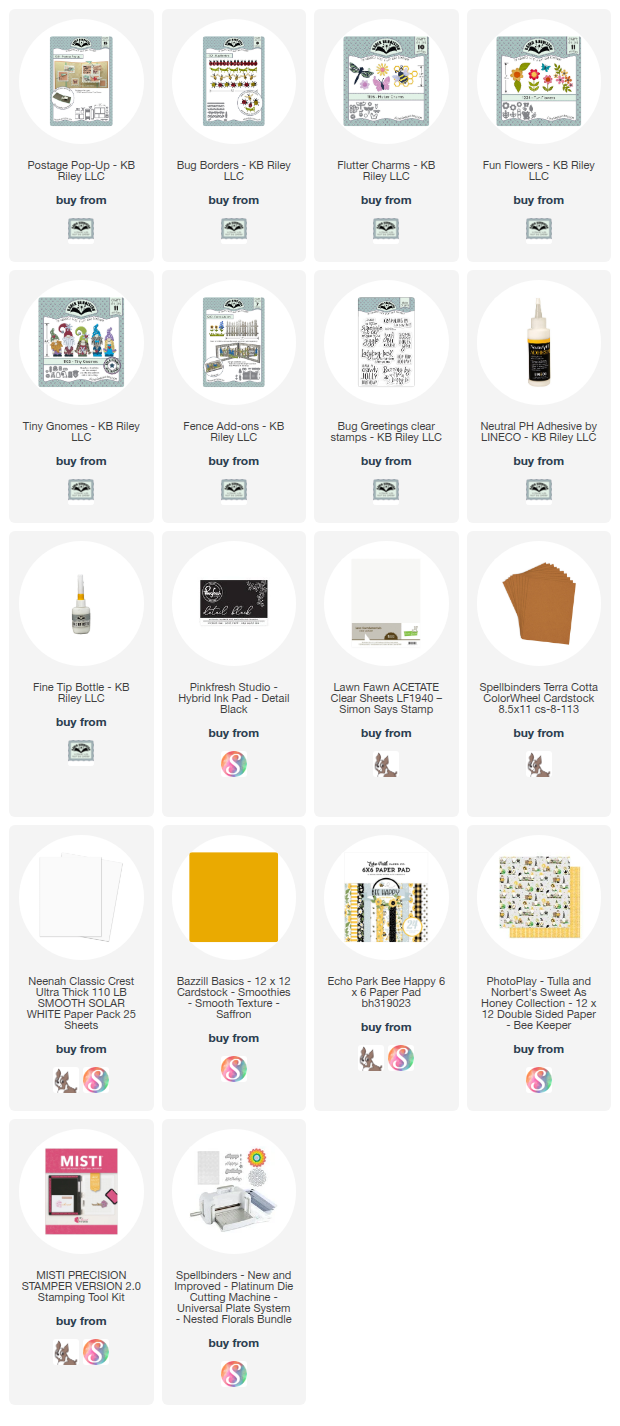
Supplies: For your shopping convenience, all products are linked below. Compensated affiliate links are used where possible with no extra cost to you. This helps me to continue to share all the projects I include on my blog. Please note I only use and share products I love. Thank you Crafty Friends!


I really like how you used so many different die sets.
ReplyDelete