Friday, June 12, 2026

Cute Teacher Pop-Up Card!

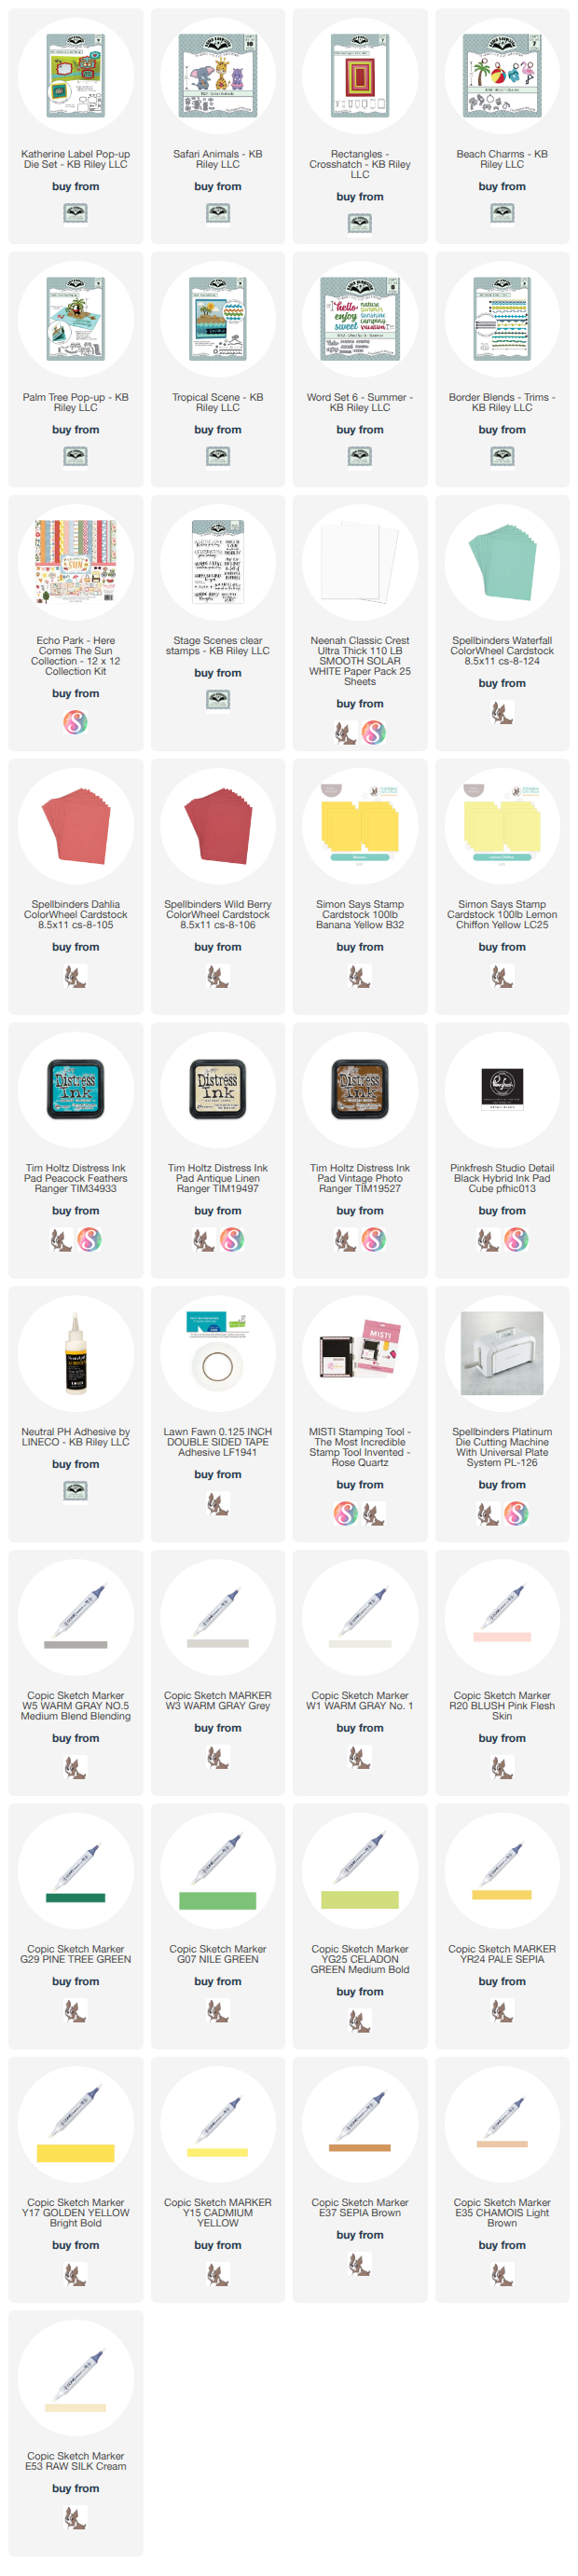
 Hello Crafty Friends and welcome. My card for you today was made for my son to give his teacher at the end of the school year. He has really enjoyed having her as his teacher and so I wanted to make something special for her. For this card, I used Karen Burniston's Katherine Label Pop-Up and the Safari Animals to create a summer fun card. 

I started with an A2 sized card base using smooth white cardstock. Then I added some patterned paper 1/16" smaller than my card base. I added two strips of a different patterned paper, then used Karen Burniston's Border Blends - Trims to add a pink trim to the top and bottom of my paper strips. 

I die cut the pop-up mechanism from the same pink cardstock and glued that into my card. Then I die cut the Katherine Label from a bright yellow cardstock. I die cut the next die down in white cardstock and added a beach background. 

I die cut the elephant from the Safari Animals die set and the small palm tree from the Beach Charms using smooth white cardstock. Then I coloured them in with Copic markers. I glued the beach background onto the yellow label, then glued my palm tree and elephant down. I glued this onto the Katherine label pop-up mechanism. 

I added two blue labels on either side of the card, then used the smallest label to add a sentiment from Lawn Fawn's Pool Party stamp set and the other blank so my son could sign his card. 

I added the sentiment "enjoy" from Word Set 6- Summer and added a sun from the Tropical Scene die set. 


For the front of my card, I used the Rectangles - Crosshatch to die cut the background patterned paper and then some of the other rectangles to add the pink background piece. Then I die a smaller rectangle from smooth white cardstock and added another beach background. 

I die cut the giraffe from the Safari Animals and the palm tree from the Palm Tree Pop-Up from smooth white cardstock and coloured them in with Copic markers. I stamped the "sending a little sunshine" sentiment on to the top using Karen Burniston's Stage Scenes clear stamp set and Detail Black ink. Then I glued everything together and added it to my card front. 

I hope my son's teacher likes her card and it brings a smile to her face. She's been a great teacher. Thank you so much for stopping by today. Below is a list of the supplies used to make this card. Happy Crafting!

Supplies: For your shopping convenience, all products are linked below. Compensated affiliate links are used where possible with no extra cost to you. This helps me to continue to share all the projects I include on my blog. Please note I only use and share products I love. Thank you Crafty Friends!


Tuesday, June 2, 2026

Karen Burniston's Designer Challenge - June 2026 - Flag Colours

 Hello Crafty Friends and welcome. It's Designer Challenge time once again and our theme for June 2026 is Flag Colours. I live in Canada so I made a red and white birthday card using the Stage Pop-Up, Fireworks and Cupcake Pop-Up. 

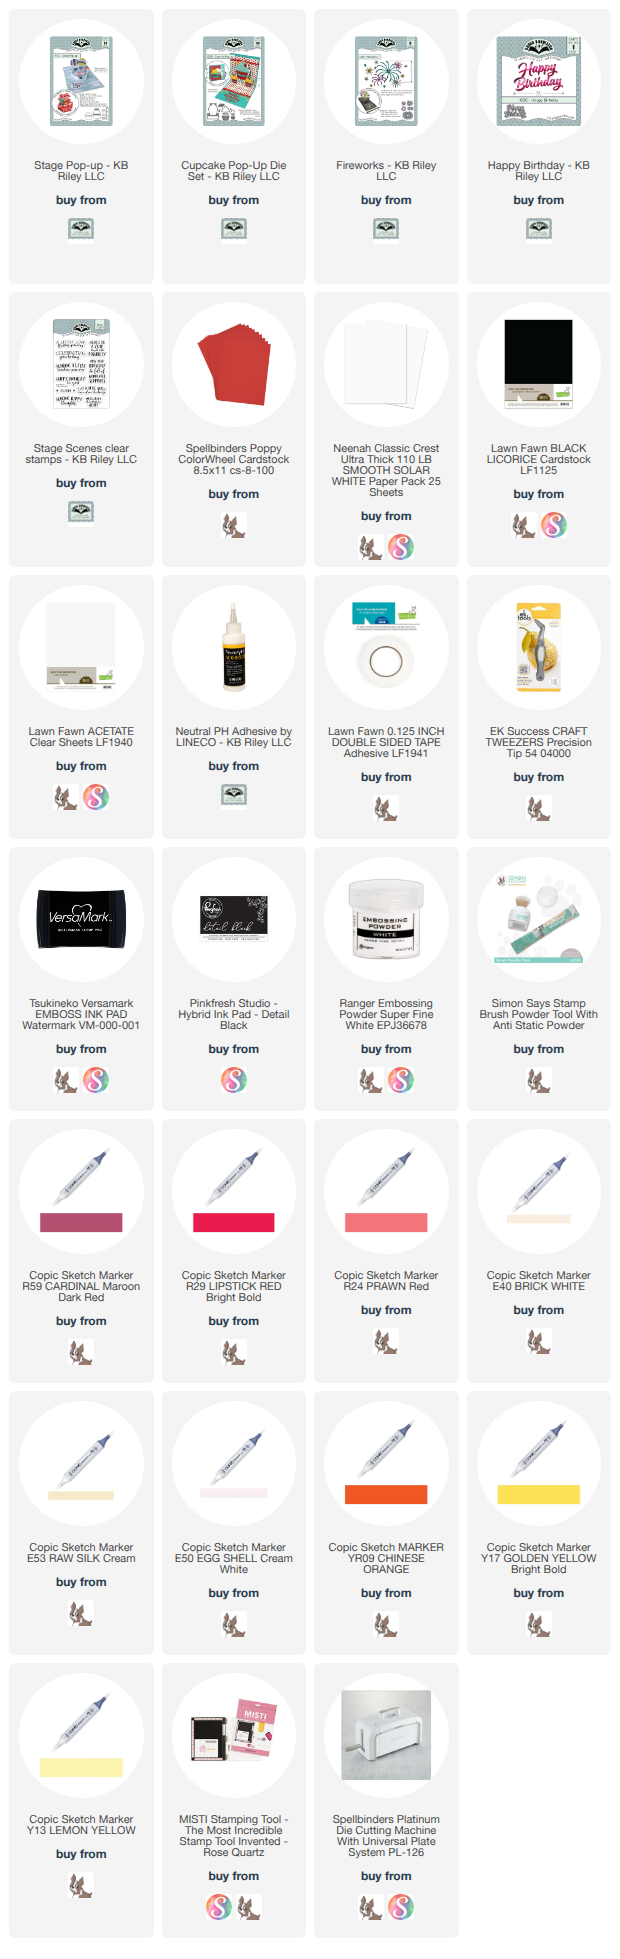
I started by die cutting the stage base from red cardstock. I added some red glitter cardstock to the top of the base. Then I die cut two slots, one to hold the fireworks and one to hold the cupcake. I die cut two tabs or arms to slid into the slots to hold what I am adding on to the stage. I die cut the band that goes around the base of the stage from the same red cardstock as the base, then added white glitter paper and smooth white cardstock that I stamped sentiments on. I added the tabs into the slots of the stage. 

I die cut the cupcake from the Cupcake Pop-Up and coloured it in using Copic markers. Then I glued the pieces together and added it to my stage, gluing it to the front tab. I die cut the Fireworks from white and red glitter paper. I cut a piece of acetate three time and used double sided adhesive on the ends to put them together. Then I added that to the back tab on the stage. I trimmed the tab away, but I shouldn't have done that because I ended up needing the extra support. I ended up die cutting two more tabs, glueing them together and sliding them in behind my back acetate strip. 

I added the fireworks to the acetate and glued them on to each other. I also die cut reverse fireworks to support the back and sandwich the fireworks together so they won't fall off. 

I used the Happy Birthday sentiment die to cut out "Birthday" then used an old MFT sentiment stamp called Bitty Birthday Wishes to add a sentiment underneath the Birthday sentiment. I glued this on to my cupcake in the front. 

Lastly, I added a place to sign on the bottom of the stage and a little "push" so the recipient knows how to make the stage work. 

To see how I made this fun card, check out my YouTube video here:

Thank you so much for stopping by today. Be sure to check out the amazing cards from our talented Design Team. Below is a list of the supplies I used to make this card. Happy Crafting!

Supplies: For your shopping convenience, all products are linked below. Compensated affiliate links are used where possible with no extra cost to you. This helps me to continue to share all the projects I include on my blog. Please note I only use and share products I love. Thank you Crafty Friends!


Karen Burniston July 2026 New Release - Sneak Peek Week Day 2 - Trick or Treat Gazebo Stage Add-On

 Hello Crafty Friends and welcome to Day 2 of our Karen Burniston July 2026 New Release Sneak Peek Week. I hope you are as excited as I am a...