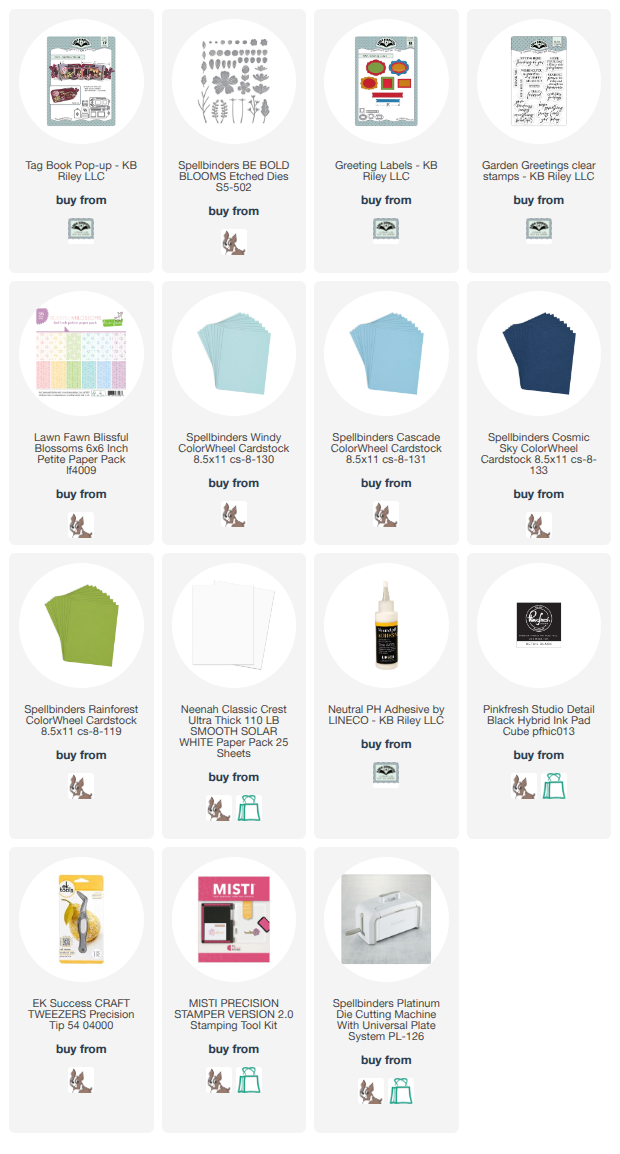
Hello Crafty Friends and welcome. I recently have started placing my dies on to magnetic sheets. I know, I know, why did it take so long for me to do this? I don't know. Lol. But I've been starting the process of moving everything from loose pouches to magnetic sheets. One, because I'm afraid of losing pieces (which I've discovered I already have) and two, because I'm running out of room for new stuff (and that's a big no no!! lol). While doing this, I had Karen Burniston's Tag Book Pop-Up out and realized it had been a long long time since I'd used it. So I decided to make a pretty card with it, using it along with Spellbinders Be Bold Blooms flower die set.
I started by die cutting the front, back and centre tab from a blue cardstock. I glued the tab to the front and back, making the base for the centre pop-up. I die cut the pop-up from a darker blue cardstock. Then, using the same cardstock as the base, I die cut the smaller pieces to add on to the pop-up. I used some pretty patterned paper from Lawn Fawn called Blissful Blossoms. I also add some green around the borders in the centre of the pop-up for a splash of colour.
I stamped sentiments from the new Karen Burniston Garden Greetings stamp set on to the smaller middle pieces of the Tag Book Pop-Up.
I die cut all my flowers from various colours of scrap cardstock and glued them all together, adding Copic markers to give the flowers some dimension.
Once I had everything together, I began gluing the pieces to the pop-up. I did this before I glued the pop-up mechanism to the inside of the Tag Book. Once I had everything glued on to the pop-up piece, I glued it into my card. Then I added more flowers on the base of the pop-up.
I added dark blue pieces to go on the tag holes, but I decided not to add ribbon or twine, just leave them as they are.
For the front, I added more patterned paper. Then I added more flowers and stamped another sentiment for the front using Karen Burniston Greeting Labels and Garden Greetings stamp set. I cut the banner label from the Greetings Label smaller so it would fit perfectly on the front of my Tag Book.
I love the combination of pop-up dies and die cut flowers on this little card. It makes such a big impact on such a small card. Thank you so much for stopping by today. Below is a list of the supplies I used to make this card. Happy Crafting!
Supplies: For your shopping convenience, all products are linked below. Compensated affiliate links are used where possible with no extra cost to you. This helps me to continue to share all the projects I include on my blog. Please note I only use and share products I love. Thank you Crafty Friends!
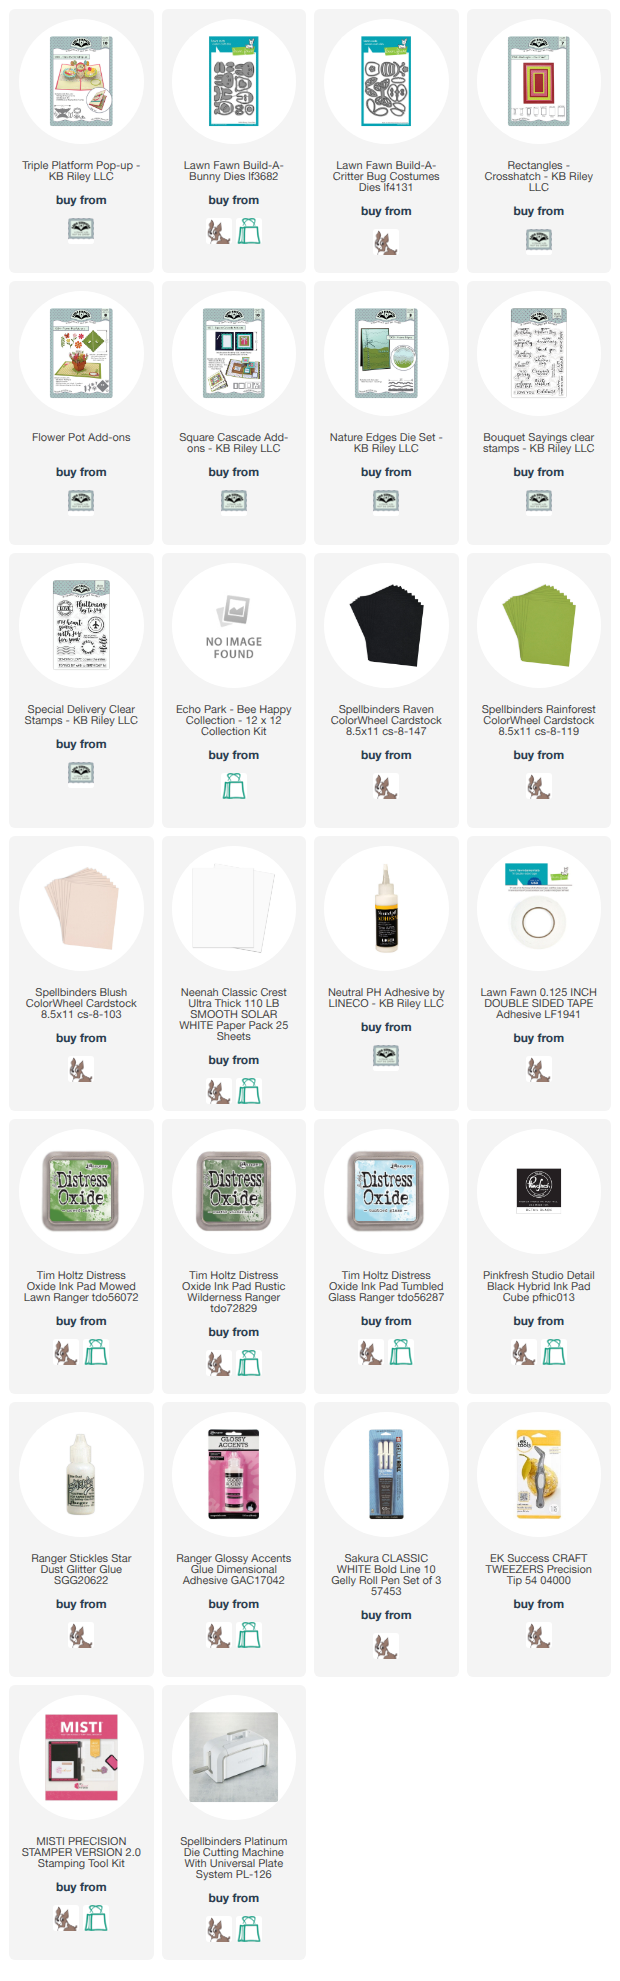
Hello Crafty Friends and welcome! I took a couple of days to relax after the busy week I had last week. With Blog Hop and Sneak Peek Week, it was certainly busy! I needed a day to catch up on housework (boring!) and caught up on some card making (fun!!). But I'm back and I have a super cute card for you today. For this card, I used Karen Burniston's Triple Platform Pop-Up and Lawn Fawn's Build-a-Bunny to create this card.
I started with an A2 sized card base using heavy weight black cardstock. I used this bee themed patterned paper from Echo Park called Bee Happy. I just love bee themed paper!! It's so adorable.
I die cut the pop-up mechanism from a light weight black cardstock. I didn't want the card to be too bulky, so I went with light weight. Then I added some different patterned paper to the pop up using the same paper collection. I glued the pop-up onto my card base.
I then assembled my bunnies. I used the new Build-a-Critter Bug Costumes die set from Lawn Fawn and created one of each little bug. I coloured my die cuts in with Copic markers to add some detail to my critters. Then I added some Glossy Accents to the eyes and nose of the critters on the inside of the card. I set these aside to dry.
I die cut two grass pieces to add to the bottom of the card. I added Distress Oxide Ink to the grass to add dimension. Then glued it into my card. I die cut some flowers from Karen Burniston's Flower Pot Add-Ons and white cardstock, then coloured them in with Copic markers. I glued these on to my grass area. I also added a place to sign the card, using the new Square Cascade Add-Ons dies.
I glued my bunnies to either side of the Triple Platform Pop-Up. Then I cut a label and added a sentiment to it using Karen Burniston's Bouquet Sayings stamp set and detail black ink.
For the front of the card, I added a lady bug bunny. I added Glossy Accents to the wings of the lady bug and added two butterflies from the Flower Pot Add-Ons set. I coloured everything in with Copic markers. I used white Gelly Pen to add shine lines to everything. I stamped the sentiment on the front using Karen Burniston's Special Delivery stamp set.
I just love how this card turned out. Those bunnies are just so adorable and the fact that they fit perfectly with the Triple Platform Pop-Up was even better! Thank you so much for stopping by today. Below is a list of the supplies I used to make this card. Happy Crafting!
Supplies: For your shopping convenience, all products are linked below. Compensated affiliate links are used where possible with no extra cost to you. This helps me to continue to share all the projects I include on my blog. Please note I only use and share products I love. Thank you Crafty Friends!
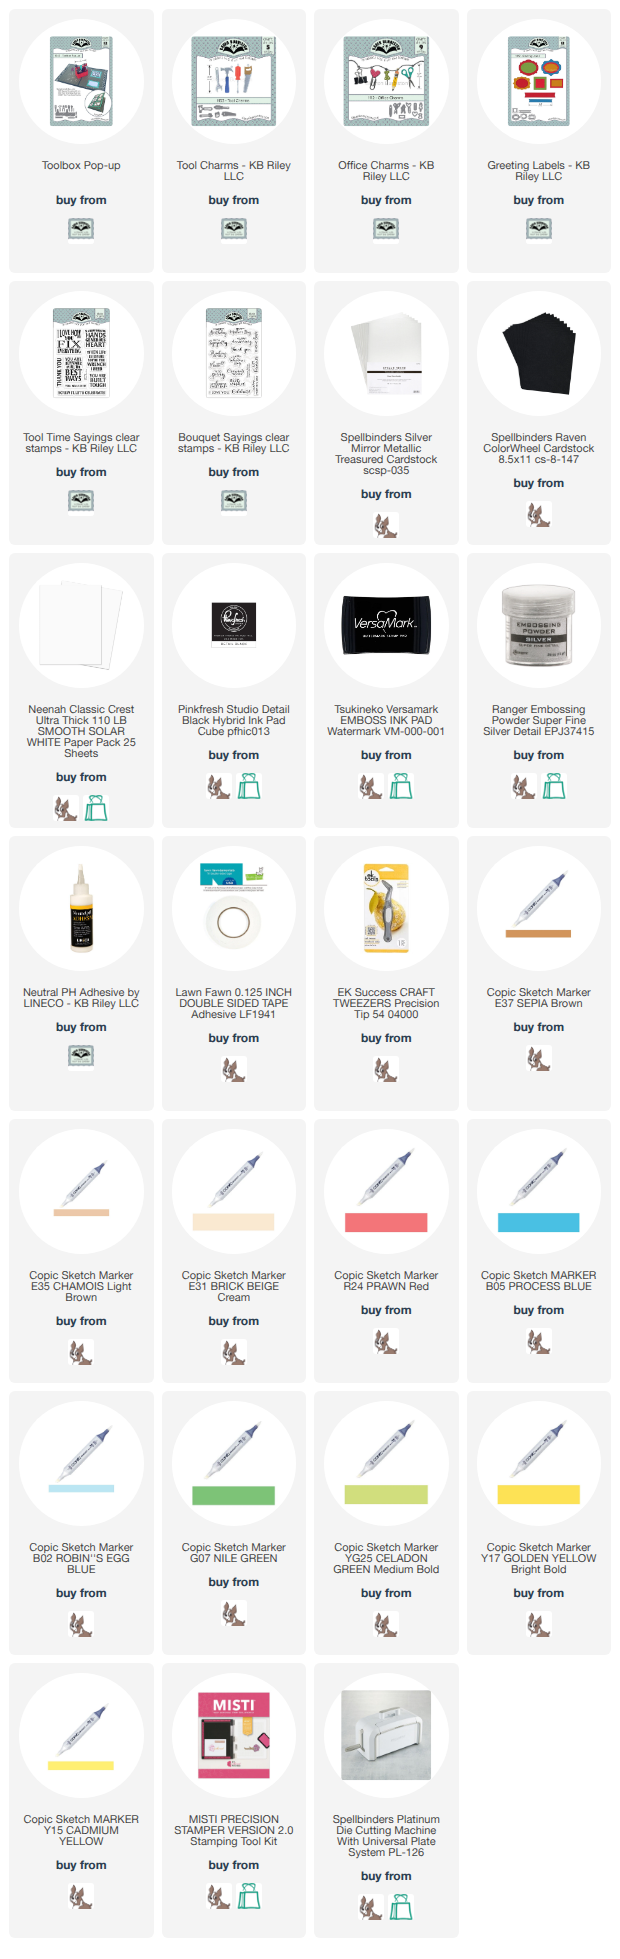
Hello Crafty Friends and welcome. I have another card using the dies from Karen Burniston's new July 2026 release. For this card, I made a Fathers Day card using the new Tool Box Pop-Up along with the Tool Charms and the new Tool Time Sayings stamp set.
I started by making a 5 x 5" card base from black cardstock. I added some silver metallic cardstock, then added some dark grey woodgrain cardstock on top.
I die cut the tool box from smooth white cardstock. I ran it through my die cut machine with the embossing plates to make the woodgrain on the tool box pop. I coloured the box in with Copic markers, then I glued the pieces together.
I used the rectangle die to cut out a black rectangle, then I used Karen Burniston's Bouquet Sayings stamp set to add the "Happy Fathers Day" sentiment. I used VersaMark Ink and silver embossing powder so it would go along with the tool theme.
I glued the box onto my card using Lineco Neutral pH adhesive in a fine tip bottle. Then I got started on making all the neat tools to go on my card.
I used the Tool Charms and the tools that come with the Tool Box Pop-Up (which are mirror images!). I cut the handles from various scraps of cardstock I had on hand.
I used the scissors and pencil from the Office Charms die set. I made the ruler by hand. I also created a little "box" using red and black cardstock, like a little tray to hold your small bits and pieces.
I then stamped another sentiment, this time from the new Tool Time Sayings using Detail Black Ink and white cardstock. I die cut another label, so there was a place to sign the card.
For the front of the card, I added some lighter wood grain cardstock, then used MFT - Pegboard Coverup die to add a peg board as my background. I made more tools using scraps of cardstock and adding detail to them with Copic markers. I stamped another sentiment from the Tool Time Sayings stamp set and added it to the centre of the card front.
I gave this to my kids to sign and give to my husband for Father's Day and he absolutely loved it! Thank you so much for stopping by. Below is a list of the supplies I used to make this card. Happy Crafting!
Supplies: For your shopping convenience, all products are linked below. Compensated affiliate links are used where possible with no extra cost to you. This helps me to continue to share all the projects I include on my blog. Please note I only use and share products I love. Thank you Crafty Friends!
Welcome to our Karen Burniston Products - KB Riley LLC July 2026 Release Blog Hop. The Design Team have come together with Karen today for a fun blog hop to celebrate the release of 10 new dies and 5 new stamp sets. Sneak peeks of the new release started last week, and the dies are available to order NOW!
This release includes: • 3 new Pop-up Die Sets • 4 new Add-ons Die Sets • 2 new Elements Die Sets • 1 new Paper People Die Set • 5 new Clear Sentiment Stamp Sets
To celebrate the release Karen Burniston and each of the Karen Burniston - KB Riley LLC Design Team members will be giving away a $25 Gift Certificate to some lucky person who comments on our blog posts, so make sure you join the hop and comment on everyone's blog post. Winners will be randomly chosen from ALL of the blog hop comments received on our blog posts by Thursday 30th July. Lots of chances to win some goodies, so just leave a comment on this post or any other blog hop posts to enter! Don't forget to leave some way for us to contact you, in case you are a lucky winner!
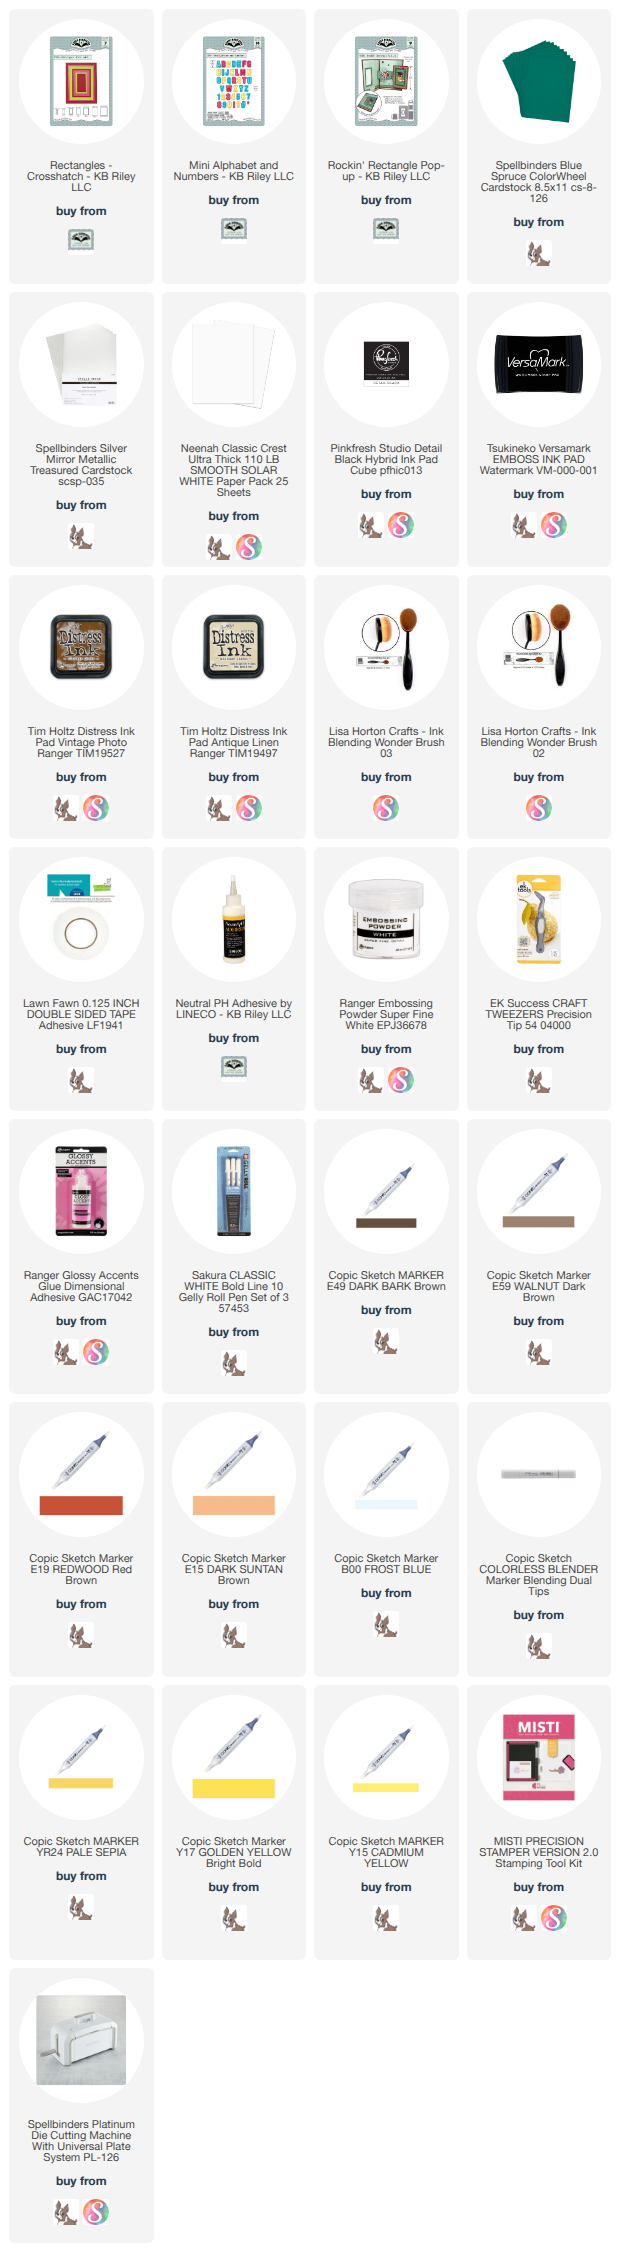
For my card, I used the new Six Pack Tool Box Add-On to create this beer lovers Birthday card!
To make this card, I started with an A2 sized card base using a cream coloured cardstock that I got from my local Michaels store. I added some plaid patterned paper from Close to My Heart.
I die cut the 6 pack case from a dark teal cardstock. I trimmed off the tool box handle arms, then added my front labels to my 6 pack case. On the front label, I used the new Beer and Pop Phrases stamp set and Detail Black Ink to add a sentiment. I turned the entire thing over and glued in the 6 pack handle to the inside of the pack. I also added the two inside strips on either side of the 6 pack handle. I folded all three pieces down and glued the other side of the tabs to the 6 pack. Then I glued the pack together.
I die cut the beer bottles from smooth white cardstock and coloured them in with Copic markers. To see how I did this, check out my YouTube video at the bottom of my post. I used the same teal cardstock as the 6 pack case for the beer bottle labels. I added distress ink to the edges of the labels.
I then added the bottle caps to the top of each beer bottle. I die cut these from silver metallic cardstock. Then I glued the bottles in my 6 pack case. I folded the case down to make sure that my bottle were straight. I show this in my video.
Then I collapsed the entire pack, making sure the two bottom tabs were together and the largest tab was on the bottom. I then glued down the largest tab to the card base. I added glue to the top tab and folded my card closed. I gave it a good press to make sure that the beer case was securely in the card.
I added a teal square to the bottom right corner, adding a distressed cream postage square on top for a place to sign the card. I stamped another sentiment from the Beer and Pop Phrases stamp set on to cream cardstock. I added more Distress Ink and then glued it on to a teal rectangle and added that to the top left of my card.
I die cut a the plate from the Mealtime Elements using the same cream cardstock, added Distress Ink and glued that into the bottom left corner.
I die cut the beer glasses and beer/foam pieces from smooth white cardstock and coloured them in with Copic markers. I added Glossy Accents to the beer area and set them aside to dry. Once dry, I added shine lines over the Glossy Accents. I then added a beer bottle and glass to the bottom circle and then a bottle opener. I die cut this from the same silver metallic cardstock as the bottle caps. I added another beer glass and bottle opener to the top right corner.
For the front of the card, I added more plaid patterned paper. Then I added a teal rectangle using Karen Burniston's Rectangles - Crosshatch. I die cut the next size down rectangle from cream cardstock and added Distress Ink to it. I then added two more beer bottles and two more beer glasses, but I made the glasses look like they were clinking together.
I used Karen Burniston's Mini Alphabet and Numbers to die cut the word "Cheers". I die cut this from black cardstock and glitter black cardstock. I added the "to you" sentiment using MFT - Bitty Birthday Wishes on to black cardstock with VersaMark Ink and white embossing powder. I added another bottle opener to the front and then my card was done!
I just love how cool this card came out. I think the 6 Pack Tool Box Add-On will be a well used die set, especially because you could use them to make clear bottles of pop or beer bottles. There are so many ideas for this die set.
Thank you so much for stopping by for our Blog Hop. Below is a list of the supplies I used to make this card, also the YouTube video on how I made a 6 Pack card. Please leave a comment with your name and email address for a chance to win a $25 gift certificate! Happy Crafting and Good Luck!
To follow along with the Blog Hop, here is the list of our Design Team to hop on to the next team members blog!
Supplies: For your shopping convenience, all products are linked below. Compensated affiliate links are used where possible with no extra cost to you. This helps me to continue to share all the projects I include on my blog. Please note I only use and share products I love. Thank you Crafty Friends!
Hello Crafty Friends and welcome! Well tomorrow is the big day!!! The new release will be available tomorrow morning and that means it's also Blog Hop Day! Be sure to join us for our Blog Hop, leave a comment along with your name and email address for a chance to win a $25 gift certificate to spend at www.karenburniston.com!! This new release consists of 10 new dies and 5 new stamp sets.
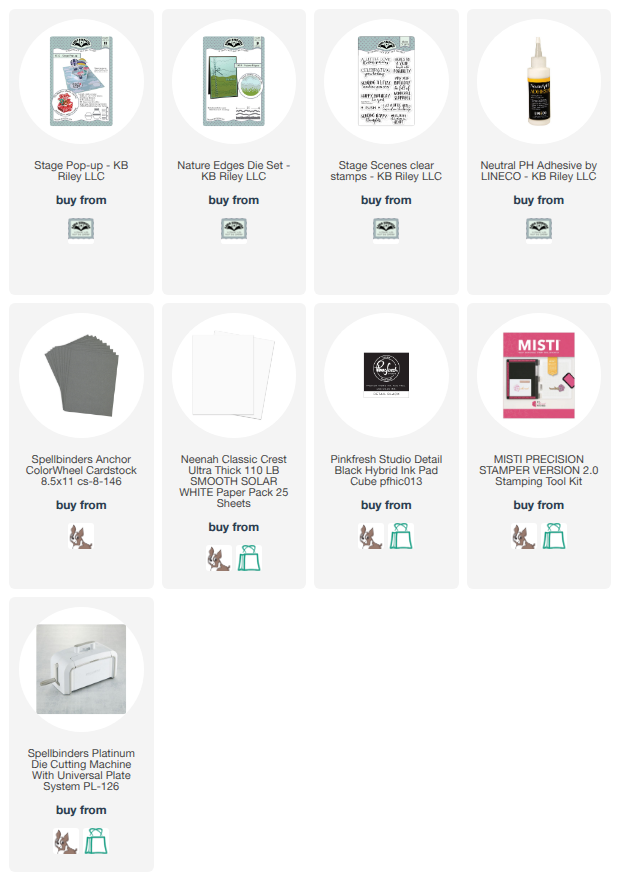
My card for you today uses the new Little Bench Pop-Up along with the new Gazebo Stage Add-On to create this very pretty Birthday Card.
For this card, I started by making my Stage Pop-Up. I used smooth white cardstock for the base of my card. Then I added some wood grained paper I got from Michaels. I also cut the rectangles that go on the band of the Stage Pop-Up from the same wood grained paper, except the front rectangle because I wanted to add a sentiment to it.
I die cut the band from smooth white cardstock and then added the wood rectangle die cuts to it. I stamped my sentiment using Stage Scenes stamp set and Detail Black Ink. I added this to the front of my pop-up.
I then die cut my Little Bench Pop-Up. I cut this from smooth white cardstock as well. For the little table, I added some coloured spots so it would look like beach glass mosaic top.
I glued the bench on to the top of the Stage Pop-Up. Then I started on the Gazebo. I die cut the poles of the Gazebo from smooth white cardstock. I cut the roof from grey cardstock. I glued the roof pieces together, then added the poles to the tabs on the front and back of the roof. I die cut the railing and glued that onto my stage, then I glued the Gazebo top on to the stage.
I then die cut grass to add to around my Gazebo base. I added some vines to the poles and I added two potted plants to the front of the gazebo. I added extra flowers I cut for the vines to the grass area. I coloured these with Copic markers to add some detail.
Lastly, I added two white die cut stage pieces to the bottom. One I stamped a sentiment using the new Garden Greetings stamp set and Detail Black Ink.
I think this new Gazebo add-on for the Stage Pop-Up is going to be really popular! I especially love the added plants and things that come with the Little Bench Pop-Up. These will be great for all kinds of cards! Thank you so much for stopping by today. Below is a list of the supplies used to make this card. I will be updating my list once the new release is available. Happy Crafting!
Supplies: For your shopping convenience, all products are linked below. Compensated affiliate links are used where possible with no extra cost to you. This helps me to continue to share all the projects I include on my blog. Please note I only use and share products I love. Thank you Crafty Friends!
Hello Crafty Friends and welcome. I hope you are as excited as I am for this new release. The Design Team has been coming up with some amazing cards so far. I love Nicky Fodens butterfly Cascade Pop-Up and I love Frances Byrnes Christmas Gazebo! This new release consists of 10 new dies and 5 new sentiment stamp sets.
My card for you today uses the new Mealtime Elements! For this card, I started with an A2 side fold card using a brown cardstock. I then added some pretty yellow gingham patterned paper as my background.
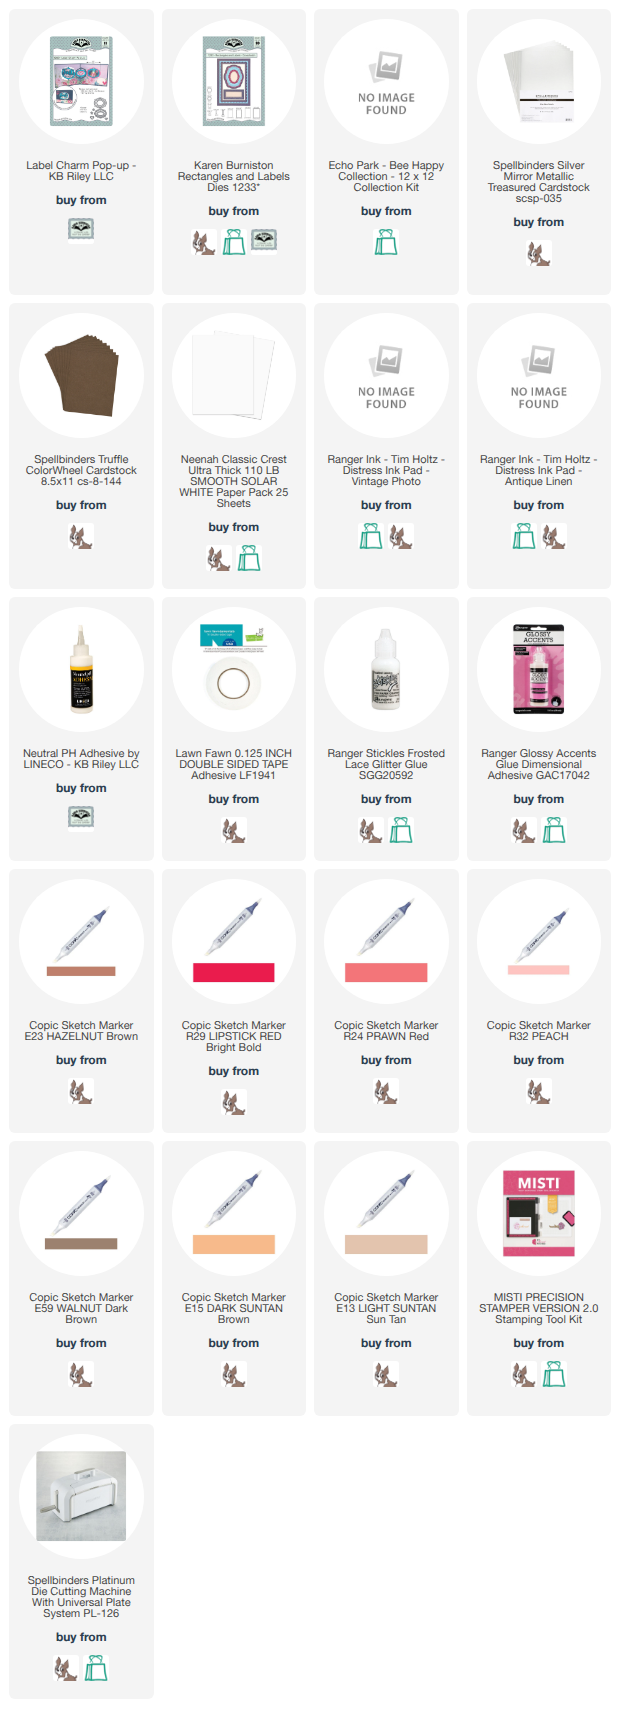
I used Karen Burniston's Label Charm Pop-Up for this card. I die cut the front pop-up piece out then die cut the other two label pieces from same brown cardstock as the card base. I found this pretty green patterned paper with leaves and vines on it, so I added it to the front label and the top and bottom of the card, like a border.
I die cut the waffle from the Mealtime Elements from yellow cardstock. Then I added Distress Ink in Vintage Photo and Antique Linen to the front piece of add some detail. I die cut the plate from smooth white cardstock and trimmed off the embossed edge. I coloured in the remaining plate with Copic marker, then glued the waffle on top. I trimmed any access plate away with my craft scissors. I did this for every waffle.
I added a plate of waffles with a fork and knife to the centre label. I added the wavy die cut as syrup and then added some strawberries on top. I die cut the fork and knife from metallic cardstock.
I cut the remaining waffles into wedges, creating a border along the top and bottom of my card. I added strawberries in between each waffle.
For the front of the card, I added four waffles, each with different toppings. Then I added more cutlery using the metallic cardstock.
I stamped a sentiment using the new Mealtime Phrases stamp set and Detail Black Ink. Then I added that to the front label.
There are so many neat ways we will be able to use the new Mealtime Elements in our cards. I can't wait to see what you all come up with! Thank you so much for stopping by today. Below is a list of the supplies I used to make this card, it will be updated when the new release becomes available. Happy Crafting!
Supplies: For your shopping convenience, all products are linked below. Compensated affiliate links are used where possible with no extra cost to you. This helps me to continue to share all the projects I include on my blog. Please note I only use and share products I love. Thank you Crafty Friends!
Hello Crafty Friends and welcome! I hope you are getting inspired by all the fantastic cards the Design Team have been creating with this new release. The new release consists of 10 new dies and 5 new sentiment stamp sets. The new release will be available on Thursday, July 23rd, 2026.
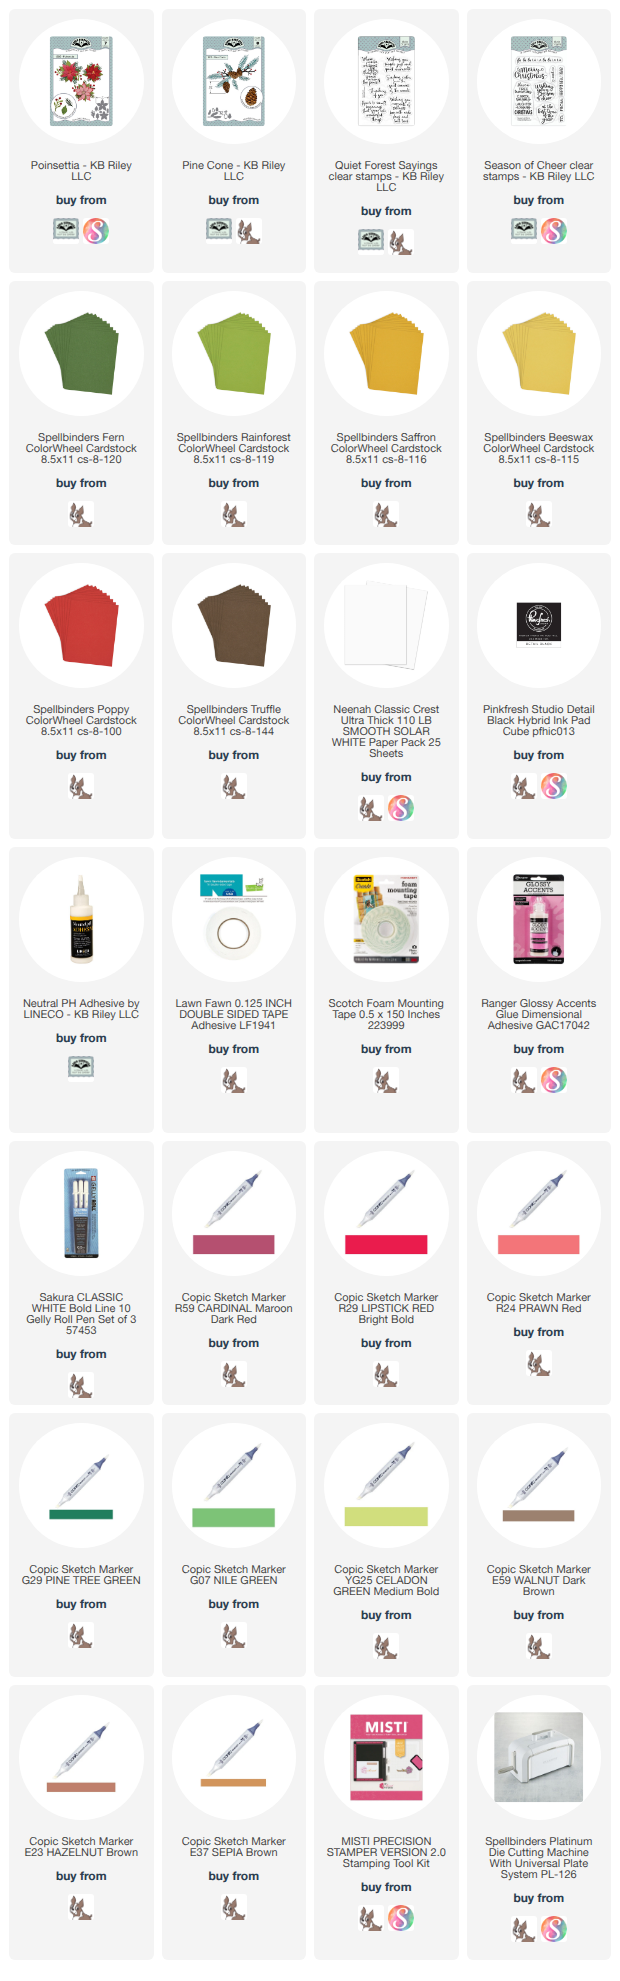
I have another Cascade Pop-Up card for you today. Only, this card doesn't use the circles or squares on the pop-up. I decided to create a Christmas card using the Poinsettia and Pine Cones dies to show just how versatile the new Cascade Pop-Up is!
I started by making an A2 sized card base from red cardstock. I used this pretty polka dot Christmas patterned paper as my background. I die cut the pop-up mechanism from green cardstock so it would blend in with the green leaves and foliage. I glued this into my card base.
I then die cut my poinsettia from red cardstock. I used the same green cardstock as the mechanism for the leaves. I added Copic markers to create dimension on everything. I used two different colours of yellow cardstock for the poinsettia centres and then two different brown cardstocks for the pinecones.
Once I was finished adding the details with my markers, I glued everything together. I added Glossy Accents to the berries and set them aside to dry. Once dry, I added white Gelly Pen to them to add shine lines. Then I began putting my card together.
Because I used an A2 card, I had to make sure I wasn't going outside the card parameters with my decorator pieces. I would glue the pieces on and check, then move them if needed. I used extra leaves to fill in open areas. I also trimmed a poinsettia to add to the left bottom corner of my card.
I added two labels, which I die cut from smooth white cardstock. I stamped a sentiment on to one and one I left blank so there was a place to sign the card.
For the front of the card, I added more poinsettias and more pine cones. I also used the same patterned paper as the inside of the card. I stamped a Merry Christmas sentiment on to another label and added foam tape to the back, then adhered it to the middle of the card front.
I just love how this card turned out. When I showed my Mom, she ordered 10 of them for Christmas. So I guess it was a winner! Lol. Thank you so much for stopping by today, below is a list of the supplies I used to make this card. I will be updating the list once the new release is available. Happy Crafting!
Supplies: For your shopping convenience, all products are linked below. Compensated affiliate links are used where possible with no extra cost to you. This helps me to continue to share all the projects I include on my blog. Please note I only use and share products I love. Thank you Crafty Friends!
Hello Crafty Friends and welcome to Day 2 of our Karen Burniston July 2026 New Release Sneak Peek Week. I hope you are as excited as I am about this new release. There are 10 new dies and 5 new stamp sets coming out and will be available for purchase on Monday, July 20th, 2026.
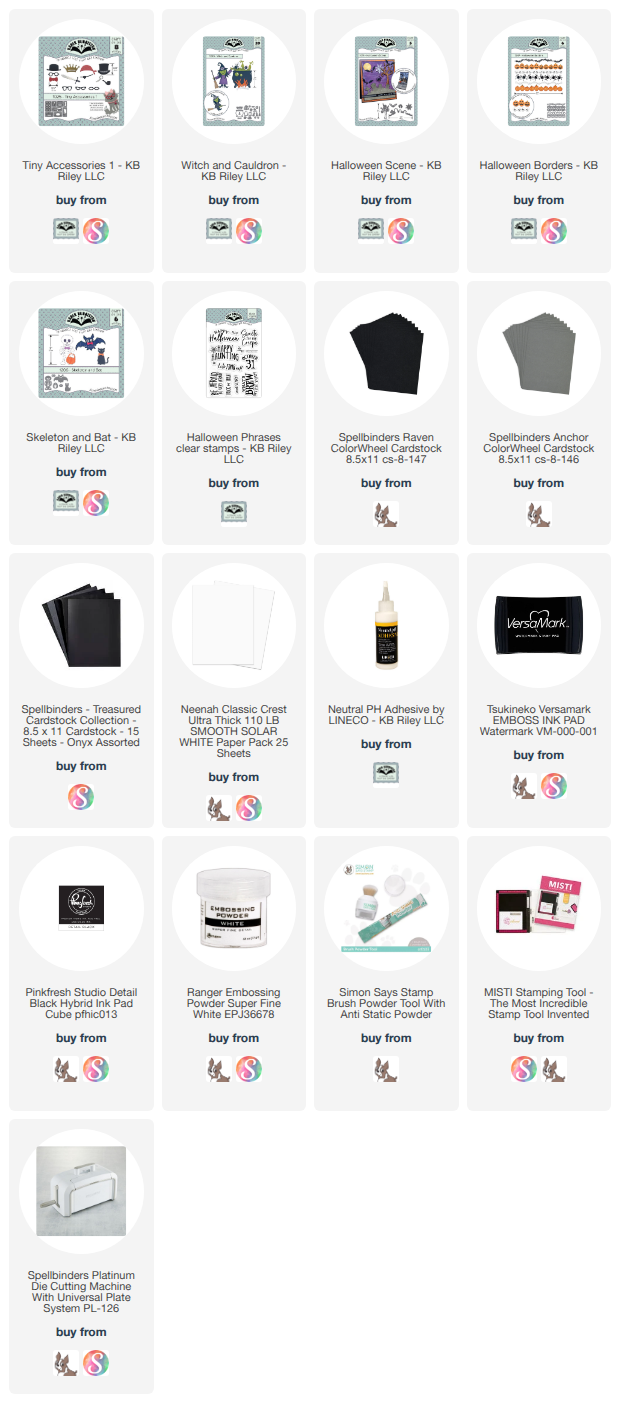
For this card, I wanted to make a scary Halloween card using the Stage Pop-Up and the new Gazebo Stage Add-On. I started by die cutting the Stage Pop-Up from dark grey cardstock. Then I die cut two slits, one on each stage piece. I die cut two tabs from smooth black heavy weight cardstock to add in the slots. This was so I could add my Witch and Cauldron after.
I then cut the band that goes around the Stage Pop-Up from smooth black cardstock. I also cut three smaller rectangles from the same cardstock and three from black glitter cardstock. I stamped Halloween sentiments on to the plain rectangles with VersaMark Ink and white embossing powder.
I glued my bands together, then glued them onto the Stage Pop-Up. I then die cut my Witch and Cauldron pieces from white cardstock and a shiny black cardstock. I coloured in the pieces with Copic markers, then glued everything together with Lineco Neutral pH adhesive. I glued them on to my two tabs on the stage base.
I die cut the railing that comes with the Gazebo Add-On from black cardstock and added that to my stage base.
I die cut the Gazebo pieces from black cardstock and glued them together as shown on the instructions on the back of the packaging. This is very easy to do! You need to die cut four of the gazebo poles. You fold them twice. You glue down one side, then attach the pole to the fold down tab on the gazebo top. This is hidden under the scalloped edge. Then you glue the other half the pole to the rest of the pole with the gazebo tab sandwiched between. Do this for all four tabs with all four poles. Then glue the poles to either side of the front and back of your stage base where the railing opens up.
Then I started die cutting all my fun Halloween pieces. I used the Skeleton and Bat, the Halloween Borders and Tiny Accessories 1. I made skeleton trick or treaters, added skulls to my vine that I added to my railing and up the front of my gazebo. This vine comes from the new Little Bench Pop-Up. I added pumpkins from the Halloween Borders and some cobwebs as well. I coloured everything with Copic markers, adding white Gelly Pen to some stuff to add some extra detail.
Lastly, I added two white pieces to the bottom so there would be a place to sign the card. I also added another Halloween sentiment using Karen Burniston's Halloween Phrases stamp set.
How cool is that new Gazebo Stage Add-On!! I just love it. It can be used for so many neat ideas. Thank you so much for stopping by today. Below is a list of the supplies I used to make this card. Once the new release is available, I will be updating my page to include the new release dies. Happy Crafting!
Supplies: For your shopping convenience, all products are linked below. Compensated affiliate links are used where possible with no extra cost to you. This helps me to continue to share all the projects I include on my blog. Please note I only use and share products I love. Thank you Crafty Friends!
Hello Crafty Friends and welcome! I know a lot of you have been waiting for this new release and believe me, it's a fantastic one!!! As always, Karen knocked it out of the park. This new release consists of 10 new die sets and 5 new stamp sets!
My card for you today, uses the new Cascade Pop-Up die set and the Dessert Elements. The Cascade Pop-Up may look complicated, but it is super simple to put together and can be used for so many different ideas. The Dessert Elements will be the perfect addition for the Oven Pop-Up or for a sweet treats card!
For my card, I started with a 5x5 card base using smooth white heavy weight cardstock. I added some pretty patterned paper from Lawn Fawn's Blissful Blossoms paper pack. I then added some cute pink gingham paper that I had from MFT. I used MFT - Stitched Basic Edges 2 to create the scalloped dark pink borders on either side of the card.
I die cut the Cascade Pop-Up from smooth white cardstock and glued it into my card base. Before completely gluing it together, you will need to add the centre circle. There is a tab that goes through a slot on the second circle. Once you have slid the tab through the slit on the die cut, glue the top of the tab to the pop-up mechanism. Then you can finish adding the other circles. I added the darker brown cardstock circles to each "plate" before I add them to the pop-up mechanism.
I then die cut the Dessert Elements from white and coloured cardstock. I used Copic makers to add details to my die cuts. Then I added Glossy Accents to certain things to give them dimension. Once dry, I added them to square plates that I used from the new Square Cascade Add-Ons and one circle plate. Then I glued them on to my pop-up.
I added some pies around my pop-up and added a sentiment using the new Sweet Life Sayings stamp set and Greeting Labels die set. I added some strawberries that came from the Dessert Elements as decoration.
I added another label so there was a place to sign the card.
For the front of the card, I added more of the pretty yellow patterned paper. Then I die cut a scalloped circle using MFT - Stitched Mini Scalloped Circle STAX die. I used Karen Burniston's Circle - Crosshatch to die cut the white circle.
I then used the Thank You sentiment die and shadow to add a sentiment to the front of my card. Lastly, I added some more dessert decorator pieces from the Dessert Elements die set.
I think the new Cascade Pop-Up will be a big hit! I really love the new Dessert Elements, they will be perfect to add special sweet details to any card. Thank you so much for stopping by today. Below is a list of the supplies I used to make this card. I will be updating the list once the new release is available. Happy Crafting! Be sure to check out all the fantastic cards our very talented Design Team has made.
Supplies: For your shopping convenience, all products are linked below. Compensated affiliate links are used where possible with no extra cost to you. This helps me to continue to share all the projects I include on my blog. Please note I only use and share products I love. Thank you Crafty Friends!
Hello Crafty Friends and welcome! My card for you today uses Lawn Fawn's Mice Tools stamp set along with Lawn Fawn's Build a Tool Box and Workshop Backdrop. These are the perfect stamps and dies for the handy man in your life!
For this card, I started with an A2 sized base using a smooth white heavy weight cardstock. I die cut the Workshop Backdrop from a dark yellow cardstock, then added some detail to the edges using Distress Ink in Vintage Photo.
I die cut the peg board from black cardstock, then I die cut the tools from some of my scrap cardstock. I used Copic markers to add detail to the tools.
I stamped the mice from the Mice Tools stamp set using Detail Black ink and coloured them in with Copic markers. I fussy cut the little mice out and glued them onto my card.
Lastly, I added a stamped sentiment using VersaMark Ink and white embossing powder.
This was a simple card, but perfect for that person that loves working with tools. Thank you so much for stopping by today. Below is a list of all the supplies I used to make this card. Happy Crafting!
Supplies: For your shopping convenience, all products are linked below. Compensated affiliate links are used where possible with no extra cost to you. This helps me to continue to share all the projects I include on my blog. Please note I only use and share products I love. Thank you Crafty Friends!
Hello Crafty Friends and welcome! I have a fun card for you today. I just loved how Karen Burniston created her Designer Challenge card, so I had to make one myself. For this card, I went through my patterned paper collection first and seen this awesome space paper I picked up and thought I'd make a cute space themed birthday card.
For this card, I started with an A2 sized card base using smooth black heavy weight cardstock. I then added my green star patterned paper.
I die cut the pop-up mechanisms as per Karen's instructional video which you can watch by clicking here. This pop-up uses the Rockin' Rectangle and the Twist Flower Pop-Up mechanisms. I die cut the needed pieces from black cardstock. Then glued them into my card like Karen showed. I won't be explaining the entire procedure because it's easier to watch her show you how to do it.
I then glued down two more patterned paper pieces using this fun alien themed paper. I thought it needed something else, so I cut two strips of blue cardstock to add.
I die cut the scalloped rectangles from red cardstock, the cut the two smaller rectangles from white cardstock and used Distress Oxide Ink in Black Soot and Uncharted Mariner to create my black sky. Then I splattered white Copic Opaque paint to add stars. I set this aside to dry.
I stamped my images using MFT - Space Explorer stamp set, with Detail Black Ink then coloured them in with Copic markers. I die cut all the images out with the corresponding dies. I added Glossy Accents to the helmet front and the buttons on the astronauts suits. I also added Glossy Accents to the balloons. I set these aside to dry.
Once dry, I added them to my rectangles and added them to my card. I die cut a label to add to sign the card, then added a sentiment to the top of the card.
For the front of the card, I added layers of patterned paper and cardstock to continue the same theme as inside the card. Then I created another space background and once dry, added my little astronaut and some stars. Lastly, I stamped another sentiment on black cardstock and used white embossing powder. I added it to the front of my card.
I just love this neat idea from Karen. Thank you so much for stopping by today. Below is a list of the supplies I used that are still available. Happy Crafting!
Supplies: For your shopping convenience, all products are linked below. Compensated affiliate links are used where possible with no extra cost to you. This helps me to continue to share all the projects I include on my blog. Please note I only use and share products I love. Thank you Crafty Friends!
Hello Crafty Friends and welcome! My card for you today was created for Lawn Fawnatics Challenge 224 - Christmas in July. I love Christmas, so any chance I get to make a card before my favourite holiday is a bonus!! For my card, I used the Build a Bunny, Build-a-Critter Winter Accessories and Build-a-Critter Christmas Accessories to make this cute little ugly sweater card.
For this card, I started with an A2 sized card base using smooth heavy weight white cardstock. I cut two pieces of cardstock 1/16" smaller than my card base and used Spellbinders Sparkling Snow 3D embossing folder to create a snowy background.
I added some Distress Ink in Peacock feathers around the edges. Then used double sided adhesive tape to add it to my card base.
I die cut two arches using Spellbinders Essential Arches, one in dark blue cardstock and one in white cardstock. I used Distress Ink in Peacock Feathers to create my sky on the white arch. Then I used Copic Opaque white paint to create snow. I die cut another arch to create the snow on the bottom. I set the background aside to dry.
I then die cut the pieces I needed to create my bunny. I used Copic markers to create the sweater and to add some details to the bunny and hat. I used some craft chalk to add some rosy cheeks to my bunny. Then I added some glossy accents to the candy cane in his hot chocolate and some on his nose. I set the bunny aside to dry.
I then die cut a banner from black cardstock, using Karen Burniston's Greeting Labels and stamped a sentiment on the banner using Lawn Fawn's Ugly and Bright stamp set. I used VersaMark ink and white embossing powder.
Once everything was dry, I put my card together, gluing everything in place with my Lineco Neutral pH adhesive and a fine tip bottle.
I just love the Build a Bunny die set and all the adorable little accessories that you can get for the bunny and fox. Thank you so much for stopping by today, below is a list of the supplies I used to make this card. Happy Crafting!
Supplies: For your shopping convenience, all products are linked below. Compensated affiliate links are used where possible with no extra cost to you. This helps me to continue to share all the projects I include on my blog. Please note I only use and share products I love. Thank you Crafty Friends!
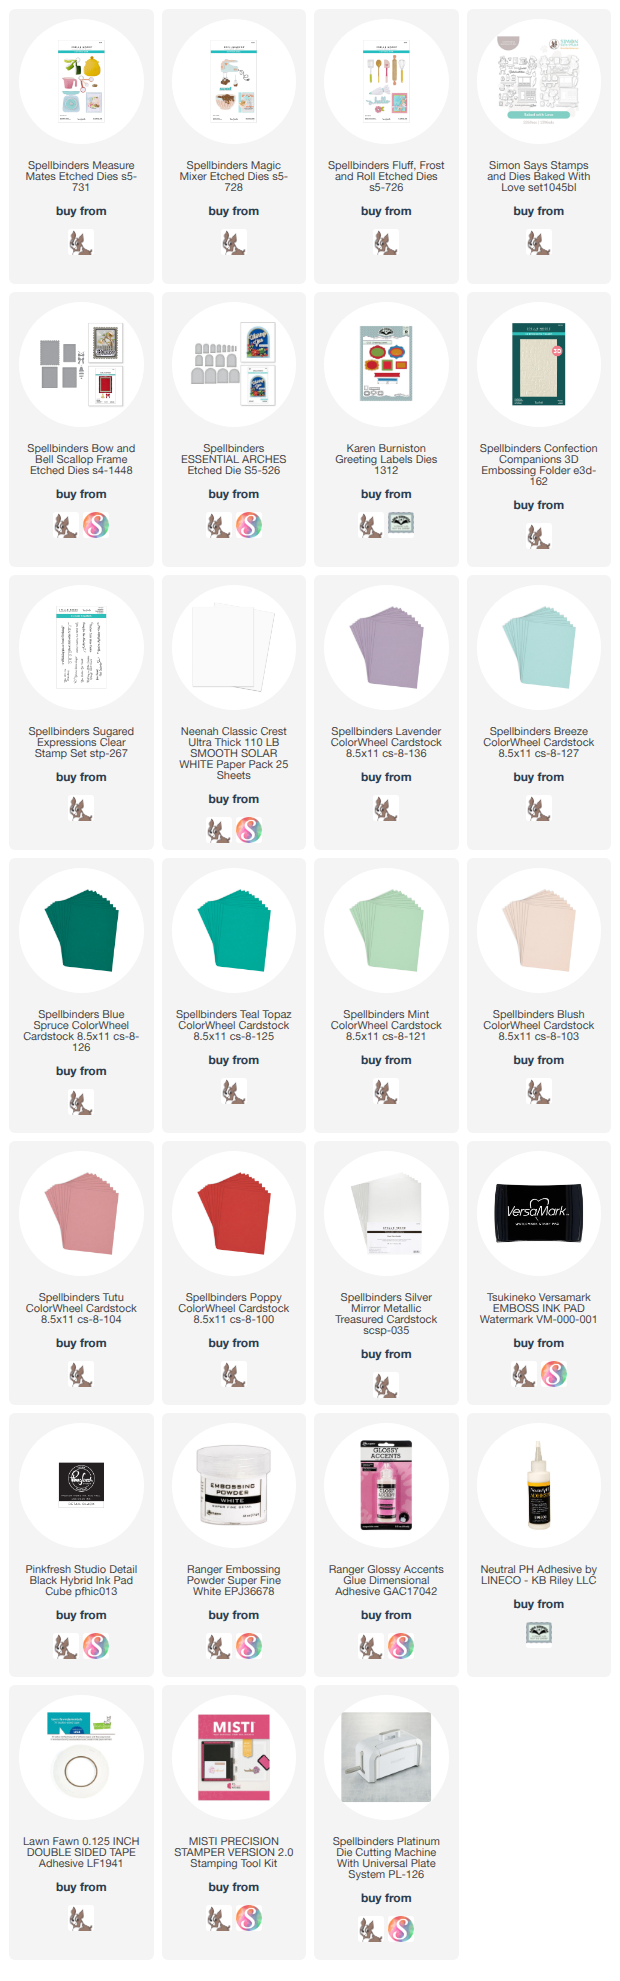
Hello Crafty Friends and welcome! I have two cards for you today, both use Spellbinders Baking die sets, Magic Mixer and Measure Mates! I also used the corresponding 3D embossing folder for the background on both cards. I added some stamped images from Simon Says Stamps Baked with Love stamp set.
For both cards, I made an A2 sized card base using heavy weight smooth white cardstock. I made one a top fold and one a side fold card.
For the mixer card, I cut a piece of pink cardstock 1/16" smaller than my card base. I then ran it through my 3D embossing folder. I did this twice as I added the same background paper to the inside of my card. I then die cut an arch using Spellbinders Essential Arches from the same heavy weight smooth white cardstock as the card base.
I die cut the pieces of the bowl and mixer from scrap cardstock I keep in my stash. For the chocolate icing, I cut the pieces from white cardstock, then coloured them in with Copic markers. I added glossy accents to give the icing a shiny wet look.
I stamped the little girl holding the cake and coloured her in with Copic markers and used the corresponding die to cut her out. Then I added her to the front of the card. I stamped the sentiment using Spellbinders Sugared Expressions with VersaMark Ink and white embossing powder. I added it to the bottom of my card. I added some little decals to the back of the white arch to add a finishing touch.
For the second card, I used Spellbinders Measure Mates. I started with the background using a mint green coloured cardstock and cutting it 1/16" smaller than my card base. Then I ran it through the 3D embossing folder. This time I added a scalloped white background using Spellbinders Bow and Bell Scalloped Frame.
I cut the Measure Mates pieces from scrap cardstock I had in my stash. I also used the Fluff, Frost and Roll die set to add a whisk and spatula to the background. I used Copic markers to add some detail to my die cuts.
I stamped the sentiment on to black cardstock using VersaMark Ink and white embossing powder. Then I added that to my card.
I stamped the Baked with Love images on to white cardstock and coloured them in with Copic markers. Then I used the corresponding dies to cut them out.
I just love the Spellbinders baking die set collection. They make so many detailed and cute baking items for any card!! I also have been waiting a long time to get the Baked with Love stamp set. It's just so sweet and has so many items to make so many different baking themed cards. Thank you so much for stopping by today, below is a list of the supplies I used to make these cards. Happy Crafting.
Supplies: For your shopping convenience, all products are linked below. Compensated affiliate links are used where possible with no extra cost to you. This helps me to continue to share all the projects I include on my blog. Please note I only use and share products I love. Thank you Crafty Friends!