
I started by making a card base from smooth black cardstock that is 6.5 x 7 inches big. I added two sheets of white cardstock 1/16" smaller than my card base. Then I added two red strips of embossed cardstock.
I die cut the Stage Pop-Up from a dark yellow/gold cardstock. I added gold mirrored cardstock to the top. I used the Flower Pot Pop-Up tab die to add the tab to hold the flower pot in place. I die cut the band that goes around the Stage Pop-Up from glitter gold cardstock. I added more mirrored cardstock and three black sentiments as well.

I die cut the Flower Pot Pop-Up from the same "golden rod yellow" (I call it that because my parents had a fridge and stove in that exact colour in the 70/80's) cardstock as the Stage Pop-Up. I added a lighter yellow and mirrored gold cardstock to the Popcorn box pieces. I added two sentiments saying "you are epic" to the sides along with gold hearts as well. I added the Popcorn box to the Stage Pop-Up using double sided adhesive tape.
I added thick double sided adhesive tape to the back of the gold papers and die cut the popcorn from that, then I also die cut the popcorn backwards so I could sandwich the popcorn between the grid inside the Flower Pot Pop-Up.
Once I had all the popcorn and sentiments on the popcorn box, I added the Stage Pop-Up base to my card base. Then I added the band around the Stage Pop-Up.
I die cut several small stars from a die set I got from Michaels in glitter black, glitter gold and mirrored gold. Then added them down the sides of the card base. I stamped two more sentiments to the card, leaving lots of room for my husband and I to sign her card.
I then used the Movie Charms to add two film strips with pictures of my daughter that I thought she would really like.

I kept the same theme from the inside on the front of the card, adding another popcorn box but adding 16 to the box this time. Then I used Karen Burniston's Happy Birthday Sentiment to add to the front of my card. This would be a great idea not only for a birthday but for a graduate card as well! Or really any kind of celebration! Thank you so much for stopping by today. To watch how I made this card, check out the video below.
Also below is a list of the supplies I used to make this card. Happy Crafting!
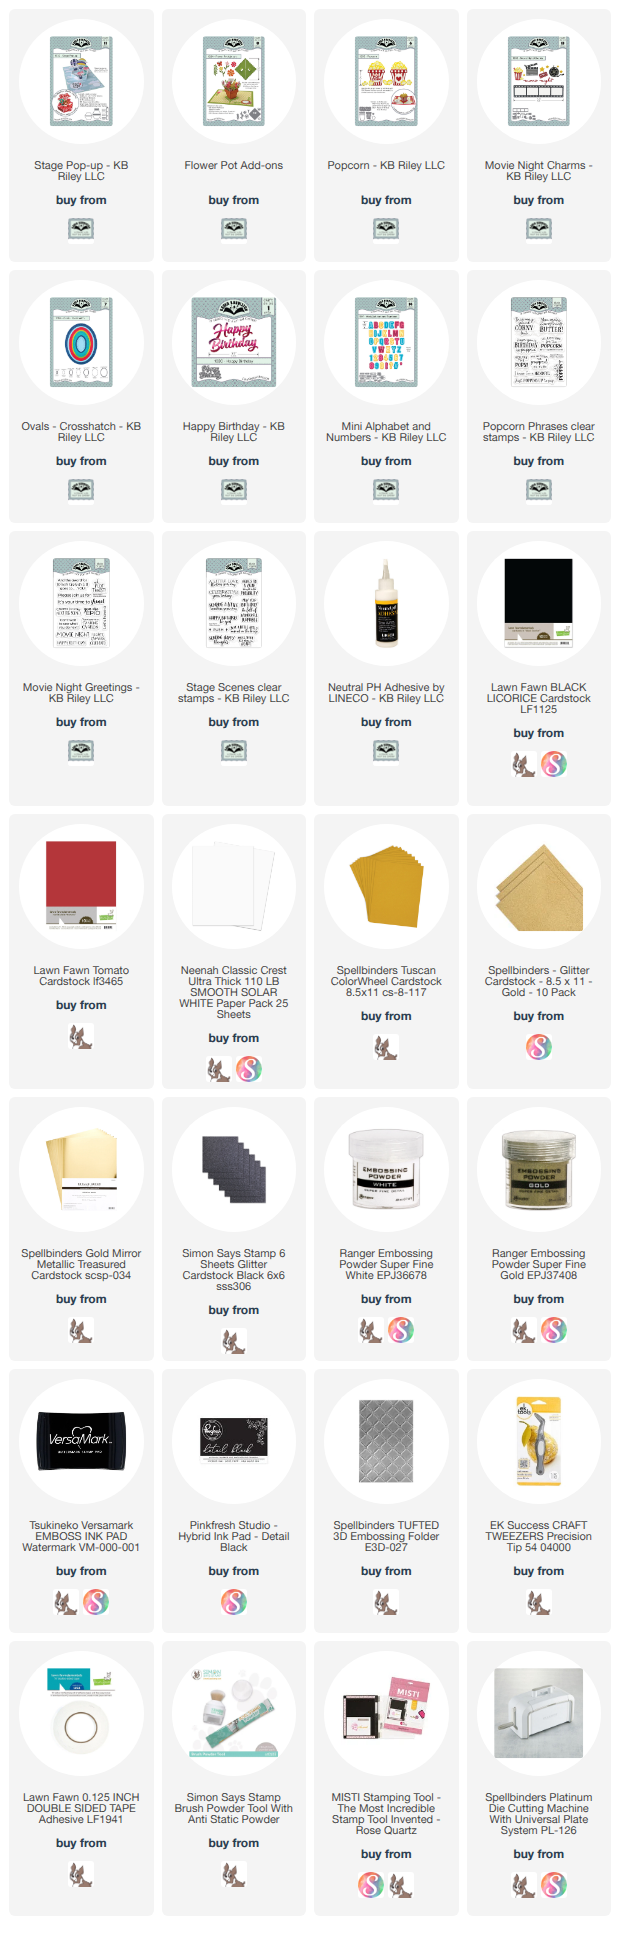
Supplies: For your shopping convenience, all products are linked below. Compensated affiliate links are used where possible with no extra cost to you. This helps me to continue to share all the projects I include on my blog. Please note I only use and share products I love. Thank you Crafty Friends!


No comments:
Post a Comment