Tuesday, August 11, 2026

Christmas Tree Gazebo Pop Up Card

 Hello Crafty Friends and welcome! Karen brought up to the team that a customer had asked if the Christmas Tree Pop-Up would work on the Stage Pop-Up with the Gazebo Add-On on it. So the team took that challenge and ran with it! Lois & Susanne made two wonderful Christmas cards using the Christmas Tree Pop-Up and the Christmas Tree Pop Stand dies. Both worked perfectly with the Gazebo added to the Stage Pop-Up. 

I couldn't resist making a card with the Christmas Tree Pop-Up and Stage Pop-Up/Gazebo Add-On. So I got to work on making my own version of this "challenge" card. 


I started by die cutting the Stage Pop-Up pieces from red cardstock. I then used some pretty Christmas themed patterned paper from Echo Park called Celebrate Christmas. I added this to the band that goes around the Stage Pop-Up and to the top of the stage. 

I then die cut the Gazebo Stage Add-Ons. I die cut the poles from red cardstock and the roof from green cardstock. I used the roof die as a stencil and added some Distress Oxide Ink in Rustic Wilderness to the top to give the shingles some dimension. Then I used a size 10 white Gelly Pen to add snow to the roof. I glued the roof together, glued the poles to the roof and set it aside. 


I then die cut the Christmas Tree Pop-Up. I die cut the tree pieces from green cardstock, then created a stencil (as shown below) and added shading to the tree pieces using Distress Oxide Ink in Mowed Lawn and Rustic Wilderness.


I die cut the ornaments from glitter cardstock in various colours. Then glued the tree and ornaments together. I die cut the tree base from brown cardstock. To attach the tree to the Stage Pop-Up, I used the Christmas Tree Pop-Up Add-On to add the tree skirt with the tabs to the bottom of the stage. Then I glued the tree base to the tabs and added my tree. 

I then die cut the fence that goes around the stage using green cardstock. Once that was glued on, I added my gazebo top and glued it to the stage. 


I then used the band from the Stage Pop-Up to die cut two pieces from white cardstock, then I trimmed them and made snow to add around the base of the stage. I used the Birthday Charms, Sleigh Pop-Up, Holiday Charms and Winter Charms to add some trees, presents and candy canes around the base. I also used the Christmas Borders to add lights to my fence. 


Lastly, I used the Greeting Labels and die cut two labels to create a sentient for the top of my gazebo roof. I stamped another sentiment to go on the bottom of the stage. I left the other side of the stage base blank so I had a place to sign the card. 

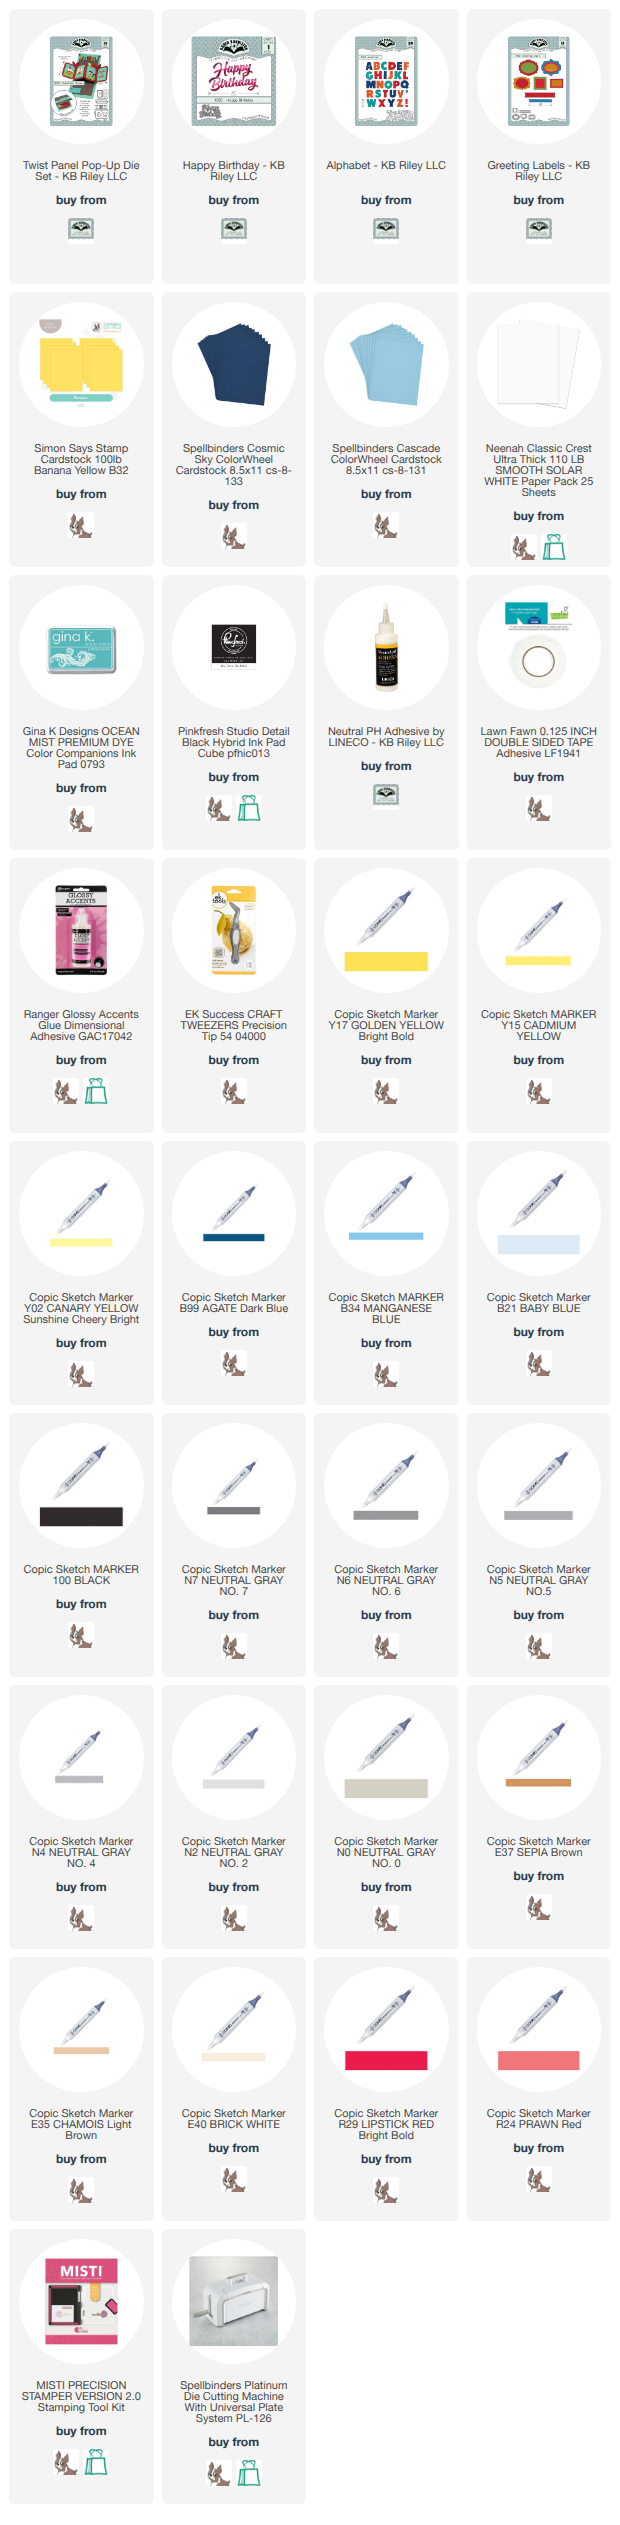
Don't you just love the fact that Karen's dies are so interchangeable? I know I do!!! Thank you so much for stopping by today. Below is a list of the supplies I used to make this card. Happy Crafting!

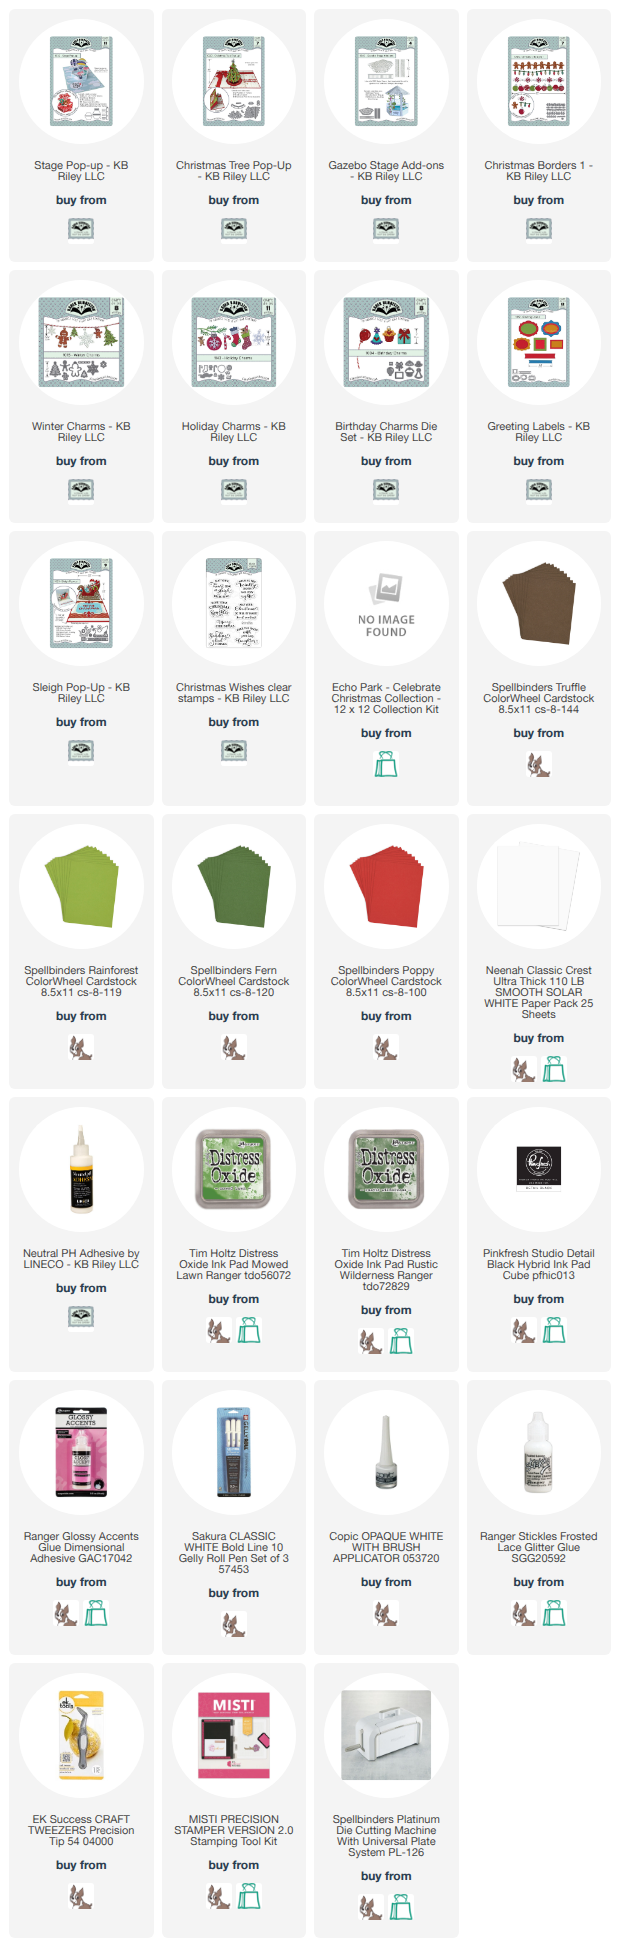
Supplies: For your shopping convenience, all products are linked below. Compensated affiliate links are used where possible with no extra cost to you. This helps me to continue to share all the projects I include on my blog. Please note I only use and share products I love. Thank you Crafty Friends!

Tuesday, August 4, 2026

Karen Burniston Designer Challenge - August 2026 - Mealtime

 Hello Crafty Friends and welcome! It's Designer Challenge time (boy are these months flying by!) once again and our theme for August 2026 is Mealtime. This is a great challenge to show off the new Mealtime Elements die set that was released in July. For my card, I decided to pair an older die set with a newer die set by using the Bam Box along with the Mealtime Elements!

For detailed instructions on how to make this card, you can check out Karen Burniston's Assembly video by clicking here.

I started by making a card base using a piece of 12x12 cardstock. This is an old piece of cardstock I had from when I used to only use Bazzill Basics cardstock. It's a sage green colour, I'm sorry I don't remember the name of the paper. I cut it 12x5 and scored it 3" on either end. Then I added some red cardstock 1/8" smaller than the card base sections, 2 7/8 x 4 7/8 for the small sections and 4 7/8 x 5 7/8 for the centre section. On top of the red, I added a red gingham paper I found in my old patterned papers. This is like printer paper thin, so I tore in a few places. I was able to glue the pieces back on, which you can see in the video below, but I don't think I'd use such thin patterned paper again for a project like this. 

I die cut the Bam Box from the same cardstock as the card base. I used the soft, size 12 rubber bands, like Karen shows in the assembly video. You could also use the size 8 rubber bands, unfortunately mine had gone hard. I don't use them often enough. I then die cut the two Bam Box largest label dies from the same cardstock as the card base. Then I die cut two red labels using the next size die down. I also cut red rectangles to cover the Bam Box Pop-Ups. I glued these all together. 

I then die cut two plates and two spaghetti pieces using the new Mealtime Elements die set. I added sauce and meatballs to one and chicken and broccoli to the other. I coloured these all in with Copic markers. Then I glued them on to the Bam Box labels. I glued these on the front of each Bam Box Pop-Up. I set these aside. 

I die cut the windows from the two side panels of my card base. I added frames around the windows and I also added a thin magnet on the front panel of the card so I could add a magnetic closure. 

I used the Greeting Labels to add a place to sign the card and a sentiment, which covered where the magnet showed through the paper. 

I added some cutlery from the Mealtime Elements and added a Happy Birthday sentiment. 


For the front of the card, I added a sentiment on to black cardstock. I die cut this banner twice and added the other half the magnet sandwiched in between the two banners. I added some more cutlery to add some decorator pieces to my card. To watch how I made this card, check out my YouTube channel below.


This is fun surprise card! It was fun making it, even though I had some issues with the paper (and my glue bottle!). Thank you for stopping by today, below is a list of the supplies I used to make this card. Happy Crafting and be sure to check out the amazing cards the rest of the Design Team has made!

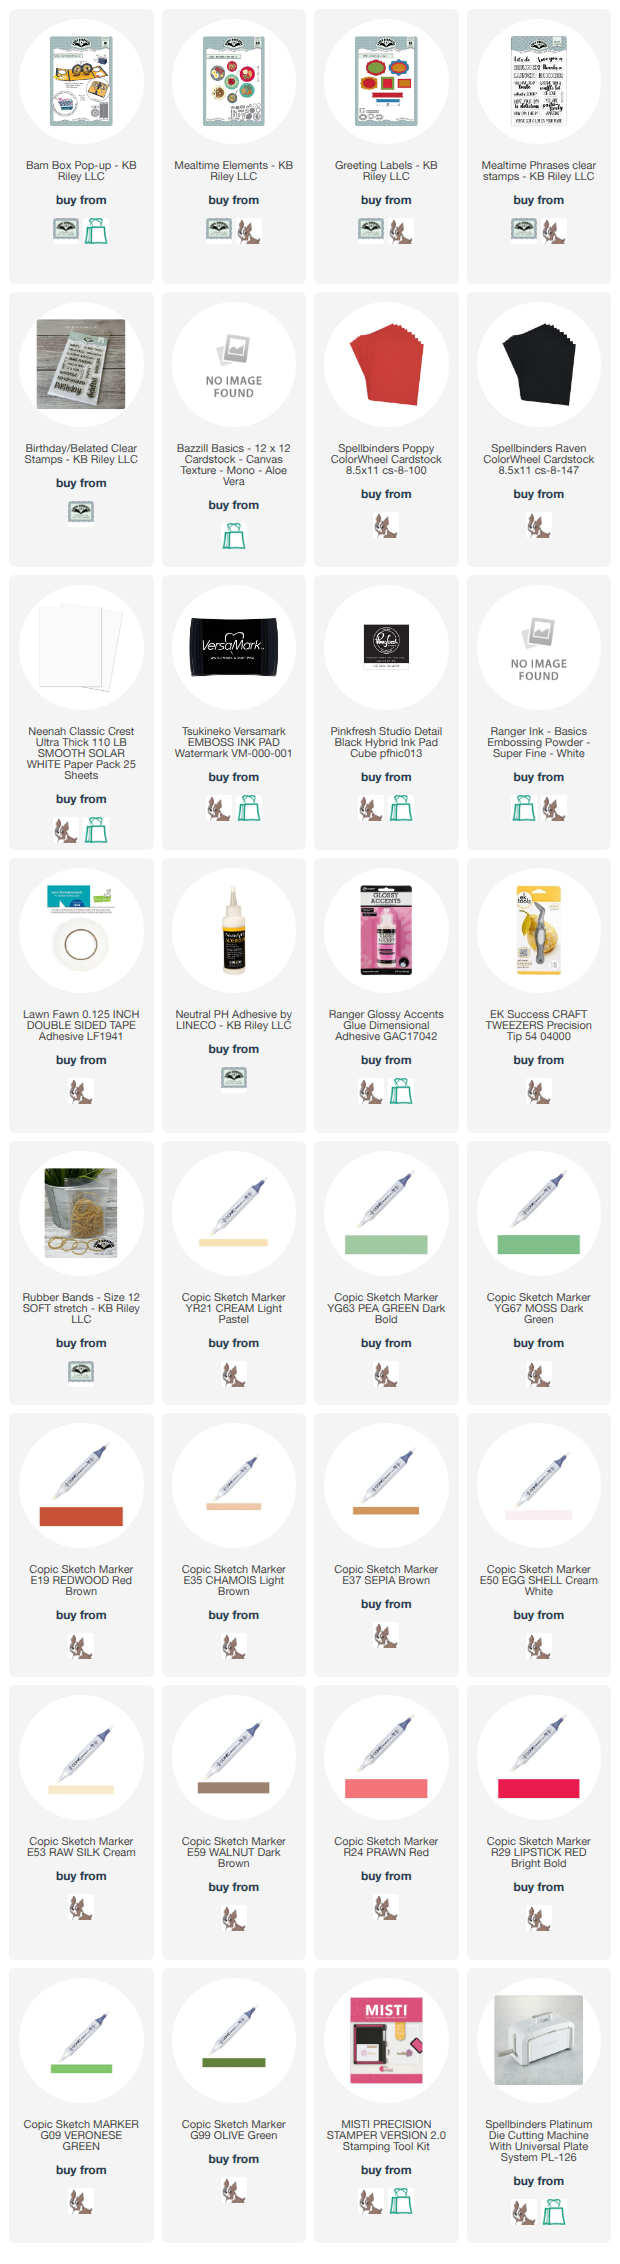
Supplies: For your shopping convenience, all products are linked below. Compensated affiliate links are used where possible with no extra cost to you. This helps me to continue to share all the projects I include on my blog. Please note I only use and share products I love. Thank you Crafty Friends!


Sunday, August 2, 2026

Lawn Fawnatics 225 Challenge - Let's Go Wild!

 Hello Crafty Friends and welcome! My card for you today was created for Lawn Fawn's latest challenge! Challenge 225 - Let's Go Wild! They wanted to see a card with critters in their natural habitat. So I dug out every farm themed stamp and die set I had to make this fun on the farm card!

I started with a slimline card base using black cardstock. I cut a piece of white cardstock 1/16" smaller then my card base. I used Distress Ink in Peacock Feathers, Mowed Lawn and Vintage Photo along with some stencils to create my background. 

I die cut the Build-a-Barn pieces from red, white, black and glitter gold cardstock, then glued them together. I added some Copic marker to the barn to add wood lines. 

I stamped all my images on to smooth white cardstock (the supplies list is below) and coloured everything in with Copic markers. I die cut the images out with the corresponding dies. 

I glued everything down using Lineco Neutral pH adhesive in a fine tip bottle, then I added some shine lines to the images that needed it with a white size 10 Gelly Pen. 

Lastly, I stamped a sentiment on the top. This was a simple but fun card to make! I love the fact that you can include so many stamp sets to make one card. 

Thank you so much for stopping by today. Below is a list of the supplies I used to make this card. Happy Crafting!

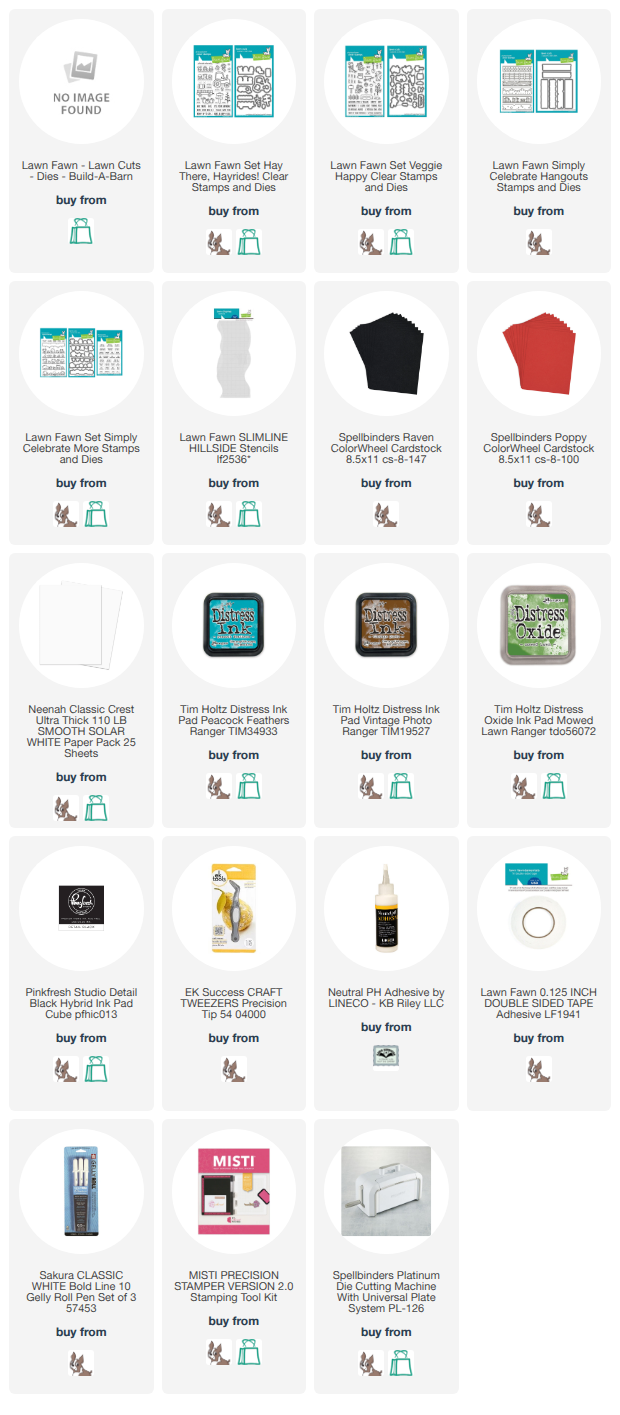
Supplies: For your shopping convenience, all products are linked below. Compensated affiliate links are used where possible with no extra cost to you. This helps me to continue to share all the projects I include on my blog. Please note I only use and share products I love. Thank you Crafty Friends!


Christmas Tree Gazebo Pop Up Card

 Hello Crafty Friends and welcome! Karen brought up to the team that a customer had asked if the Christmas Tree Pop-Up would work on the Sta...