Monday, September 28, 2026

Kitty Witch Halloween Card

Hello Crafty Friends and welcome! My card for you today was created for Craft Roulette. It's been so long since I made a card for Craft Roulette, but I finally had some time to join in the fun (or should I say FUNN?) For this week's parameters we needed to make a Joy Fold card, Dusty Hues for the colours, the element was starts with K and the random was torn paper. 

For my card, I started with a top fold Joy Fold card using black heavy weight cardstock. Then I added some silver glitter paper and this pretty purple halloween themed paper on top. 

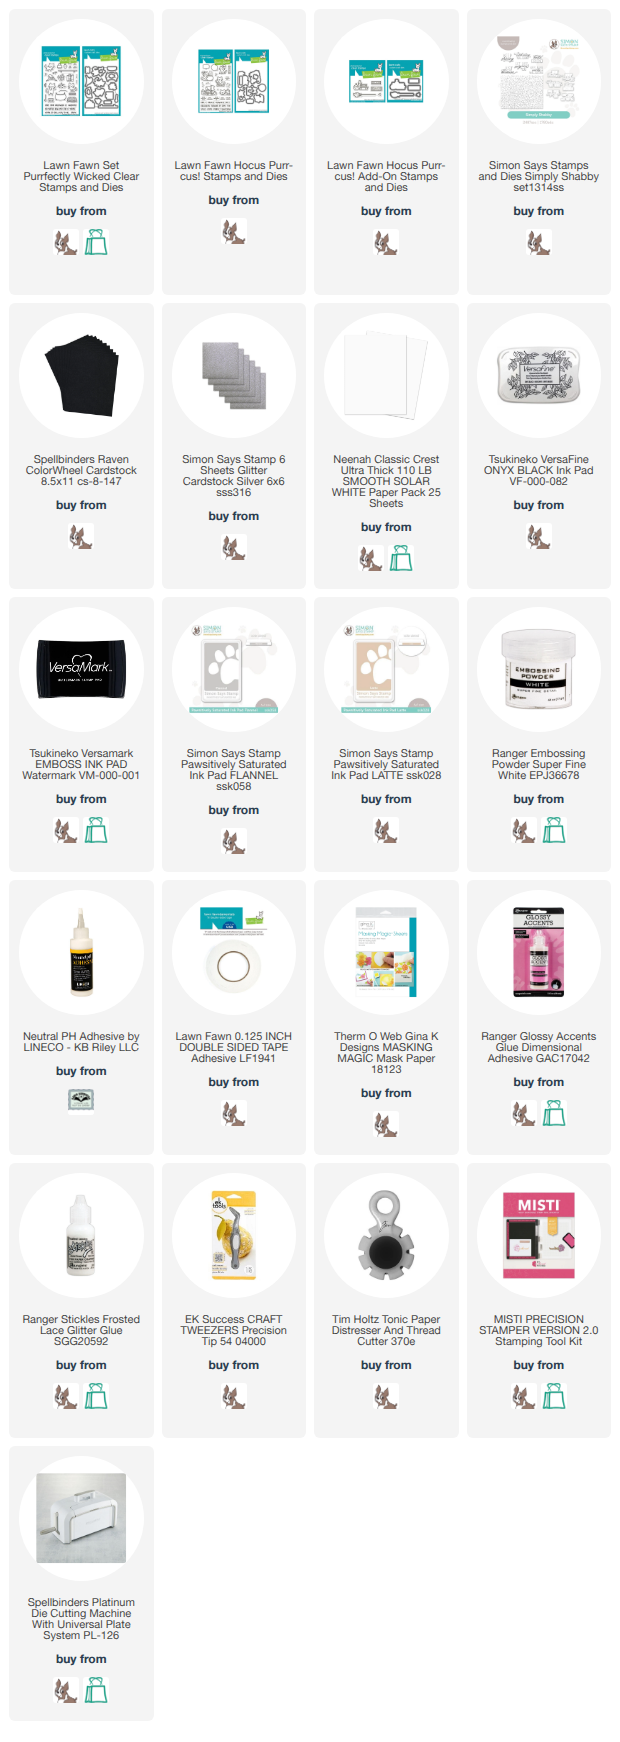
I glued down my smaller card using the same black cardstock as the card base. I cut my rectangle for my images using smooth white cardstock. I stamped my images onto the cardstock using VersaFine Ink and masking paper to create my scene. For my little kitty witches, I used Lawn Fawn's Purfectly Wicked, Hocus Purr-cus and Hocus Purr-cus Add-On. 

For my background, I used grey and beige to create my dusty hue background. I added a crackle effect to the wall using Simon Says Stamps Simply Shabby stamp set. For the floor I added a wood grain effect using MFT - Wood Plank Background stamp. 

I coloured all my images using Copic markers. Then I added some Glossy Accents to my bubbles in the cauldron and the bottles on the shelf. I added some Stickles glitter gel to some books and the little effects I stamped from the cauldron. 

I then used my little paper tearing device and tore the edges of the paper around my image. I glued this down to the little card on my joy fold card base. Lastly, I added a sentiment inside the card on smooth white cardstock so there was a place to sign the card. 

How cute are those witch kitties! I just love making fun cards like this. Thank you so much for stopping by today. Below is a list of the supplies I used to make this card. Happy Crafting!

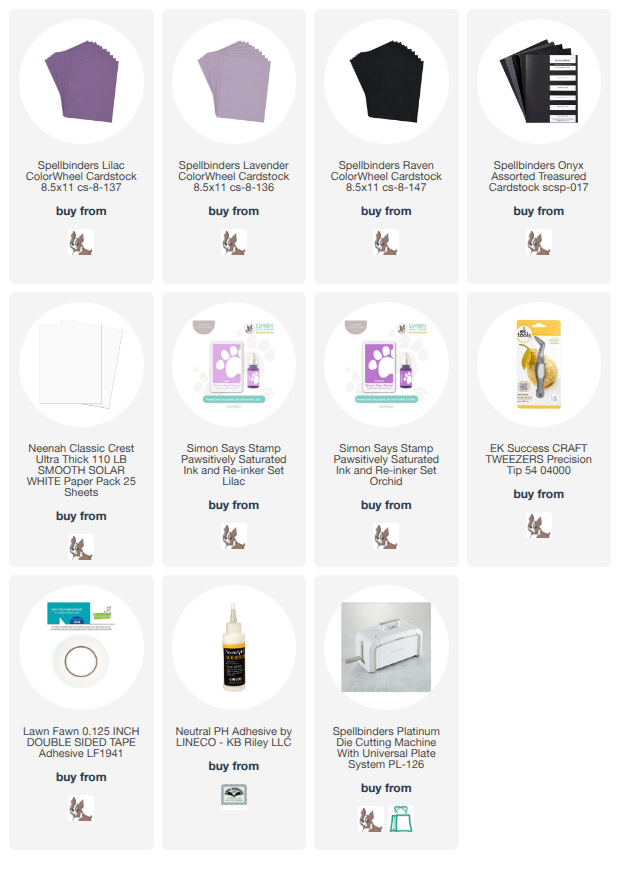
Supplies: For your shopping convenience, all products are linked below. Compensated affiliate links are used where possible with no extra cost to you. This helps me to continue to share all the projects I include on my blog. Please note I only use and share products I love. Thank you Crafty Friends!

Friday, September 18, 2026

Foxy Fall Pop-Up Card!

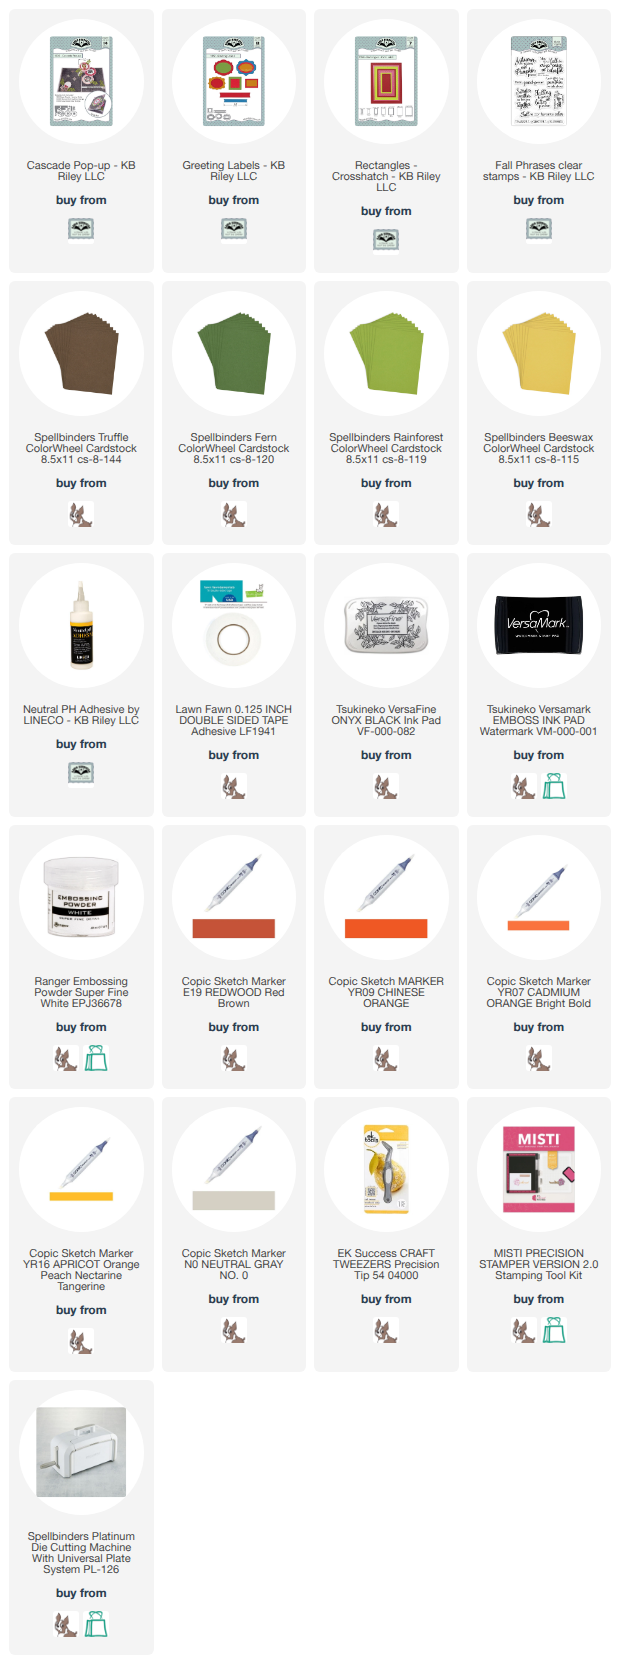
 Hello Crafty Friends and welcome! I have another pop-up card for you. This time, I used an old stamp set I had from My Favorite Things called Let's Curl Up along with Karen Burniston's Cascade Pop-Up to create this beautiful fall themed card. 

For this card, I started with an A2 sized card base using a dark brown cardstock. Then I added some pretty fall themed paper from Echo Park called My Favorite Fall. I die cut the pop-up mechanism from the same brown cardstock as the card base and I also die cut the three circles from that cardstock as well.

I glued the pop-up mechanism into my card base. Added the circle with the slot cut out in the centre. I made sure to add my patterned paper to it first. Then I added the other two circles. I die cut the floral pieces from the Cascade Pop-Up using two different colours of green cardstock and yellow cardstock.

I stamped the fox images with my newest ink purchase VersaFine onyx black ink, then I coloured the images in with Copic markers. I used the corresponding dies to cut the images out. Then I added the foxes and foliage to my card. 

I added a strip of a lacy burlap ribbon on one side. On the other, I used a dark green cardstock to add a sentiment to my card. I used Karen Burniston's Fall Phrases for this card. Then I added a label to sign the card and some more sunflowers around the label. 


For the front of the card, I used the same fall themed patterned paper. Then added a dark brown frame and then some of the orange gingham paper (which was the back of my background paper). Then I added another sentiment from the Fall Phrases stamp set and a small banner label to make a sentiment for the front. I added one more fox and more sunflowers. 

I just love how cute this card turned out. Thank you so much for stopping by today. Below is a list of the supplies I used to make this card. Happy Crafting.

Supplies: For your shopping convenience, all products are linked below. Compensated affiliate links are used where possible with no extra cost to you. This helps me to continue to share all the projects I include on my blog. Please note I only use and share products I love. Thank you Crafty Friends!


Tuesday, September 15, 2026

Haunted Mansion Themed Pop Up Card

 Hello Crafty Friends and welcome! I have another Halloween card for you. I bought these Haunted Mansion themed stamps from The Sassy Club and have been dying to use them lol. So after much debating which pop-up die would work well with my stamps, I thought about the Flip Frame Pop-Up. The only problem was the frame wasn't long enough, so I did some fancy die cutting and made it longer! There will be pictures below.


To start, I created a slim line card that was 4x8.5 (8 x 8.5 scored at the 4" mark). It had to be long to fit my stretched frame. Then I was going to add some Haunted Mansion wallpaper as my background, but my printer ink kept smudging and started to smear the paper, so I decided on a purple plaid background instead. 

I die cut the pop-up mechanism from black cardstock. I wanted to make the picture in the Flip Frame one of the paintings from the stretching room. I'm not sure if you know what this is, but when you enter the Haunted Mansion you go into the main room, then you enter a room that is round. The room begins to look like it's stretching and then you get to see these what these four paintings are hiding. So for this I needed a longer Flip Frame. So to do this, I started by figuring out where I wanted the first run through to end. I placed removable tape just below where I would stop the first die cut. 


Now I placed my top plate just to where the tape starts. Then I ran it through my die cutting machine, making sure to keep my top plate straight. 


Once I had the first cut down, then I adjust the die to line up with the first cut. I place my removable tape just below where I want to stop my top plate. 


Then I run this through my die cutting machine, making sure once again to keep my top plate straight. 


Then I removed the tape and voila! I have a longer frame for the Flip Frame Pop-Up. I just had to cut a rectangle of smooth white cardstock after to fit in behind my new longer frame. 


Next, I created the picture of the ballerina over the crocodile. I stamped my images first, using Detail Black Ink. Then I coloured in the background. For this, I brought up with the original background looked like and went from there. Then I coloured in my stamped images all using Copic markers. I glued the picture to back of my frame. 

I glued in the pop-up mechanism and added the Flip Frame, testing it to make sure it worked. It will need a little assistance when closing, but it pops up perfectly!

From there, I started stamping and colouring all my other images. For the Hat Box Ghost in the Doom Buggy, I used some masking paper to add him in like he was riding on the Doom Buggy. I coloured everything with Copic markers. I fussy cut the images out with my craft scissors and set them aside. 

I die cut some grass using Karen Burniston's Nature Edges and added Distress Oxide Ink in Mowed Lawn, Rustic Wilderness and Black Soot. Then I splattered it with white Copic Opaque paint and Black Soot Distress Oxide Ink. I set this aside to dry. I wanted my busts to sit on a podium, so I used my Cricut to die cut three stands out using smooth white cardstock, then coloured them the same colours as my busts. I glued these all to the bottom of the left side of the card. 

Because these busts sing, I used Karen Burniston's Music Charms to add some ghostly music notes. Then I added a stamped sentiment just above the busts. 

I added the Hat Box Ghost and the mirror with a Hitchhiking Ghost figure in the mirror. I added Glossy Accents to the mirror. I also added another sentiment and a place to sign the card. 


For the front of the card, I cut a piece of smooth white cardstock 1/8" smaller than my card base. I used Simon Says Stamps Pawsitively Saturated Ink in Sprout, Fairway and Field and my Cloud stencil from MFT to create my background. 

I used Karen Burniston's Halloween Scene die to add the tombstone backdrop. I also die cut more grass and then added my Hitchhiking Ghosts. 

I wanted to add the "Welcome Foolish Mortals" but didn't have a die or stamp with that, so I found exactly what I wanted using my Cricut. 

I am so happy with how this card came out. The Haunted Mansion is my absolute favourite part of Walt Disney World, so making this was so much fun. Thank you so much for stopping by today. Below is a list of the supplies I used to make this card. If you would like to check out The Sassy Club, click the link. Happy Crafting!

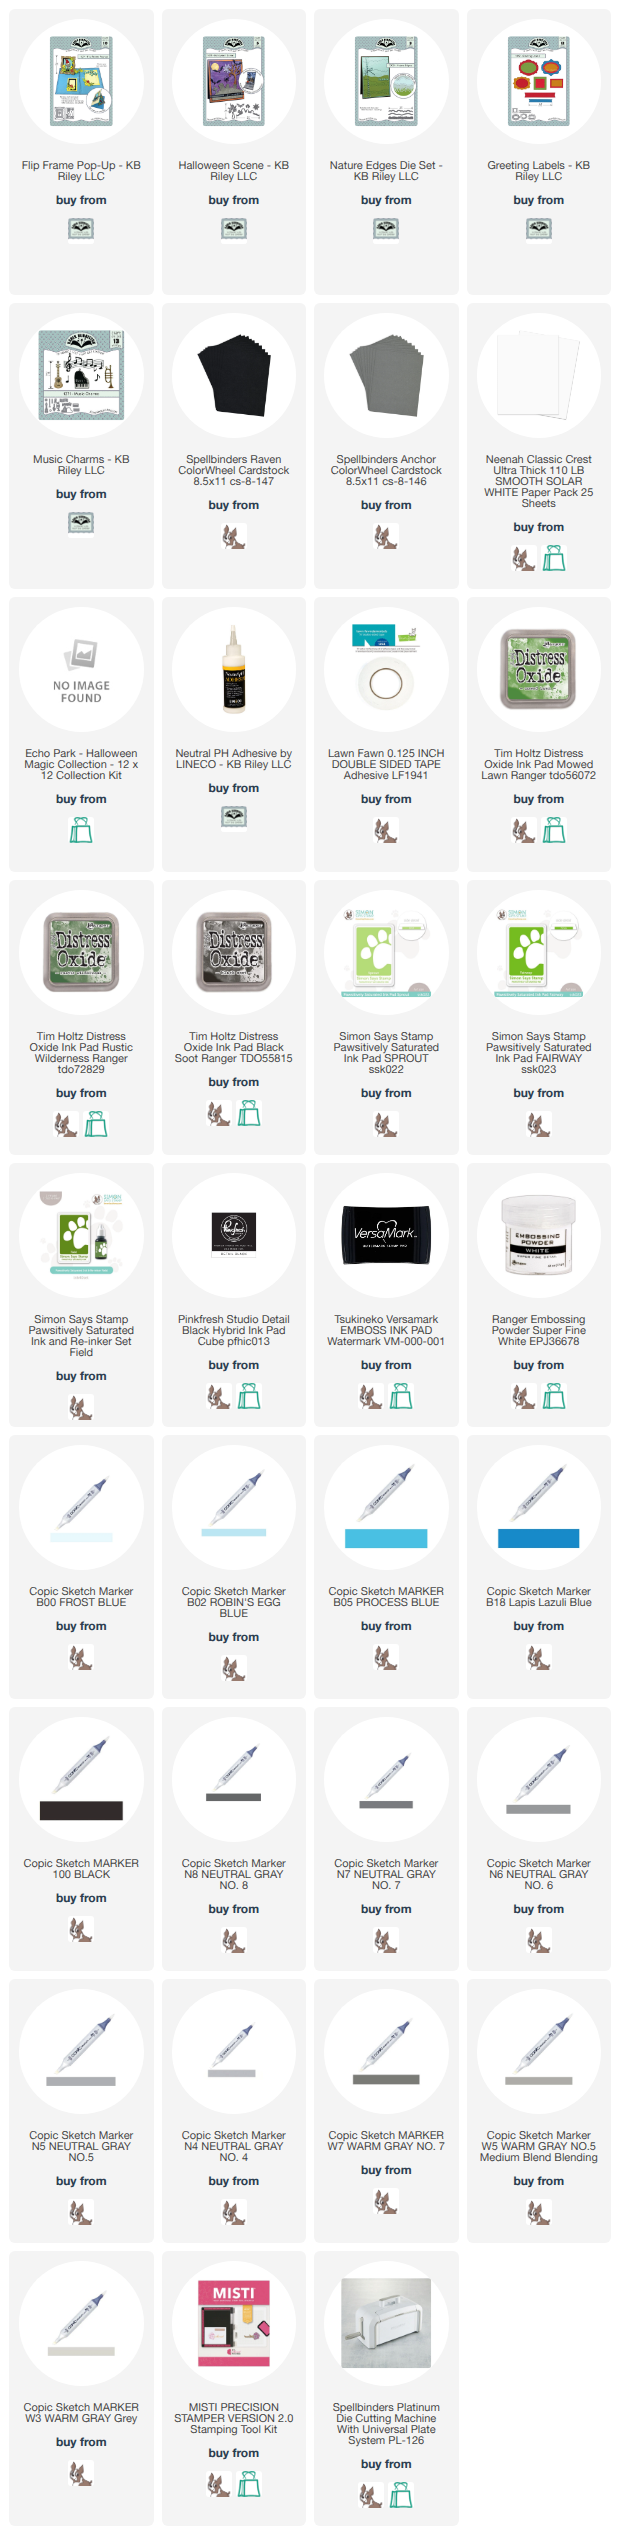
Supplies: For your shopping convenience, all products are linked below. Compensated affiliate links are used where possible with no extra cost to you. This helps me to continue to share all the projects I include on my blog. Please note I only use and share products I love. Thank you Crafty Friends!


Wednesday, September 9, 2026

Trick or Treat Candy Bucket Card

 Hello Crafty Friends and welcome! My card today features some amazing dies from Sassy Club Stamps. Do you remember those buckets you use to get with a happy meal around Halloween? They were perfect for your little one to trick or treat with. Well Sassy Club Stamps has just the die set! Their Candy Bucket Dies and Faces set give you everything you need to make a candy bucket and their I Want Candy die set gives you the candy! Perfect for your Trick or Treat bucket.


For this card, I started with an A2 sized card base using a dark purple cardstock. I added some Recollections patterned paper I got from my local Michaels. 

I die cut the candy bucket from a lighter purple cardstock and used Simon Says Stamps Pawsitively Saturated Ink in Lilac and Orchid to add some dimension to my bucket and lid. For this card, I die cut the witch hat looking lid. There is another top for the bucket that looks like a pumpkin! 

I die cut the face from a mirrored black cardstock and glued that on. I also die cut the handle for the bucket from smooth black cardstock and added that to the back of the bucket. 

I die cut all the candy from smooth white cardstock and coloured everything in with Copic markers. I added Glossy Accents to the lolly-pops and added Stickles Glitter Gel to the Sour Patch Kids. I glued everything in place using my Lineco Neutral pH adhesive in a fine tip bottle. 

Lastly, I used Sassy Club Stamps Slime Alpha die set to die cut the word "BOO". I used a dark orange glitter cardstock for this. 

How awesome is that candy bucket?! I just loved making this and already have plans to make a few more! Thank you so much for stopping by today. Below is a list of the supplies I used to make this card. If you would like to check out Sassy Club Stamps click here. Happy Crafting!


Supplies: For your shopping convenience, all products are linked below. Compensated affiliate links are used where possible with no extra cost to you. This helps me to continue to share all the projects I include on my blog. Please note I only use and share products I love. Thank you Crafty Friends!


Tuesday, September 8, 2026

Spooky Halloween Cards using Spellbinders Envelope of Wonder

 Hello Crafty Friends and welcome. Well it's September, my kids are back to school and this weekend we pulled out our small Christmas tree and have repurposed it for my new Halloween tree. I am a huge fan of Disneys Haunted Mansion. I have been collecting the Hallmark Haunted Mansion ornaments and now I have enough to put on my little tree. It got me in the mood for fall and our families favourite fall holiday, Halloween. So this week, I will be showing some fun, spooky and sweet Halloween themed cards. 

My card for you today uses Spellbinders Envelope of Wonder and Halloween Wonder die sets to create these spooky cards. 

For both my cards, I created 5x7 card bases using a lime green and orange cardstock. For this first card, I added a cobweb patterned paper background. 

I die cut the envelope from dark purple cardstock and from a Halloween themed patterned paper. I created the envelope, but I didn't glue the flaps closed right away. I wanted to place all my goodies first. I die cut all the pieces from the Halloween Wonder die set using scrap pieces of cardstock I keep for just this thing. I added some Copic markers to give the die cuts some dimension. 

For the lolly pops and candy corn, I added some Glossy Accents to them. Once everything was dry, I used a white size 10 Gelly Pen to add some shine lines to some of my items. I set them up the way I wanted, then used my Lineco Neutral pH adhesive and glued everything down. I glued the flaps closed as well. Then I used Karen Burniston's Halloween Phrases stamp set to add a sentiment to the front of my envelope. I used VersaMark Ink and white embossing powder. 

I die cut the little tag that goes with the envelope from smooth white cardstock, then I used Distress Ink in Antique Linen around the edges to make it look aged. I stamped another sentiment from the Halloween Phrases stamp set using Detail Black Ink.


For my second card, I did the same as the first, only I used smooth black cardstock for the envelope and different patterned paper in the back of the envelope. Then I changed the way I added the pieces from the Halloween Wonder die set. 

I used Lawn Fawn's Fangtastic Friends stamp set to add the "Happy Halloween" to the front of my card. I used VersaMark Ink and white embossing powder again. Then I stamped the same sentiment on to the little tag at the top. 

How fun are these Halloween Cards?! I just love making Halloween cards. Thank you so much for stopping by today, be sure to stop by tomorrow for my next spook-tacular card! Below is a list of the supplies I used to make these cards. Happy Crafting!

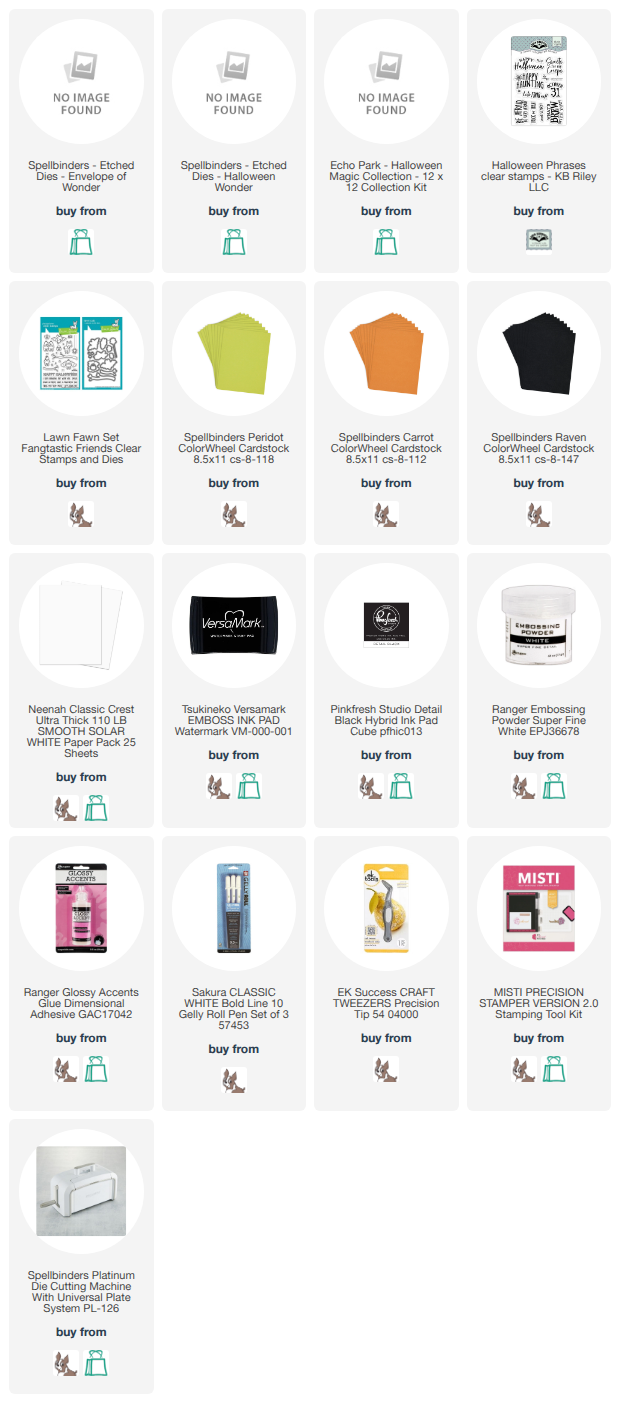
Supplies: For your shopping convenience, all products are linked below. Compensated affiliate links are used where possible with no extra cost to you. This helps me to continue to share all the projects I include on my blog. Please note I only use and share products I love. Thank you Crafty Friends!


Tuesday, September 1, 2026

Karen Burniston Designer Challenge - September 2026 - Cascade!

 Hello Crafty Friends and welcome. Today is Designer Challenge day and our challenge for September, 2026 is Cascade. The team was challenged to make a card that featured the new Cascade Pop-Up. Since we are starting to get to the end of summer (booo!!!) and the beginning of fall (yay!!!! I love both these seasons!) I thought I would make a fall themed card. 

For this card, I started with a card base that was 5 x 5.5" using a brown cardstock. I then added some fall patterned paper adding an orange cardstock strip down each side to hide the line between the two patterned papers. 

I die cut the Cascade Pop-Up mechanism from the same paper as my card base. I decided instead of using the circles that come with the Cascade Pop-Up, I would use the Square Cascade Add-On. I die cut the largest squares from the brown cardstock, then using the same patterned paper as the background, I added some postage stamp squares. I die cut the next sized square down from smooth white cardstock and then added that to the square.

I used the Woodland Animals die set to add the raccoon and fox to two of my squares. I stamped a sentiment onto a postage shaped rectangle and set it aside to add once I glued my squares in. I glued the mechanism into the card base, adding the centre square as shown in the assembly video, which you can watch by clicking here. Then once everything was glued into the card, I added the top and bottom square. Then I added my sentiment to the centre square. 

I then used the Autumn Elements die set to die cut several leaves, apples, acorns and pumpkins. I cut these from smooth white cardstock and coloured them in with Copic markers. I added them to my card, including some on the pop-up mechanism to hide the arm that is attached to the other side of the card. 

I added a place to sign the card and then added my little squirrel beside my sign box. I didn't want to put too many leaves and decor on the inside and make it too busy. 

For the front of my card, I added some ovals and more patterned paper. Then I stamped a sentiment to the smallest oval using the Fall Phrases clear stamp set. I added more of the Autumn Elements to create a sort of wreath around my sentiment. 

Thank you so much for stopping by today. Be sure to check out the rest of the amazing cards Karen and our team made for this challenge. Below is a list of the supplies I used to make this card. Happy Crafting!

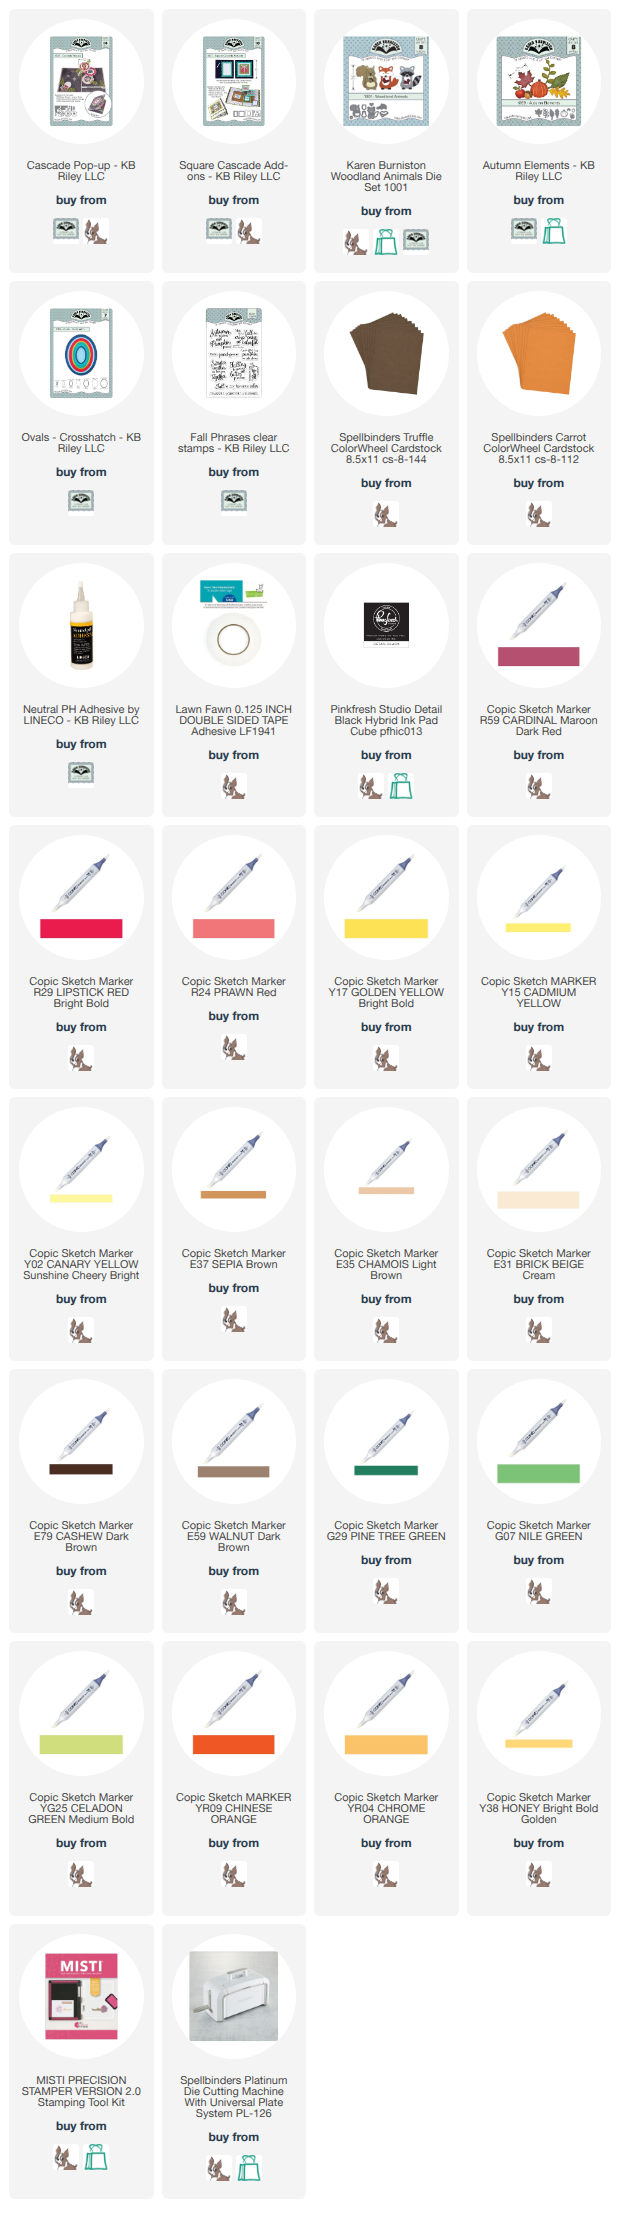
Supplies: For your shopping convenience, all products are linked below. Compensated affiliate links are used where possible with no extra cost to you. This helps me to continue to share all the projects I include on my blog. Please note I only use and share products I love. Thank you Crafty Friends!

Karen Burniston Designer Challenge - October 2026 - Hey Pumpkin!

Hello Crafty Friends and welcome. It's Designer Challenge time and our challenge for October 2026 was to include a pumpkin or pumpkins i...