Thursday, June 30, 2022

Penguins in Paradise From My Favorite Things - Part One

Hello and Welcome! This is going to be a two part blog today. Both will feature the Penguins in Paradise from My Favorite Things. This stamp set features four different penguins enjoying the beach, or a hot summers day or even floating around with their pool floaty. 
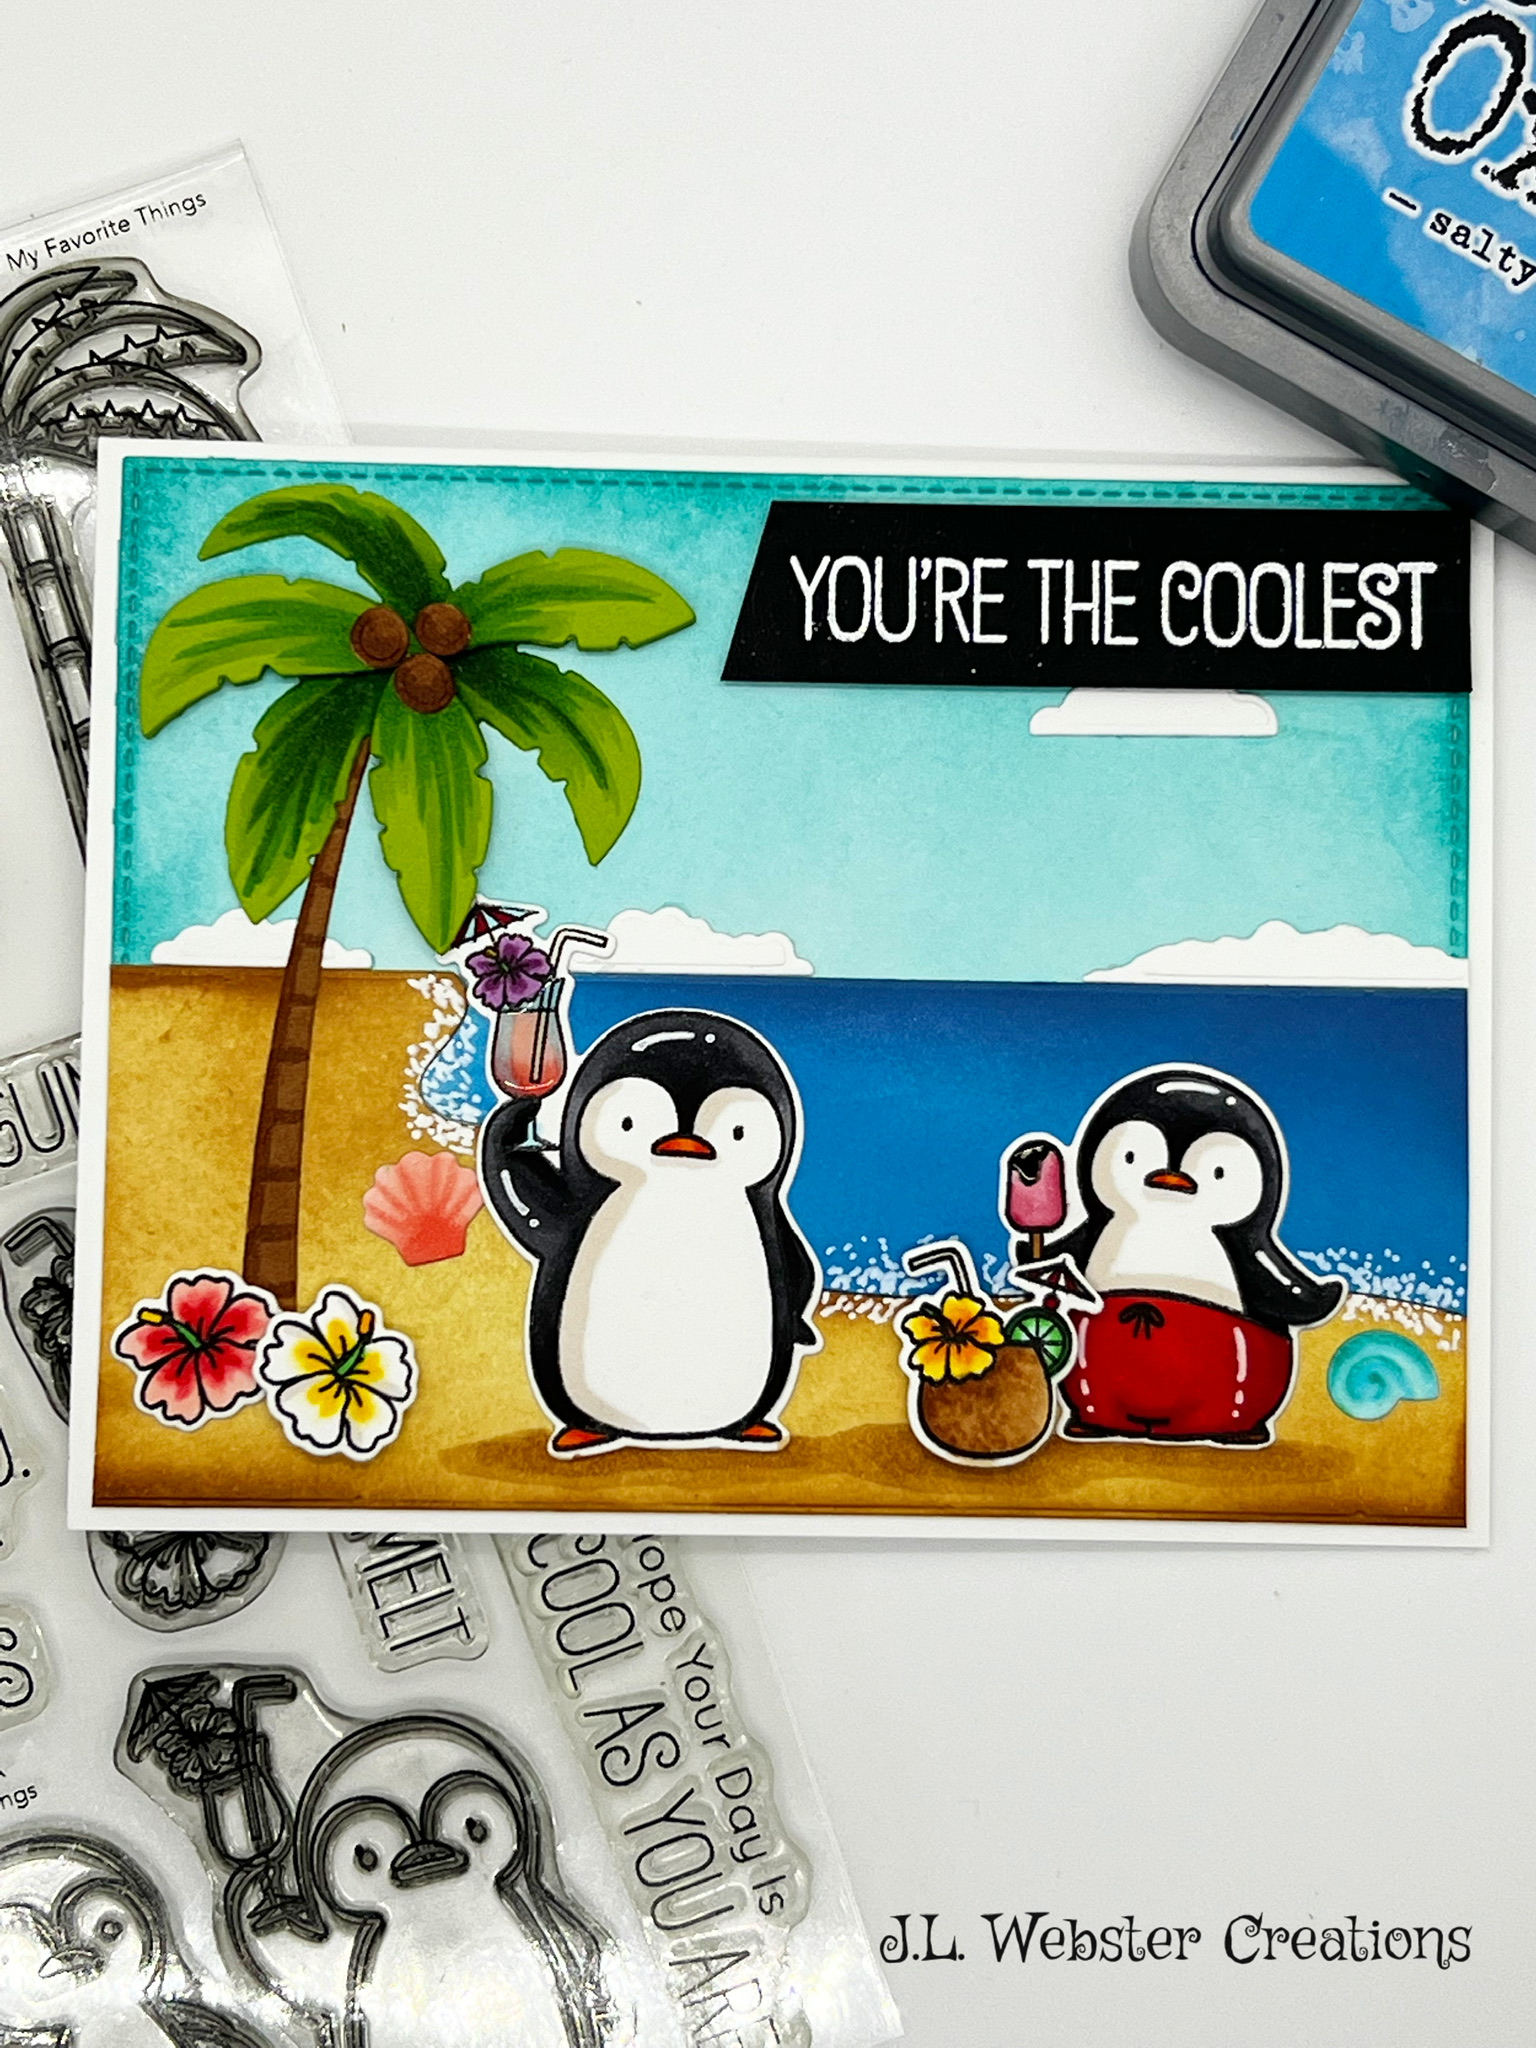

For both my cards shown above I used the MFT Beach Scene Builder Die-namics. This set is perfect for any beach themed cards you would like to create! It comes with the palm tree, coconuts, beach, ocean, shells, clouds and additional palm leaves to give your palm tree some dimension. 

To create the beach, I used my blending brush and Distress Ink in Vintage Photo and Antique Linen. This is my favorite combination to make a sandy beach. For the ocean I used my blending brush and Distress Oxide Ink in Salty Ocean and Chipped Sapphire. For the sky background I used Distress Ink in Peacock Feathers. 

I stamped all my images using MFT Extreme Black ink and colored them in with Copic markers. I added Glossy Accents to the beach ball, the penguins sunglasses, the pool floaty and the glass to give it that something extra. 

I cut the card base from 110lb white cardstock to make two A2 cards. I added white dots to make the water spray on the edge of the water and beach using a size 10 Gelly Pen. I stamped the sentiments using VersaMark Ink on 110lb black cardstock and embossed it with white embossing powder. 

Now these fun beach cards are ready for a special birthday! Thank you for stopping by, be sure to check out Part Two of Penguins in Paradise and as always, Happy Crafting!!

Tuesday, June 28, 2022

Splish, Splash with Lawn Fawn Pool Party!

Hello and welcome! I am so excited about today's card. I just love the new Lawn Fawn Pool Party stamp set. This super cute set allows you make four different little critters that could be either floating in their pool rings or laying on the beach on a beach towel. Either way, it's summer fun and relaxation!


 To make this card, I made an A2 card base with 110lb white cardstock. I cut out the largest rectangle in the MFT A2 Stitched Rectangles using Lawn Fawn Woodgrain Cardstock. This cardstock is white and I wanted to create the appearance of a deck, so I used my blending brush and Vintage Photo Distress Ink to give it a wood color.

Next, I cut out the pool using MFT A2 Rectangle Frames. I die cut this twice using 110lb white cardstock. I glued the two rectangle edges together to give the pool edge some height. I then took the inside rectangle and with Gina K. ink in Sea Glass and Ocean Mist and my MFT Perfect Pool Water Stencil, created the water in the pool. I wanted the water to look like it was moving, so I used Modge Podge Glossy and created little waves with a paint brush. Once that completely dried, I added my little characters from the Pool Party stamp set (colored using Copic markers) and the little speech bubbles to the pool. 

I stamped the sentiment, which is also from the Pool Party stamp set, using VersaMark ink and heat embossing with white embossing powder. I just love how the pool waves turned out. This card will be given to my son's teacher and I couldn't think of anyone more deserving of a special card. 

As always, thank you so much for stopping by and Happy Crafting!

Monday, June 27, 2022

Buzzing By with Hello Bluebird and Karen Burniston!

Hello and welcome! Today's card uses Hello Bluebirds Bee Happy Stamp set and Karen Burniston's Spinner Square Pop-Up die set. I just love these cute little bees and I had this great Bee paper I got from PhotoPlay called Sweet as Honey. To make this card even more special, I used the Spinner Square pop-up. I just love how this card turned out.  


Let's start with the front of this card. The Spinner Square die set allows you to make a window on the front of your card, if you want, which allows you to see part of the inside of the card. I added a piece of velum between the layers of the window. 

I stamped the Bees using MFT Extreme Black ink and colored them in with Copic markers. I added Glossy Accents to the wings of each bee and for the front, I added Glossy Accents to the jar of honey that the bee is carrying. 

I stamped the sentiment from the Bee Happy Stamp set using VersaMark Ink and embossed it using white embossing powder. 


When you open this card, the spinner square mechanism pops out the small rectangle with the sentiment Happy Bee-day. This is a very versatile die set, because you could use literally anything to make a fun surprise pop out. I die cut the squares that came with the Spinner Square die set and added the strawberry plant and bee from the Bee Happy stamp set and the grass from Karen Burniston's Nature Edges die set. I used my MFT Mini Clouds stencil and added some clouds with Peacock Feather Distress Ink. I left the white square blank, so you could write your own special message on it. 

This was a very easy, simple card, but it has the surprise wow factor of the pop-out birthday message! I love the window on the front to give you a sneak peak to the inside. This is one of my favorite die sets from Karen Burniston and I just love the Bee Happy Stamp set from Hello Bluebird Designs. 

As always, thank you for stopping by and Happy Crafting!


Sunday, June 26, 2022

Summer Fruit Celebration with My Favorite Things

Hello and welcome! Today's card features My Favorite Things - Bunch of Happiness. I've had this stamp set for a while now and hadn't used it. Summer always reminds me of watermelon eating, strawberry picking and fresh ripe pineapple! So I thought in keeping with my summer theme, what better set to use then all this super cute fruit!


 Let's start with the background. I wanted something simple and bright, so as to not take away from the little fruit characters. I used Lawn Fawns Stitched Ripple Background die with a bright blue cardstock. 

I stamped the images with MFT Extreme Black ink and colored them using Copic Markers. I used my Copic blender marker to add some spots on some of the fruit to add dimension. Then I used my Sakura Classic White Gelly Roll Pen (size 10) to add shine lines and dimples on some of my fruit. For the finishing touches, I used Glossy Accents on the glasses to give them a glassy look.

I added the Yay sentiment (from the Bunch of Happiness stamp set) on the banner that they cherries are holding and the hooray sentiment (from Essential Sentiments from MFT) that the apple is holding. I stamped the sentiment on 110lb black cardstock with Versa Mark Ink and added white embossing powder. 

The finishing touch was adding the small colored gems around the card. What a fun way to say congratulations to someone special! As always, thank you for stopping by and Happy Crafting!

Monday, June 20, 2022

Summer Camping and Cute Forest Critters!

Hello and welcome! Todays card features the Tent Pop-Up from Karen Burniston. This super cute pop-up gives you everything you need to create the most amazing campsite! So if there is a camp lover in your life, you need to get this set! This is an A2 size card.

Let's start with the front of this card, which I try to keep simple, because all of the good stuff is on the inside of the card. For the background, I used the MFT Mini Cloud Edges stencil and Distress Ink in Peacock Feathers to make the clouds in the sky. I used the Outdoor Scene die set from Karen Burniston to create the grass and trees. Then with my Copic markers I added some detail to the trees to add dimension. Everything I die cut with 110lb white card stock. I used Distress Oxide ink in Mowed Lawn for the grass. I added a little path and colored that with Copic markers as well. I created the cute little fox using the Woodland Animals die set from Karen Burniston. I cut this critter with 110lb cardstock in white as well and colored it with my Copics. 


Now for the inside! When I decided to make this card, I wanted it to look like the camp was set up along the side of a lake. This meant that I would have to change the position of the pop-up campfire and wasn't sure it would still work, but it did. I started with making the background. To do this I masked off the area that would be the lake and using Distress Oxide ink in Salty Ocean and Chipped Sapphire, I created the lake. From there, I carefully created the beach/dirt using Distress Ink in Antique Linen and Vintage Photo. From there I switched to Distress Oxide Ink in Mowed Lawn and made the grassy area.

Once I had the background done and dried, I created the tent. I used Lawn Fawn All The Dots cardstock in green. I used a scrap of darker green cardstock to cut out the rivet pieces that go around the holes at the top of the tent. I cut out two sets of rocks (which comes with the pop-up tent set) in white cardstock and colored them with Copic markers in Cool Grays and Warm Grays. Then I cut out the camp fire pieces in white cardstock and colored them in Copics as well. In keeping with the theme from the front of the card, I cut out another fox. I also cut out the branch, fish and hat from the Camping Charms die set, also from Karen Burniston. 

I colored the hat to go on the foxes head. I also colored the fish to look like a trout and used thin hemp thread to make a fishing line for his pole. I stamped the sentiment using Honey Bee Stamps Wild and Free sentiments set and cut it out. With the Tent pop-up set, it comes with this little add-on to attach to the side of tent so you can add a tree stump or a critter or anything and it will fold that down when you close the card. 

I can't wait to give this card to someone special! As always, thank you for stopping by and Happy Crafting!


Thursday, June 16, 2022

Sun, Sand and a Happy Fathers Day!

Hello and welcome! Today's card was inspired by Nichol Spohr and uses the Spellbinders Build a Summer Bird House die set. This super cute die set comes with a lighthouse birdhouse and all the little accessories to make this card sail into the heart of receiver. 


 As always, lets start with the background. I used the same techniques that I used in the pop-up palm tree card. I start by marking off the horizon line. This will give me an idea of where I want to put the water and beach. Once I have the horizon marked with a piece of repositionable tape, I take another piece of tape and tear it horizontally and place it where I want the beach to be. 

Using Distress Ink in Antique Linen and a blending brush, I put a layer of color on where I want the beach. Then I go over the edges with Distress Ink in Vintage Photo. From there, I used my MFT Mini Cloud Edges stencil and Distress Oxide in Tumbled Glass and made the cloudy sky. Then I placed my piece of repositionable tape over the horizon line, only this time covering a bit of the cloud area and created my ocean using Distress Ink in Peacock Feathers.  

With the background done, I made the grassy cattails using the Lawn Fawn Cattails Border. With my Copic markers, I added some dimension to the grass and cattails. I made sure to leave a space with no glue so I could easily slip my bird house stand behind the grass. 

For the bird house, I die cut the lighthouse three times, in white, dark blue and red cardstock. Then layered the colored sections I wanted over the white piece. I die cut the oars and stand in brown and with Copic markers, added some details to each piece. I cut the light in the lighthouse and the bulb shape on top of the lighthouse using gold cardstock. 

I die cut the birds (which comes with the Build a Summer birdhouse set) and colored them with black and gray Copic markers. Then it was just putting everything all together. The final touch was using the Happy Father's Day sentiment from Honey Bee Stamps Kiss the Cook stamp set. I stamped it on to thick black cardstock and embossed it with white embossing powder. 

I am so pleased with how this card turned out and hopefully so is the super special Dad this card is for. As always, thank you for stopping by and Happy Crafting!

Wednesday, June 15, 2022

Summer Fun with the Karen Burniston Palm Tree Pop-Up!

 Hello and welcome! The end of the school year is approaching (way faster than I'm prepared for lol) and that means something special for the kids teachers. I recently purchased the new Lawn Fawn Pool Party stamp and matching die set and was trying to figure out what to do with it. 

Then inspiration hit and I pulled out my Karen Burniston Palm Tree Pop-Up die set and began to create a beach themed summer card!


As always, lets begin with the background. To make the beach background, I started by taking a piece of removable tape and tearing it down the middle, length ways, and placing that where the beach and water will meet. This will create a rough edge along the beach. Using Distress Ink in Antique Linen and Vintage Photo, I created the sand. I took my water colors in different browns and lightly splattered the water color paint to give the sand a grainy look. 

Then I placed a piece of removable tape across the horizon line and added the clouds, using the MFT Mini Cloud Edges stencil and Distress Oxide Ink in Tumbled Glass. Then I carefully made the ocean using Distress Ink in Peacock Feathers and a blending brush. 

For the front of the card, I added the small palm tree that comes with the Karen Burniston Palm Tree Pop-Up die and also added the cute little crab, which comes in a super cute set of Sea Animals from Karen Burniston. With this set, you can make the crab as shown above, or a turtle or a shark! 


This pop-up die set is simple to use and you can find the instructions for all of the Karen Burniston die sets on YouTube. Click here for the video on how to assemble the Palm Tree Pop-Up. For the inside of this card, I made the backgrounds the same as the front of the card. Then I added just one palm tree, but you can add two if you want and have a cute little hammock between them. The hammock comes with the Palm Tree Pop-Up die set. 

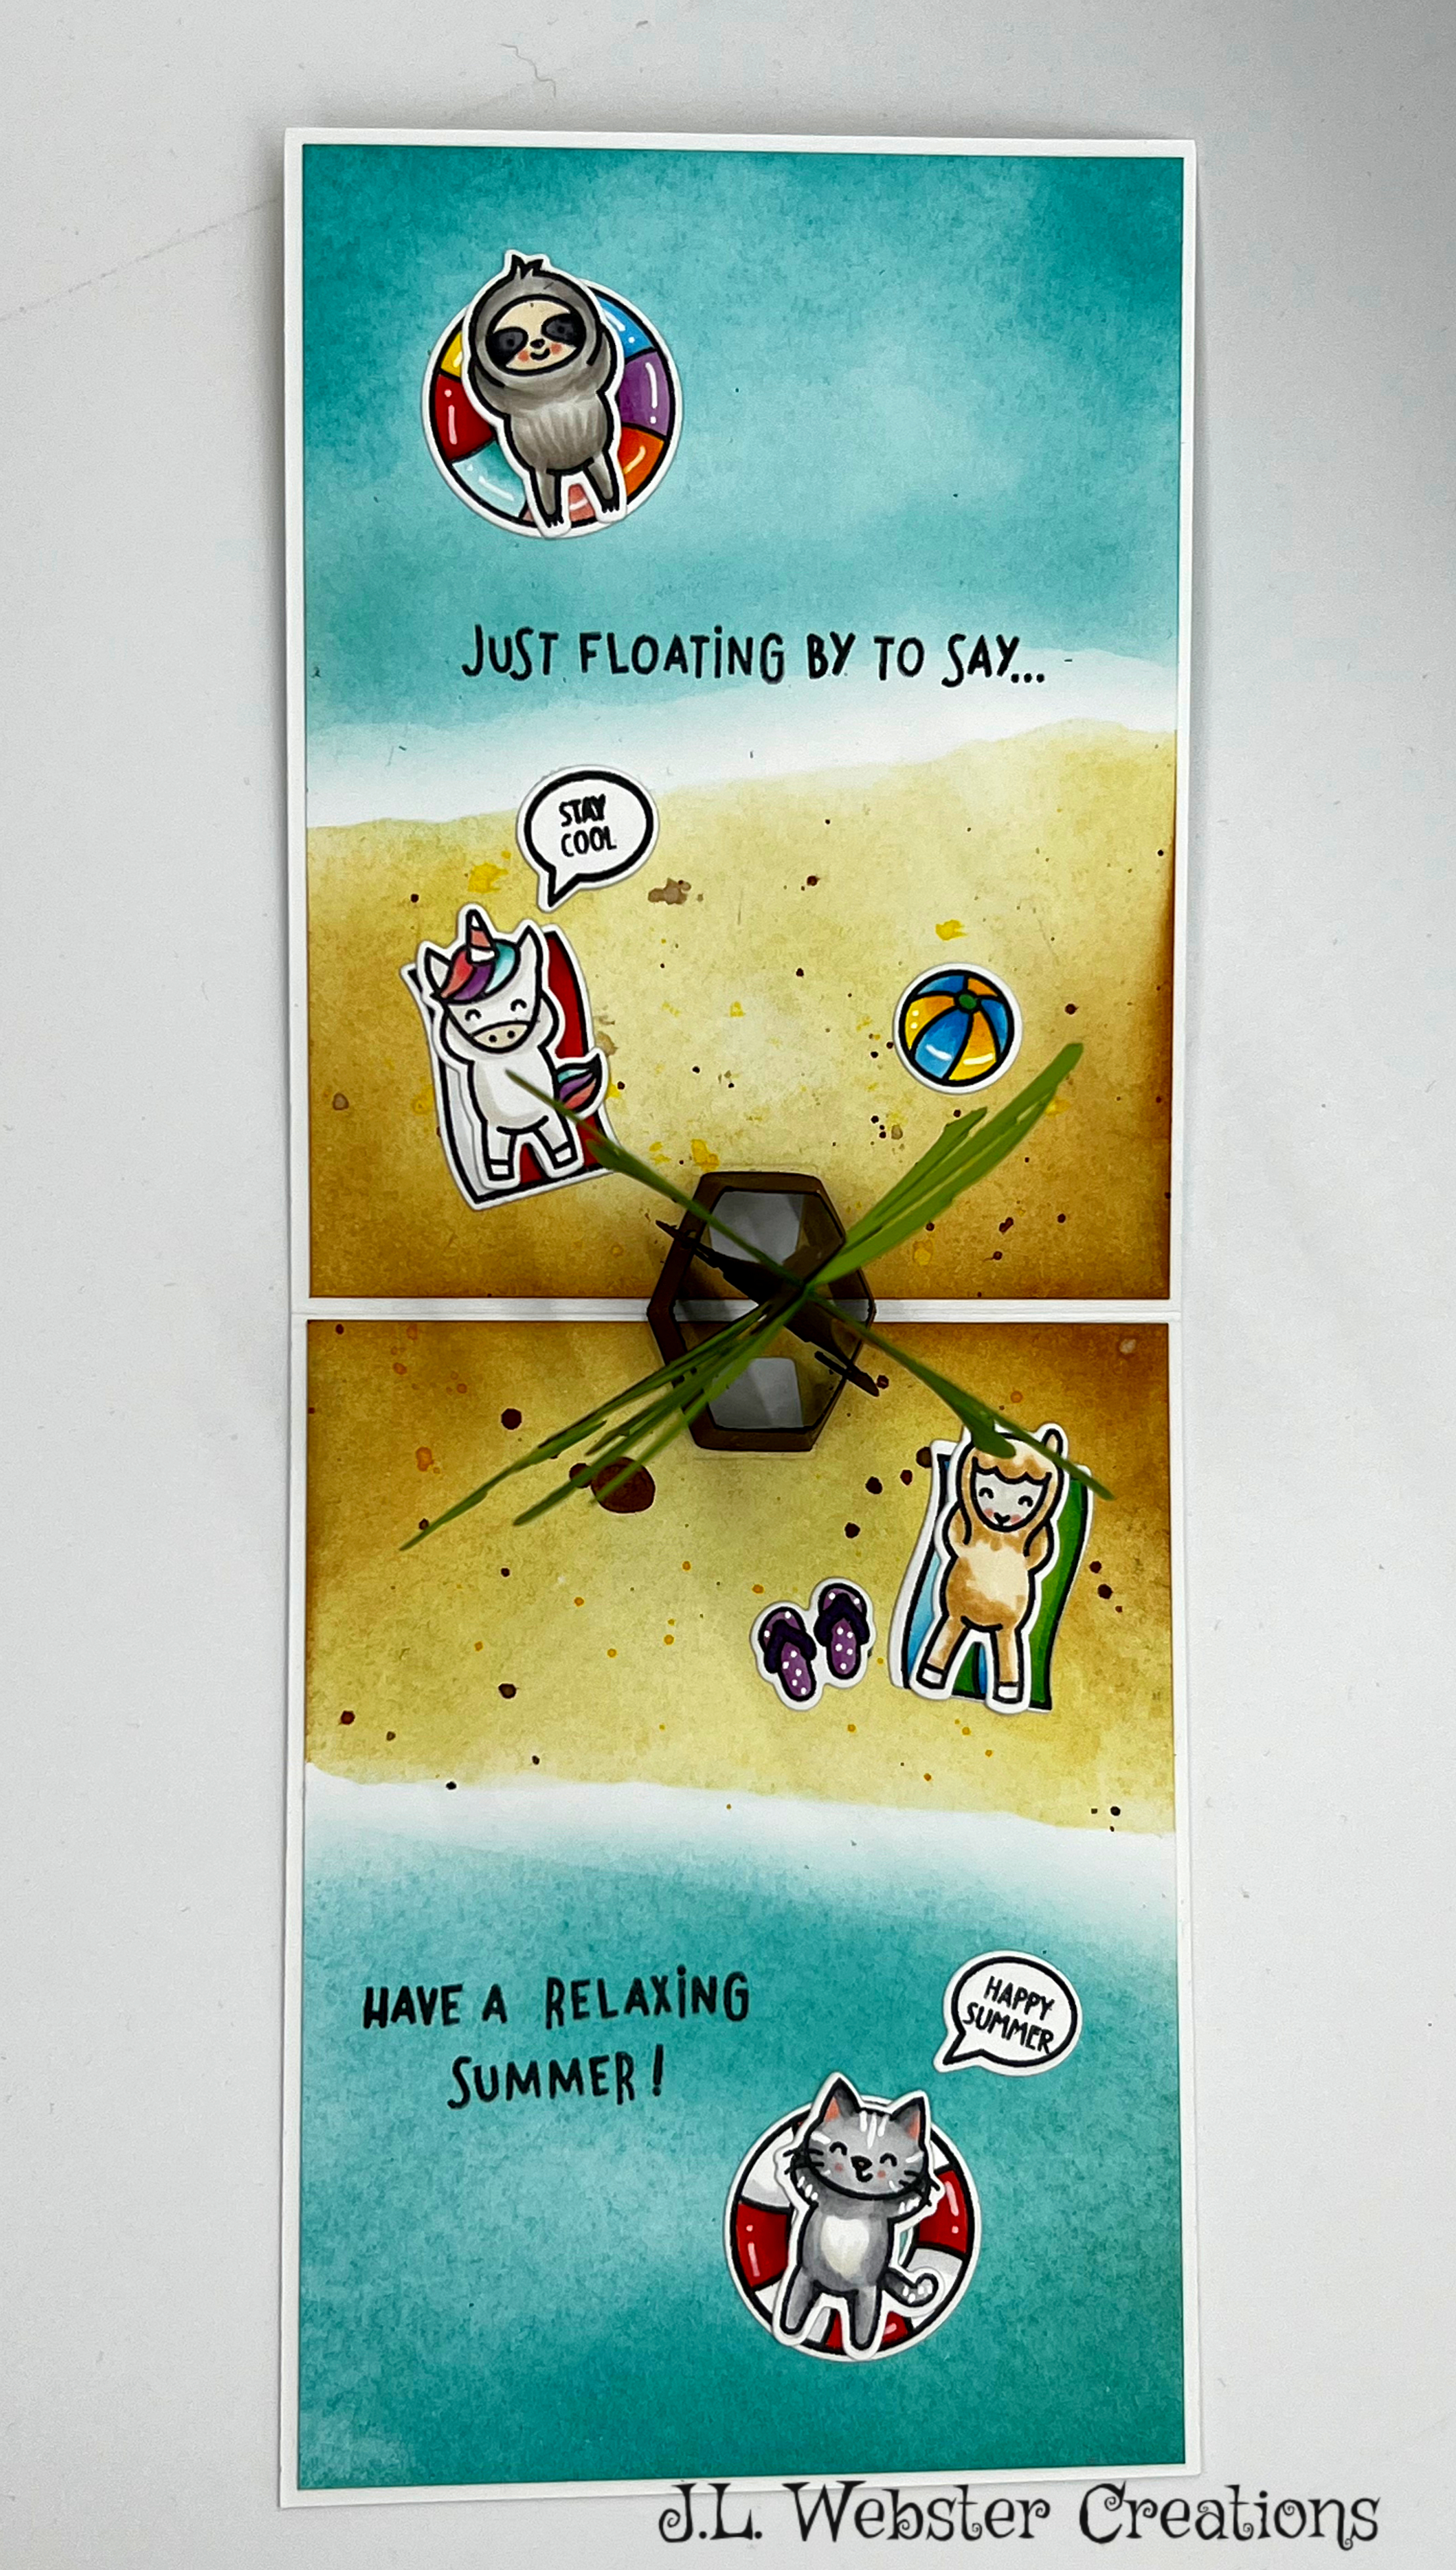
I colored and die cut all the sweet images from the Lawn Fawn Pool Party set and added them to my beach scene. I added the sentiments "just floating by to say..." and "have a relaxing summer" which also came from the Lawn Fawn Pool Party stamp set. 


The best thing about Karen Burniston's pop-up dies is they add an element of surprise to even the simplest of cards. They will give your cards a wow factor! I just love the palm tree pop-up, it's probably one of my most used die sets from Karen Burniston. 

As always, a big thank you for stopping by and Happy Crafting! 

Thursday, June 2, 2022

Teacher Appreciation Card

Hello and welcome! Todays card is a teacher appreciation card made for a special teacher that loves flowers and gardening. So what better way to use the new Lawn Fawn Garden Before 'n Afters, then on this cute card. The Lawn Fawn Spring 2022 release had all kinds of neat stamps and dies, like the Garden Before 'n Afters. 

As always, lets start with the background. For this background, I used the Lawn Fawn Spring Blossoms Background Stencil. I used yellow, pink and purple inks for a spring look. I stamped the before and after images on 110lb cardstock and cut them out with the Lawn Fawn Magic Picture Changer die set. This is a set that gets a lot of use in my office. I used the Lawn Fawn Magic Picture Changer add-on and die cut out the yellow striped background. 


For the word teacher, I used the Hefty Doodle: Teacher Hefty Cuts die. I cut the word out twice with black cardstock and once with the blue glitter cardstock and glued them all together using my most favorite glue from Karen Burniston, Lineco Neutral PH Adhesive

For the small sentiment on the bottom of the yellow striped background, I used SugarPea Designs: Sweet Sentiments Teacher stamp. This small set has several different teacher related sentiments and is perfect for this card. 

The final card went over really well with my friend who ordered it. As always, thank you for stopping by and Happy Crafting!!

Monday, May 16, 2022

Super Cute Succulents from Lawn Fawn!

 Hello everyone, I hope you are all well. Todays card is extra special because it was made for my very best friends birthday. She loves succulents, her house is filled with so many beautiful plants. So I knew I had to make her a card with her favorite plants. 

For this card, I used two different die sets. But as always, lets start with the background. I used the MFT Small Brick Wall Stencil and used Hero Arts Shadow Ink in Wet Cement. 

On the brick wall, I die cut out a board, using the MFT Pegboard Cover-Up die and used the MFT Spring Garden Die-namics to make the garden tools hanging from the pegboard. I also used the Spring Garden Die-namics to make the table the succulents sit on and some of the pots. As well as the watering can and the birdhouse. 

I used the Lawn Fawn Plant-a-Succulent die set to make the larger pots and succulents. As always I used my Copic markers to add some dimension to the plants, pots and tools. 


The sentiment came from Honey Bee Stamps: My Favorite Flower stamp set. This cute set has matching dies that you can use to cut out the sentiment. It was stamped in black ink. 

My bestie was super excited about her birthday card, which made all the hard work so worth it. As always, thank you for stopping by and Happy Crafting!!

Friday, May 6, 2022

Getting Ready for Mothers Day with Honey Bee Stamps!!

 Hello there and welcome! I am getting ready for Mothers Day and this year instead of the usual stamped flowers, I am using the Honey Bee Stamps Lovely Layers dies. These amazing die sets really are spectacular to use. 

For my first card, I used the Lovely Layers: Hydrangea flower die. The flowers are just so beautiful on this card, that the backgrounds needed to be simple, but elegant. So for this background I got out one of my favorite tool, my Hot Foil Glimmer Machine from Spellbinders! For this card, I used the Essential Glimmer Rectangles Hot Foil Plate, which leaves small dots all around the cardstock. 

Glimmer Hot Foil Tip: If you are thinking of getting a hot foil machine or you have one and are frustrated by the extra foil that makes it on to your cardstock, invest in sand erasers! These amazing little erasers will remove the extra foil where it isn't supposed to be. 


To make the flowers, I used two different colors of pink cardstock. Unfortunately, I cannot remember what the paper color is called (or even where it came from, I've had it a while). Using my Copic markers, I added some details to the flowers to give them some dimension. I cut the leaves out with a green cardstock and did the same thing with my Copics. 

For the sentiment, I used my Glimmer machine again with a very pretty pink foil and the More Sentiments Glimmer Hot Foil plates. 

For the second Mothers Day card, I used the Lovely Layers: Anemone die set from Honey Bee Stamps. When I make flower cards, I like to look up pictures of the flowers first so I have a better idea what color they come in, or what they look like. So for this card, I used pink and purple anemones. 

Just like in the first card, I used my Glimmer machine and hot foiled a background using the Essential Duo Lines Glimmer Rectangles from Spellbinders. This gives you two lines on your card and for this I used a silver holographic foil. 


Like all my die cuts, I added dimension to the flowers and leaves using my Copic markers. These flowers are sitting in a cute wood box, which was made using the Honey Bee Stamps: Wooden Crate. I cut the back half with a green-blue colored cardstock and the front part with white cardstock, then with my Copics I added some shadow.

The sentiment for this card came from Honey Bee Stamps as well, this set is called My Favorite Flower and it's a super great sentiment set for friend or family cards. Each sentiment has a matching die that you can get to cut them out with.

Honey Bee Stamps has come out with all different kinds of "Lovely Layers" die set and they truly are as lovely as they look. 

As always, thank you for stopping by and Happy Crafting!

Monday, April 18, 2022

Happy Easter! Two Easter Cards with Lawnfawn

 Hello and Welcome! 

Happy Easter! Today I have two different cards using two different Easter stamp and die sets from Lawn Fawn. 

The first card uses the Lawn Fawn Build a Basket - Easter die set. This super cute die set comes with everything you need to make the basket filled with Easter goodies. 


Let's start with background for this card. I used the mini cloud stencil from My Favorite Things and Peacock Feathers Distress Ink. I also used the grass stencil from MFT and Mowed Lawn Distress Oxide Ink. I die cut out a piece using a grass die from MFT and stamped the sentiment from the Eggstra Amazing Easter Lawn Fawn stamp set. 

Each die cut piece was cut and hand colored using Copic markers to add dimension to the card. For the chocolate bunny, I used glossy accents to make is shiny. I added the flowers and bow which just make this card super cute!

The word Easter is cut using Oliver's Stitched ABC's from Lawn Fawn. I used different colors of distress ink in spring colors first and then cut the letters out. 


For this second card, I used the Eggstra Amazing Easter stamp and die set from Lawn Fawn. I used Copic markers to color each stamped image. I added some glossy accents to the eggs and chocolate bunny to give the card some dimension. 

For the striped, three panel frame, I used the MFT Blueprints 27 Die-namics. I had some scrap striped paper and cut it out with that. I love using my scraps for little things on cards. It's a great way to use up your scraps. 

The background behind the panel uses the same as the above card, the mini cloud stencil and the grass stencil from MFT Stamps and it also uses the Peacock Feathers and Mowed Lawn Distress ink. 

The sentiment is also part of the Eggstra Amazing Easter stamp set. It is stamped using Versa Mark Ink and white embossing powder. 

These cards went over really well this Easter! As always, thank you for stopping by and Happy Crafting!!

Karen Burniston Designer Challenge - August 2026 - Mealtime

 Hello Crafty Friends and welcome! It's Designer Challenge time (boy are these months flying by!) once again and our theme for August 20...