Hello and Welcome! Today's card features the new Cupcake Add-Ons die set that is part of Karen Burniston's June 2023 new release. This add-on die set is for the Landscape Rectangle Accordion die set.
Monday, June 26, 2023
Cupcake Accordion Card Using Karen Burniston's New Cupcake Add-Ons!
Friday, June 23, 2023
Karen Burniston - KB Riley LLC June 2023 New Release Blog Hop!
Hi Crafty Friends,
- 2 new Charm Sets
- 1 new Word Set
- 2 new Add-on Sets
- 3 new Pop-up Die Sets
- 1 stand alone Die Set
Thursday, June 22, 2023
Karen Burniston Sneak Peek Week Day 4 - Game Charms
Hello and Welcome! Today's card features the new Game Charms die set. This awesome set comes with dies to create chess pieces, dice, small playing cards, poker chips and a pool cue and 8 ball! For my card today, I create a pool table card.
For this card, I started with a 5x7 card base using a heavy weight black cardstock.I used the Rectangles and Labels - Crosshatch die set to create the edge around the pool table.
I glued down a piece of green felt first. Then I added foam tape to the back of the pool table edge I created. I punched out black circles and cut them to create the pockets on the table.
I didn't just want one pool ball, so I dug out my Mini Alphabet and Numbers die set to create different pool balls, including solids and stripes. I looked up the correct numbers and colors so it was accurate. I added some gloss lines on the balls using a size 10 white Gelly Pen.
I die cut the pool cues, adding details with Copic markers. Then I die cut the "Happy Father's Day" sentiment from the Happy Fathers Day die using holographic cardstock.
For the inside of the card, I used the Little Labels Pop-Up die set. I added some green paper to continue with the pool table theme and added different pool balls again to each little label.I die cut the word "Dad" using the Alphabet die set and the same holographic paper. I stamped and die cut the sentiment "you're the best" using VersaMark Ink and white embossing powder on smooth black cardstock.
I added a few more little stamped details and an area to sign the card.
I can't wait to create another card using the Game Charms dies. My parents both play cards at our local Legion, so I think I playing card card is in order!
Thank you so much for stopping by for my last Sneak Peek day. Tomorrow is our Blog Hop so be sure to stop by and leave a comment so you can be entered to win a $25.00 gift card for Karen Burniston.com!! Happy Crafting!
Wednesday, June 21, 2023
Karen Burniston Sneak Peek Week Day 3 - Small Scenes Bam Box Pop-Up
Hello and Welcome! Today's card features the new Small Scenes Bam Box Pop-Up. This new set comes with four small little scenes for any theme, such as snow, grass, water or just a small hill! This also includes a smaller bam box pop-up, which is perfect for those smaller details you want to pop-up.
For my card, I wanted to create a picnic surrounded by fruit trees! It was the perfect excuse to finally use the Tree Fruit dies.I started with a A2 sized card using smooth white heavy weight cardstock for the base. I then created a cloud background for the sky and used the Natures Edges die to create a grass hill in the background.
Then I die cut four trees using the Tiny Trees Pop-Up. I added some texture to the trees using Distress Oxide ink in Mowed Lawn.
I then die cut several apples and peaches, adding details to each fruit with my Copic markers. I added two trees to the background of the card and added the fruit.
Then I die cut two small Bam Boxes from the new Small Scenes Bam Box die set using the same green cardstock as the background.
Tuesday, June 20, 2023
Karen Burniston Sneak Peek Week Day 2 - House of Cards Pop-Up
Hello and Welcome! Today's Sneak Peek made me gasp when I first seen it. This incredible die set will create a house of cards or in my case, it made me think of a mushroom house for a little gnome family!
For this card, I started with two 5 x 7 panels of smooth white heavy weight cardstock. I added a piece to create a spin and then created a small flap adding magnets to create the closure for this pop-up card.
From there, I added some dark brown cardstock to the inside and the front of the card. I found some pretty green patterned paper and used that for the inside and front as well.
I added two small fence pieces from the new Fence Landscape Accordion Add-On and also some of the flowers from that new set. Then I added my little gnomes.
I had to stitch some words together to create my sentiment for the inside of this card. But once I had everything in place, I started building my mushroom house!
I had to die cut everything twice because my paper was very thin. Once I had all the pieces glued together, I started building. It was relatively easy to build and if you make a mistake, it's easy to take apart and correct, then put back together. Once I had my house all together, I added white dots in three different sizes to the red mushroom top. I used three different circle punches to create this.
Once I had everything done on the inside, it was time to work on the front of my card.
I added some more gnomes and more flowers using the new Fun Flowers die set.
I also added the Congratulations sentiment from the new Word Set 17 - Congratulations.
I can't wait to see what you come up with for the new House of Cards die set. Be sure to come back tomorrow for my next sneak peek card featuring another amazing new set from the Karen Burniston June 2023 New Release.
Happy Crafting!
Monday, June 19, 2023
Karen Burniston Sneak Peek Week Day 1 - Baking Charms!
Hello and Welcome! Are you as excited as I am for the new Karen Burniston June 2023 release? Well I know I am and I am also super excited to start my Sneak Peek week with this card using the new Baking Charms.
For my card, I wanted to create a kitchen themed pop-up to use with the new Baking Charms die set. So I created a pop-up gnome using the Bitty Ball Pop-Up along with the Mini Ball Add-On 1 - Gnomes to create my little pop-up baker!
I added the oven mitts (which is from the new Baking Charms) to her little hands and then die cut a spatula from the new die set to add to her hand.
I created a card base that is 5 x 5 with a 1/4 in center spine. I added a flap using the Flap and Closure die set. For the inside of the card, I used some patterned paper I had on hand to create the wood looking floor and the walls.
From there I created a round floor mat to go under my Gnome baker using the Circles - Crosshatch die set.
I die cut the bowl, spoon, rolling pin and whisk from the new Baking Charms and added detail to them using my Copic makers.
I then glued them down on the counter top using my Lineco Neutral PH glue.
Before I added my little Gnome baker, I wanted to create the front of the card. I added some small magnets to the flap and to the front of the card and glued them down. Then I covered the front with a baking themed patterned paper. I added some additional squares of paper and added the word "Sweet" using the You're Sweet die set, only cutting off the You're part.
Thursday, June 8, 2023
Friendship Card with Lawn Fawn's Garden Before 'n Afters
Hello and Welcome! Today's card is a cute interactive card using Lawn Fawn's Magic Picture Changer along with their Garden Before 'n Afters stamp set.
For this card, I started with a A2 top fold card using MFT's Cardstock in Limelight.I used a pretty yellow patterned paper for the background from a paper pack I purchased recently called Fun on the Farm by Echo Park. I thought this splash of yellow would go well with the green cardstock.
With a pencil, I drew the area with the picture changer so I knew where to stamp my before and after images. I tried to make sure both images were in the same position so when you pull the tab they look the same.
Once I had my images stamped, I colored everything in with my Copic markers.
I then die cut the frame around the picture changer using Lawn Fawn's Magic Picture Changer Add-On and following the images I stamped on the picture changing insert, I created the sky and ground to match what I had made in the picture changer. I colored this in with Copic markers as well.
I stamped a few images from the Garden Before 'n Afters stamp set as well as the little bee from Lawn Fawn's Berry Special stamp set. I colored these in with Copic markers and die cut them out using the coordinating dies.Before I added the extra images, I stamped the sentiment on the front using VersaMark Ink and white embossing powder.
Then I added the images I stamped and die cut to the front, being careful not to get glue on the picture changer mechanism.
I did a test pull to make sure everything worked well and it did! Lastly I added a bit of scrap green cardstock to the pull arm and added the "pull" tab on the end.
I just love how great these cards turn out, how simple they are to make and just how much fun it is to pull the tab and watch the picture change!
Thank you so much for stopping by today and Happy Crafting!
Tuesday, June 6, 2023
Karen Burniston Designer Challenge - June 2023 - Wedding or Baby!
Hello and Welcome! It's Designer Challenge time once again and this months theme is Wedding or Baby! For my card, I used the Surprise Cube Pop-Up to create baby blocks.
For this card, I started with a card base of 5 x 10 3/4. I created a 1/4 in folding point in the center to make room for the blocks.Monday, June 5, 2023
Baby Bear Pop-Up
Hello and Welcome! My card today uses Karen Burniston's Katherine Label Pop-Up along with these adorable baby bear dies from Studio Light - Bear Friendz.
For this card, I started by making a card base using 80lb smooth white cardstock. Then I dug out an old baby themed patterned paper pack and found this perfect cloud paper. I used Karen Burniston's Rectangles - Crosshatch to die cut out three rectangle panels.
For the inside of the card, I die cut the pop-up mechanism from a scrap of blue cardstock I had on hand and glued it inside of the card. Then I die cut the label from the same patterned cardstock as the inside of the card.
I assembled the little bear in the blanket using scraps of cardstock and added some details with my Copic markers. I checked the placement before gluing the bear down and once I had him placed where I wanted him, I glued him to the pop-up mechanism.
I used Karen Burniston's Welcome die and Mini Alphabet dies to create the Welcome Baby sentiment. Then I added a place to sign the card using Karen Burniston's Hexagons - Crosshatch dies and some smooth white cardstock.
I used Honey Bee Stamps Inside: Welcome Baby Sentiments to stamp and cut the little sentiment under the bear.
For the front of the card, I used the same patterned paper. I added a little bear only holding a blanket and with a pacifier in his mouth. As I did with the bear on the inside, I added some details to the bear with Copic markers.
I stamped another sentiment from Honey Bee Stamps and used the coordinating dies to cut it out, then placed it under the bear.
How adorable are those little bears!! Thank you so much for stopping by and Happy Crafting!
Wednesday, May 31, 2023
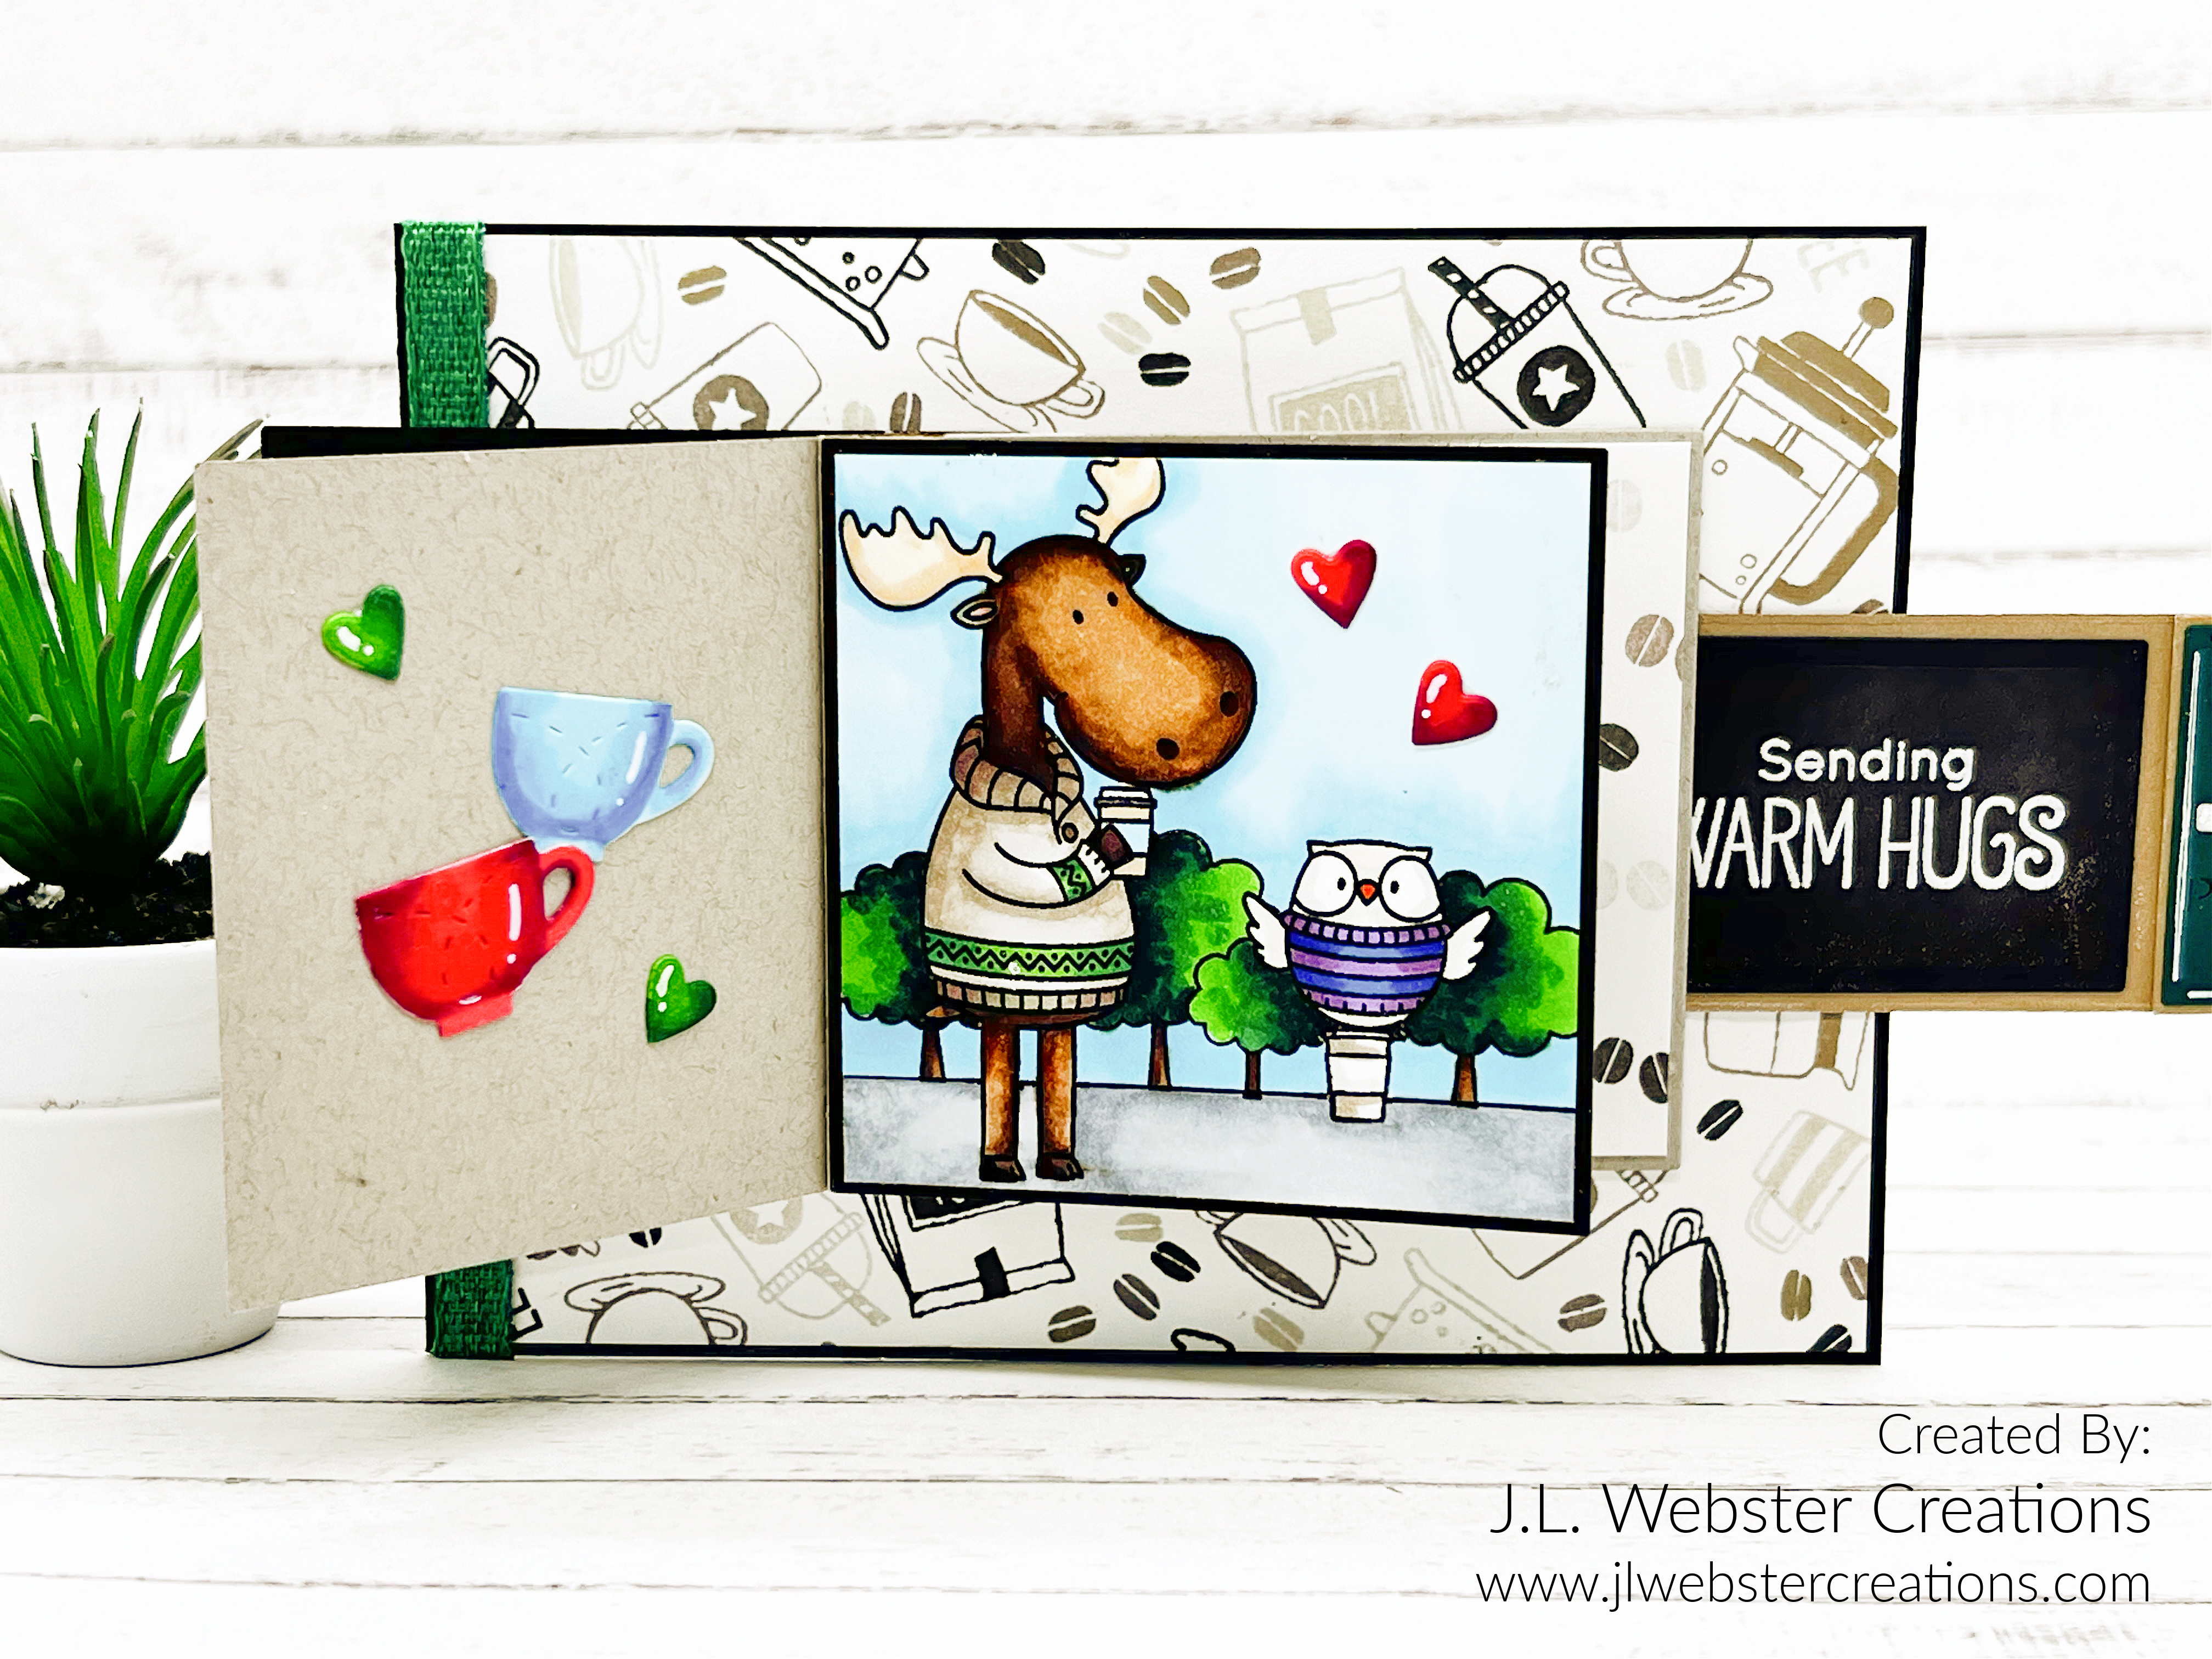
Coffee Waterfall Card
Hello my Crafty Friends and welcome! Today's card features Karen Burniston's Waterfall Card die set, along with Concord and 9th's Coffee Blend Turnabout Stamp set and My Favorite Things Sweater Weather in the Woods.
For this card I started with an A2 side fold card with Lawn Fawns Ground Coffee cardstock. I then cut two panels slightly smaller than my card base and used my Coffee Blend Turnabout stamp to create the background. For my inks, I used Simon Says Stamps Pawsitively Saturated Ink in Latte, Cappuccino and Mocha and I used Lawn Fawn's Crunchy Leaf. Once I had the backgrounds done, I used double sided adhesive to attach them to the card base.I then used Karen Burniston's Waterfall Card set and cut out the notch in the open side of the card, so you are easily able to use the pull tab. To see the entire assembly instructions for this die set, click here to see her amazing video on YouTube.
Wednesday, May 17, 2023
Cowboy Flip Frame Pop-Up Birthday Card
Hello and Welcome! Today's card features Karen Burniston's Flip Frame Pop-Up along with My Favorite Things stamp set - Saddle Up & Celebrate.
For this card, I started with a A2 sized card using Lawn Fawn's Ground Coffee cardstock. I used blue gingham patterned paper from Echo Park called Fun on the Farm as my background. I aged the edges of the patterned paper using Simon Says Stamp Cappuccino Pawsitively Saturated Ink and a blending brush.
I die cut the frame for the Flip Frame Pop-Up, using some scrap kraft cardstock. I added a black background using the largest rectangle frame from the set. Then I cut out the smaller frame from Neenah Classic Crest smooth white cardstock. I stamped and masked my images the way I wanted, then colored them in with my Copic markers.
I stamped the remaining images I wanted to use for this card on the same smooth white cardstock and colored them in with Copic markers. Then I used the coordinating dies to cut the stamped images out.
I die cut a small rectangle from the same Ground Coffee cardstock as the card base and one from white cardstock to create an area for the sender to sign the card.
I also created a second frame for the other side of the card using the dies from the Flip Frame set and adding wood looking details to the frame as I did with the flip frame. I did this using a Copic marker and loosely creating lines on the frame.
I used Karen Burniston's Word Set 2 - Birthday Die Set and cut out the "make a wish" sentiment to add to the bottom of the card.
For the front of the card, I continued the same theme, adding another flip frame and more of the images from the MFT Saddle Up & Celebrate stamp set.I die cut the "Happy Birthday to you" sentiment from Word Set 2 - Birthday Die Set as well and added it to the frame.
This was my first card using the Flip Frame and it was incredibly simple to put together! For a more thorough walkthrough, click here to watch Karen Burniston's assembly video.
Thank you so much for stopping by today and Happy Crafting!
Foxy Fall Pop-Up Card!
Hello Crafty Friends and welcome! I have another pop-up card for you. This time, I used an old stamp set I had from My Favorite Things call...
-
Hi Crafty Friends, Welcome to our Karen Burniston Products - KB Riley LLC September Release Blog Hop. The Design Team have come together w...
-
Hi Crafty Friends, Welcome to our Karen Burniston Products - KB Riley LLC October Release Blog Hop. The Design Team have come together with ...