Friday, October 30, 2026

Vintage Christmas Cracker Card

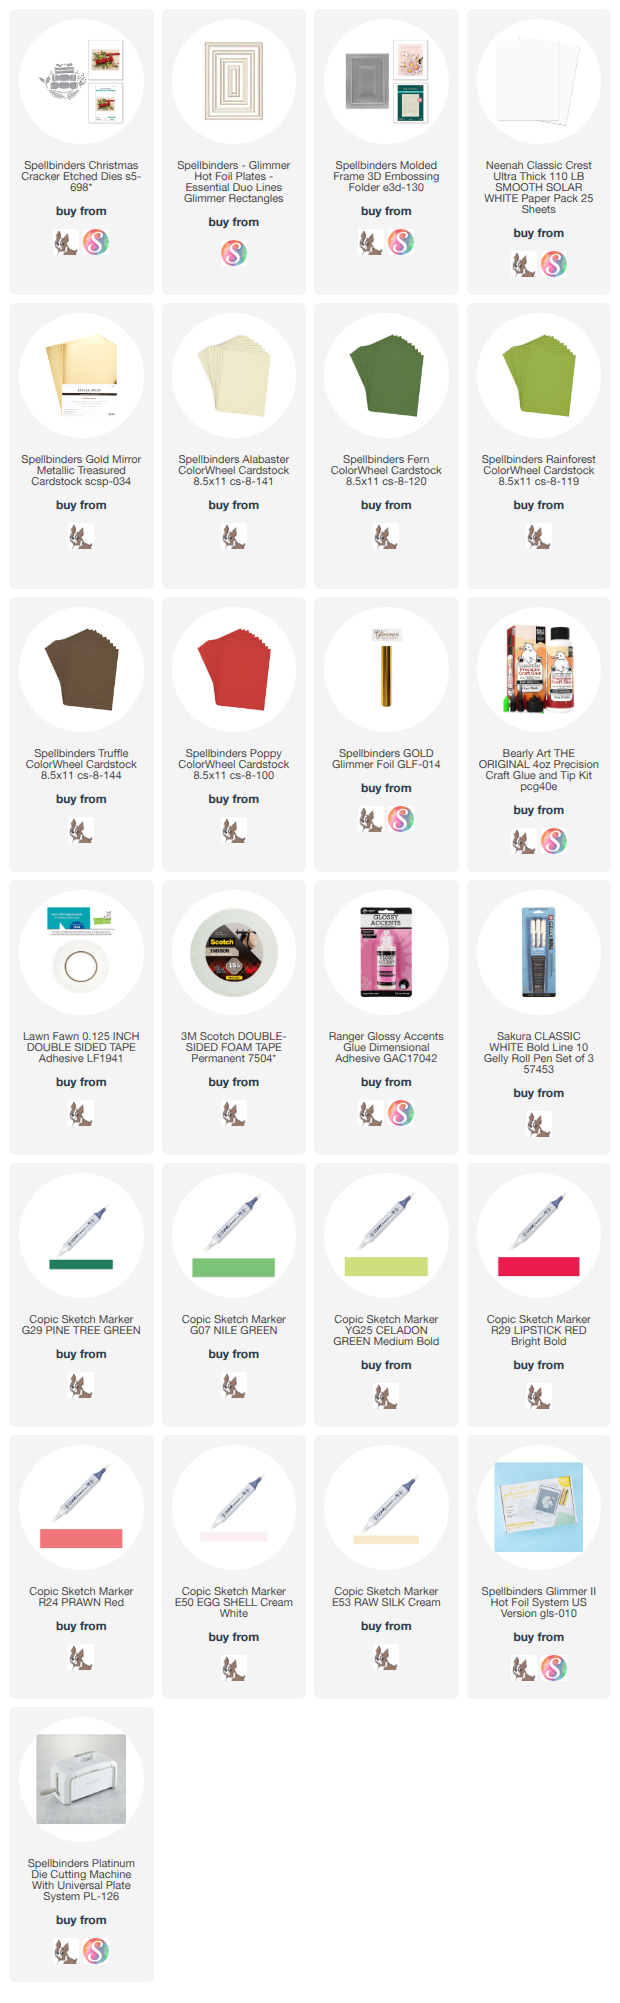
Hello Crafty Friends and welcome. Even though we are just a day away from Halloween, I thought I would get started on some Christmas cards. I bought this die set a while back and thought it was time to use it. For this card, I used Spellbinders Christmas Cracker die set.


 For this card, I started with an A2 sized card base using a heavy weight smooth white cardstock. I cut a piece of red cardstock, just slightly smaller than my card base and used Spellbinders Molded Frame embossing folder. Then I used my paper trimmer to trim the paper down to the edge of the frame. 

I used Spellbinders Glimmer Essential Duo Lines Rectangles plate in the largest size and gold foil to add a border around my card background. I also added the sentiment at the same time, using the Elegant Holiday Glimmer Sentiment plates. 

I die cut two crackers, using a cream coloured cardstock as well as mirrored gold and a dark green. Then I cut my foliage out using greens, browns and reds. 

I added Copic markers to give the pieces some detail. I took some time to arrange everything before I began gluing everything down. Then I used Bearly Art precision craft glue to adhere everything to my card front. For the crackers, I glued down the first cracker then added foam tape to the top cracker to add some dimension to them.

Once I had everything glued down, I added Glossy Accents to the berries on the front, once dry, I added some shine to the berries using a white Gelly Pen.

I think the colours give this card a vintage look. These little crackers are so beautiful and easy to put together. Thank you so much for stopping by today, below is a list of the supplies I used to make this card. Happy Crafting.

Supplies: For your shopping convenience, all products are linked below. Compensated affiliate links are used where possible with no extra cost to you. This helps me to continue to share all the projects I include on my blog. Please note I only use and share products I love. Thank you Crafty Friends!

Tuesday, October 6, 2026

Karen Burniston Designer Challenge - October 2026 - Hey Pumpkin!

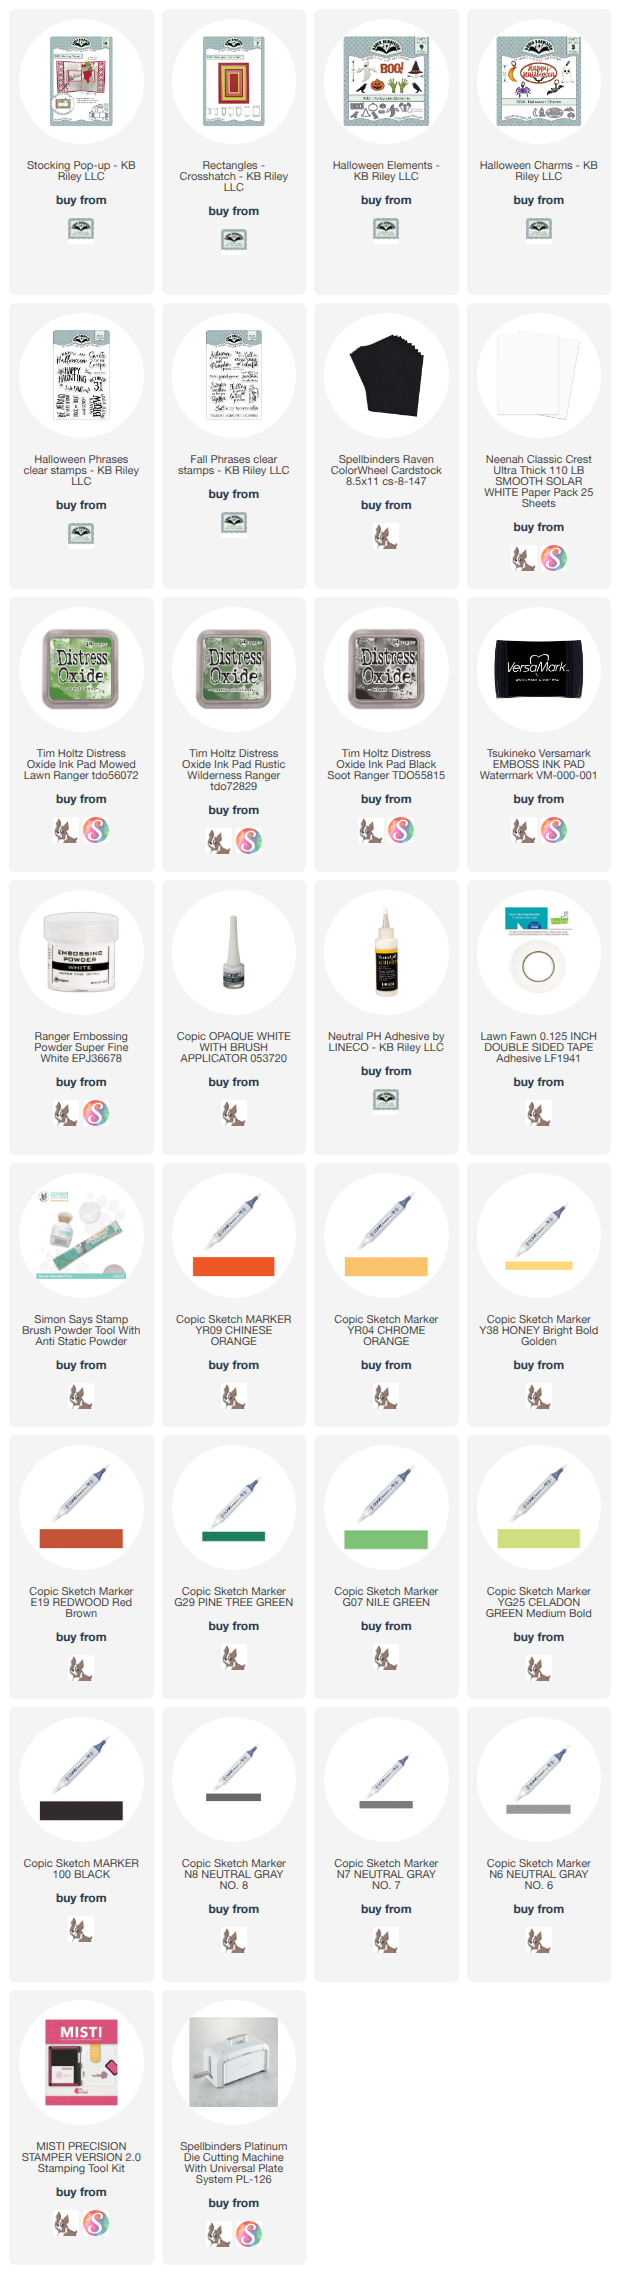
Hello Crafty Friends and welcome. It's Designer Challenge time and our challenge for October 2026 was to include a pumpkin or pumpkins in our card. For my card, I used the Stocking Pop-Up to make a haunted Pumpkin patch.


For this card, I started with an A2 sized card base using heavy weight smooth black cardstock. I cut two rectangles from smooth white cardstock and used Distress Oxide Inks to create my background. Once dry, I added it to my card base. 

I die cut the pieces for the pop-up mechanism of the Stocking Pop-Up from smooth white cardstock. I added Distress Oxide Ink to the band in the front and the rounded piece that sticks up from the back, so it matched my background. Then I added that to my card. 

I used Natures Edges die set to add black grass along the bottom of my card. Then I started in on the pumpkins. I die cut several pumpkins from the Autumn and Halloween Elements die sets. Then I coloured them in using Copic markers. 

I also die cut the ghosts and crows from the Halloween Elements and added them to my card. I added two bats from the Halloween Charms and added a sentiment to the top of the card. 


For the front of the card, I added some patterned paper and then used the Rectangles - Crosshatch to added some layers. I added another ghost, more pumpkins and a small sentiment for the bottom. 

I love colouring in pumpkins and this card was a lot of fun to create. Thank you for stopping by today, below is a list of the supplies I used to make this card. Happy Crafting.

Supplies: For your shopping convenience, all products are linked below. Compensated affiliate links are used where possible with no extra cost to you. This helps me to continue to share all the projects I include on my blog. Please note I only use and share products I love. Thank you Crafty Friends!

Karen Burniston November 2026 New Release - Sneak Peek Week Day 4 - Backdrop Stage Add-On

 Hello Crafty Friends and welcome! We have only two days left until the November 2026 is available to buy. I hope you are all as excited as ...