Hello Crafty Friends and welcome! I have another Halloween card for you. I bought these Haunted Mansion themed stamps from The Sassy Club and have been dying to use them lol. So after much debating which pop-up die would work well with my stamps, I thought about the Flip Frame Pop-Up. The only problem was the frame wasn't long enough, so I did some fancy die cutting and made it longer! There will be pictures below.

I die cut the pop-up mechanism from black cardstock. I wanted to make the picture in the Flip Frame one of the paintings from the stretching room. I'm not sure if you know what this is, but when you enter the Haunted Mansion you go into the main room, then you enter a room that is round. The room begins to look like it's stretching and then you get to see these what these four paintings are hiding. So for this I needed a longer Flip Frame. So to do this, I started by figuring out where I wanted the first run through to end. I placed removable tape just below where I would stop the first die cut.

Now I placed my top plate just to where the tape starts. Then I ran it through my die cutting machine, making sure to keep my top plate straight.

Once I had the first cut down, then I adjust the die to line up with the first cut. I place my removable tape just below where I want to stop my top plate.

Then I run this through my die cutting machine, making sure once again to keep my top plate straight.

Then I removed the tape and voila! I have a longer frame for the Flip Frame Pop-Up. I just had to cut a rectangle of smooth white cardstock after to fit in behind my new longer frame.

Next, I created the picture of the ballerina over the crocodile. I stamped my images first, using Detail Black Ink. Then I coloured in the background. For this, I brought up with the original background looked like and went from there. Then I coloured in my stamped images all using Copic markers. I glued the picture to back of my frame.
I glued in the pop-up mechanism and added the Flip Frame, testing it to make sure it worked. It will need a little assistance when closing, but it pops up perfectly!
From there, I started stamping and colouring all my other images. For the Hat Box Ghost in the Doom Buggy, I used some masking paper to add him in like he was riding on the Doom Buggy. I coloured everything with Copic markers. I fussy cut the images out with my craft scissors and set them aside.
I die cut some grass using Karen Burniston's Nature Edges and added Distress Oxide Ink in Mowed Lawn, Rustic Wilderness and Black Soot. Then I splattered it with white Copic Opaque paint and Black Soot Distress Oxide Ink. I set this aside to dry. I wanted my busts to sit on a podium, so I used my Cricut to die cut three stands out using smooth white cardstock, then coloured them the same colours as my busts. I glued these all to the bottom of the left side of the card.
Because these busts sing, I used Karen Burniston's Music Charms to add some ghostly music notes. Then I added a stamped sentiment just above the busts.
I added the Hat Box Ghost and the mirror with a Hitchhiking Ghost figure in the mirror. I added Glossy Accents to the mirror. I also added another sentiment and a place to sign the card.

For the front of the card, I cut a piece of smooth white cardstock 1/8" smaller than my card base. I used Simon Says Stamps Pawsitively Saturated Ink in Sprout, Fairway and Field and my Cloud stencil from MFT to create my background.
I used Karen Burniston's Halloween Scene die to add the tombstone backdrop. I also die cut more grass and then added my Hitchhiking Ghosts.
I wanted to add the "Welcome Foolish Mortals" but didn't have a die or stamp with that, so I found exactly what I wanted using my Cricut.
I am so happy with how this card came out. The Haunted Mansion is my absolute favourite part of Walt Disney World, so making this was so much fun. Thank you so much for stopping by today. Below is a list of the supplies I used to make this card. If you would like to check out The Sassy Club, click the link. Happy Crafting!
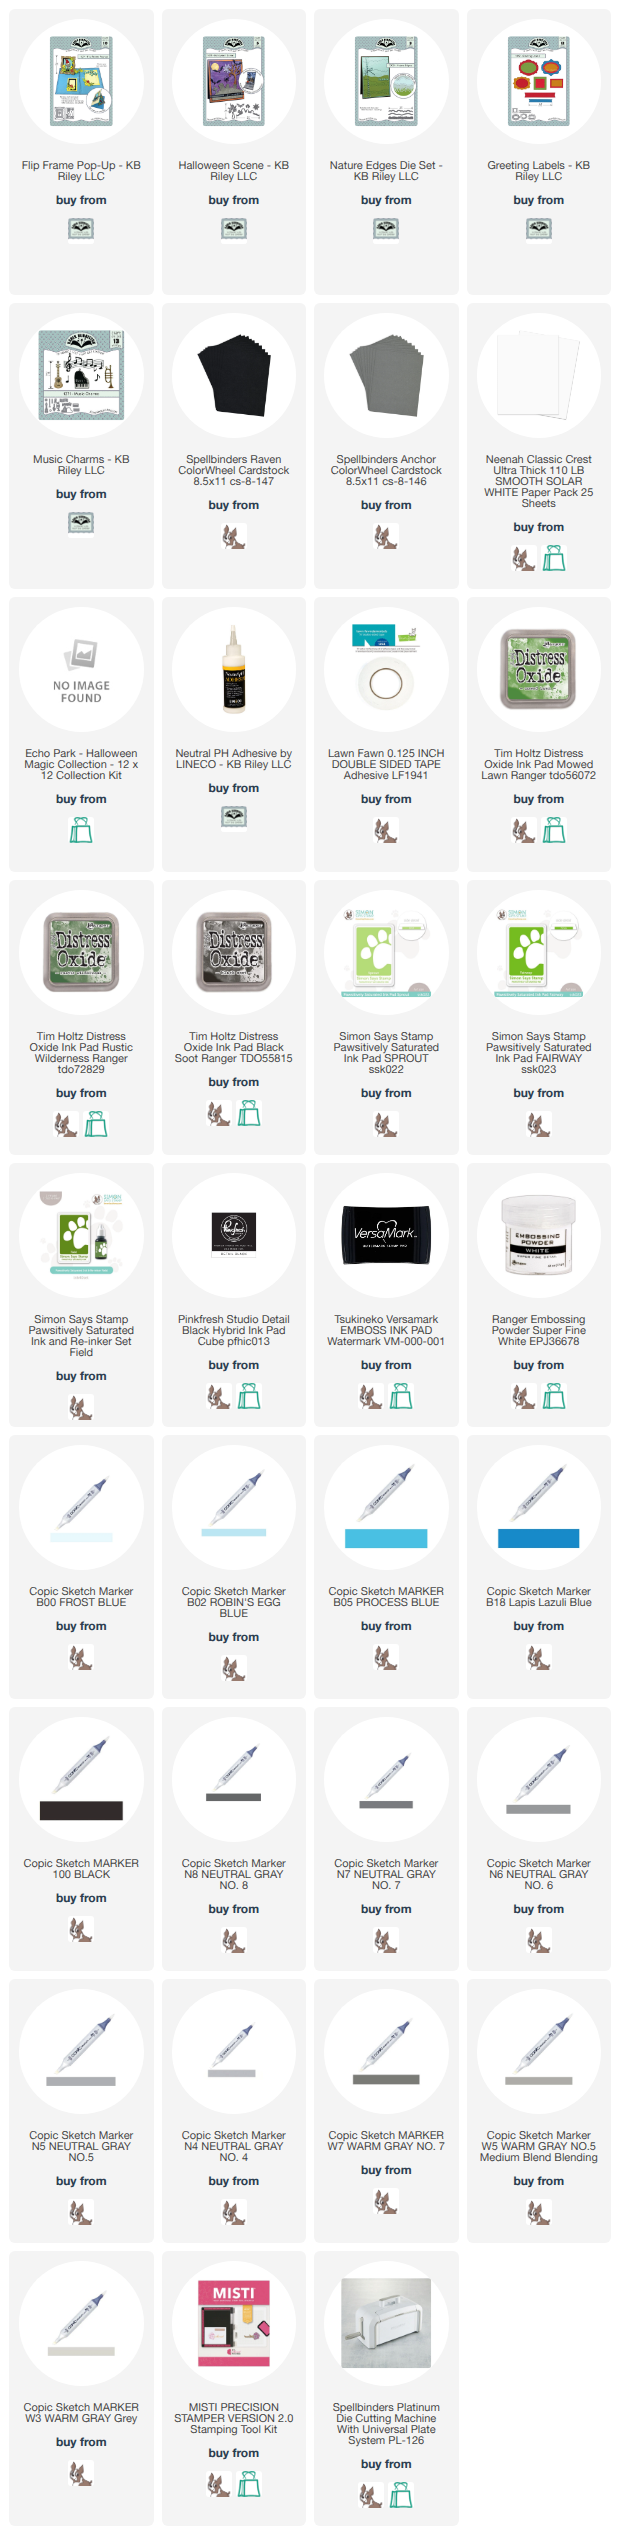
Supplies: For your shopping convenience, all products are linked below. Compensated affiliate links are used where possible with no extra cost to you. This helps me to continue to share all the projects I include on my blog. Please note I only use and share products I love. Thank you Crafty Friends!


No comments:
Post a Comment