Tuesday, June 3, 2025

Karen Burniston Designer Challenge - June 2025 - Animals and Characters

 Hello Crafty Friends and welcome! It's Designer Challenge time and our theme for June is Animals and Characters. We were challenged to make a card of any theme using any of Karen Burniston's amazing animal or character dies. 

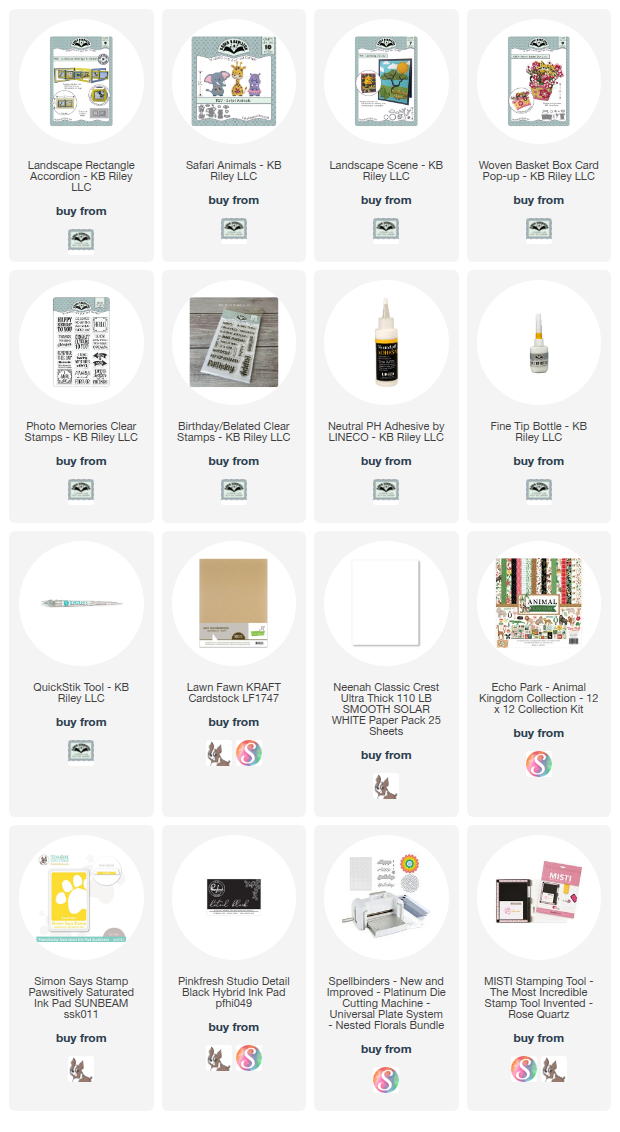
For my card, I went with a safari theme and used the Safari Animals along with the Landscape Rectangle Accordion die set. 


I started by die cutting three landscape rectangle accordion pieces from Lawn Fawn Kraft cardstock. I then cut four rectangles from a very neat patterned paper from Echo Park called Animal Kingdom. I added this as the border around each panel. 

I die cut three centre areas from smooth white cardstock to create the backgrounds for each panel. For the first panel, I added a sentiment using Karen Burniston's Photo Memories stamp set. I added the elephant from the Safari Animals die set and then added some leaves that came from the Landscape Scene. I added some flowers I die cut from the Woven Basket die set. I die cut everything from smooth white cardstock and then colored it in with Copic markers. 


For the second panel, I added the tree from the Landscape Scene die set. I die cut this from smooth white cardstock and colored it in with Copic markers. I die cut the Giraffe from the Safari Animals set and colored him in with Copic markers. Lastly, I added the sentiment "make a wish" from Karen Burniston's Birthday/Belated stamp set. 


For the last panel, I added another sentiment I stamped from the Photo Memories stamp set. Then I added more leaves and flowers and used the Hippo from the Safari Animals. I die cut everything from smooth white cardstock and colored it in with Copic markers. I left space for the card to be signed on this panel.


For all my background pieces, I used MFT Mini Clouds stencil and Simon Says Stamps Pawsitively Saturated Ink in Sunbeam. I thought it would look more like the savannah that way. I just love the Safari Animals (Giraffes are my favorite animal next to Bernese Mountain Dogs). Thank you so much for stopping by today, below is a list of all the products I used to make this card. Happy Crafting!

Supplies: For your shopping convenience, all products are linked below. Compensated affiliate links are used where possible with no extra cost to you. This helps me to continue to share all the projects I include on my blog. Please note I only use and share products I love. Thank you Crafty Friends!

Monday, June 2, 2025

Summer Birthday Wishes Card

 Hello Crafty Friends and welcome! My card today was created for Craft Roulette. The parameters this week were:

Project: Square Card

Colors: Butterfly/ies

Element: Cloud(s)/Cloudy

Random: Tied

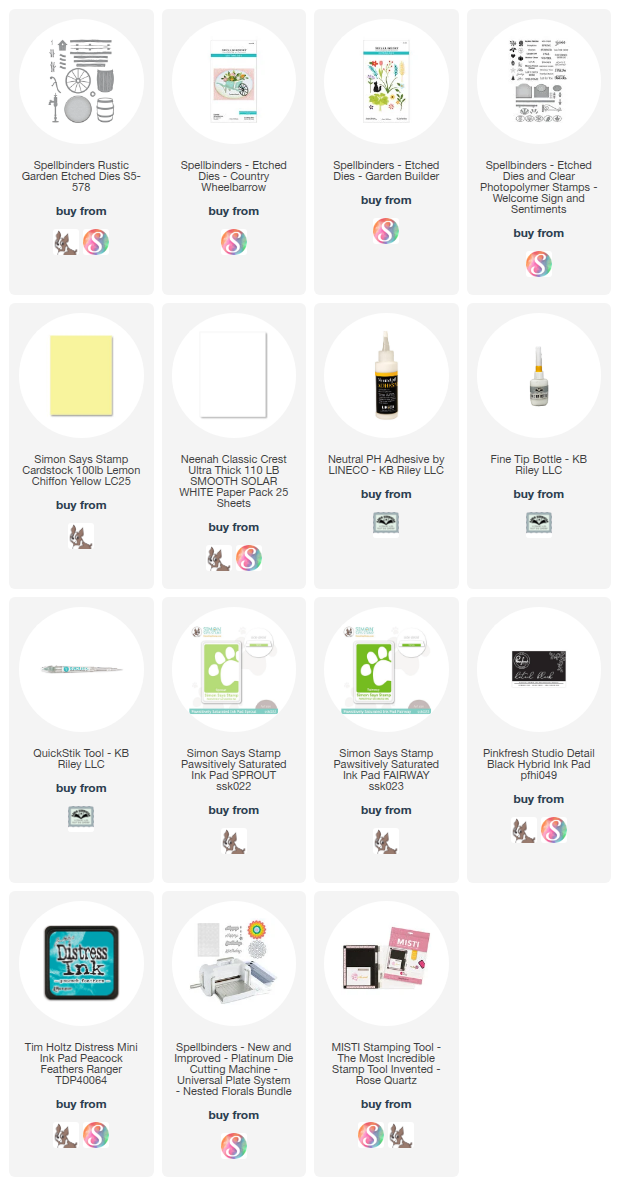
For my card, I used Spellbinders Country Road Collection dies to create my summery Birthday card. 

For this card, I created a card base that was 5.5 x 5.5 from Lemon Chiffon cardstock. I cut a square that was 1/8" smaller than my card base from smooth white heavy weight cardstock. 

I used MFT - Mini Clouds stencil and Distress Ink in Peacock Feathers to create my cloudy sky. Then I used MFT - Grass stencil, along with Simon Says Stamps Pawsitively Saturated Ink in Sprout and Fairway to create the grass. 

I die cut all my pieces from the Country Wheelbarrow, Rustic Garden, Garden Builder and Welcome Sign and Sentiments. I colored all my die cuts using Copic markers. I glued all the pieces together using Lineco Neutral pH adhesive in a fine tip bottle. Then, once I had all my pieces ready, I began to place them on my card. Before I glued them down, I stamped a sentiment on to the front of my card using Spellbinders Sending You sentiment stamp and Detail Black ink. Then I glued all my pieces down. 

Once the glue had dried, I trimmed any over hanging pieces with my craft scissors. I just love how this card turned out. It is so cheerful and perfect for any summer birthday! Thank you so much for stopping by today. You will find a list of all the materials I used to make this card listed below. Happy Crafting!

Supplies: For your shopping convenience, all products are linked below. Compensated affiliate links are used where possible with no extra cost to you. This helps me to continue to share all the projects I include on my blog. Please note I only use and share products I love. Thank you Crafty Friends!


Wednesday, May 7, 2025

Hap-bee Birthday Card using Karen Burniston's Oval Frame Pop-Up!

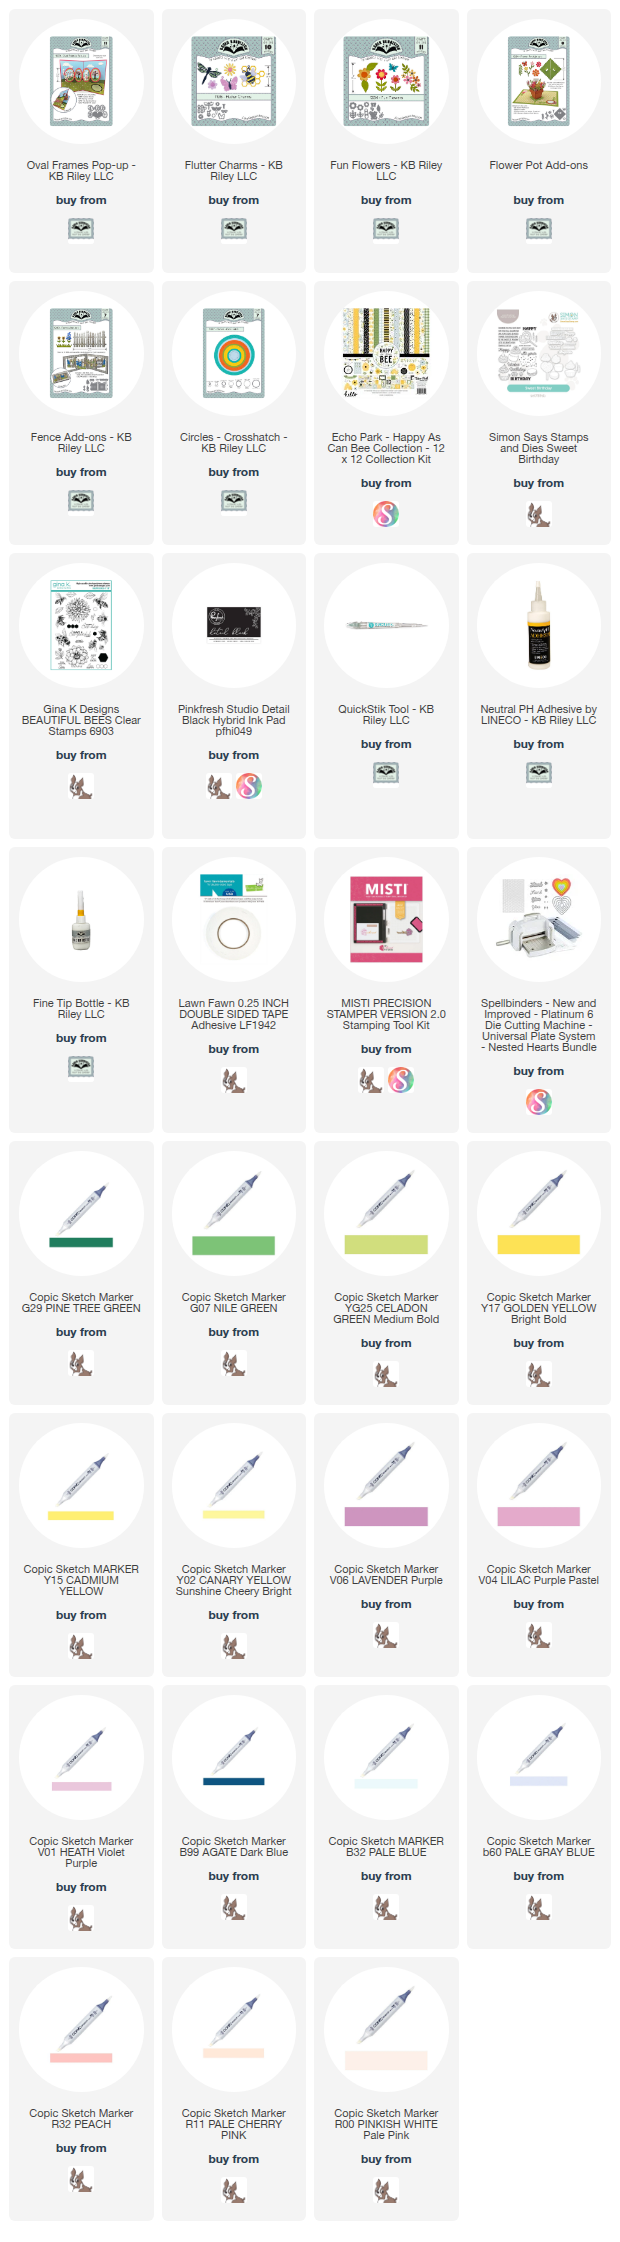
 Hello Crafty Friends and welcome! I recently purchased Karen Burniston's Oval Frames Pop-Up (I know, there are still some dies I don't have yet! Lol) and just had to try it out. I found it very easy to install into my card base and I love how I could have it raise up or down. I wanted to make a bee themed card and thought this pop-up would be perfect for that!

I started with an 5x5 card base using Bazzill cardstock in Sunbeam yellow. Then I added three smaller squares of patterned paper. I used Echo Parks Bee Happy patterned paper (one of my favorite packs from them) for the inside and front of my card. 

I die cut the pop-up mechanism from the same yellow cardstock. This wasn't a thick cardstock so it didn't bulk up the pop-up. I also followed along with Karen Burniston's instructional video (as this was my first time using this die set) which you can view by clicking here. 

I knew I wanted to have two bees kind of floating in the centre, so I die cut two bees from the Flutter Charms die set, from heavy weight smooth white cardstock and colored them in with Copic markers. I also die cut the back of the bee body from black cardstock, this was so I could run my clear thread behind the bee and secure it to the body without it coming off. I also die cut the frames that attach on to the pop up a second time and trimmed them out so I could sandwich the thread in between the frames. I used an "invisible" sewing thread to do this. 

I die cut several flowers and leaves from Karen Burniston's Fun Flowers, Flower Pot Add-On, Fence Add-On and Flutter Charms for the honey comb. I cut everything but the honey comb from heavy weight smooth white cardstock and colored everything with Copic markers. I die cut the honeycomb from Lawn Fawn Number 2. Pencil cardstock. 

Lastly, I added some sentiments to the two outer frames using Simon Says Stamps Sweet Birthday stamp set. I thought this worked perfectly with my card. 

For the front of my card, I die cut two circles using Karen Burniston's Circle - Crosshatch die set. Then I used Gina K - Beautiful Bees stamp set to add a sentiment to the smaller circle. I added these to the front of my card using Lineco Neutral pH adhesive in my fine tip bottle. 

I added more flowers and leaves and another bee to carry the theme from inside the card to the front. 

I think this card turned out beautifully! The Oval Frames Pop-Up is perfect for any theme of card, which makes it a very versatile die set to have. I also really loved how easy it was to install. There was no guesswork because as long as you stay inside the card you can place the pop-up anywhere along the seam! It would also fit into many card sizes. 

Thank you so much for stopping by today. All the products I used to make this card is listed below (unless they are no longer available). Happy Crafting!!


Supplies: For your shopping convenience, all products are linked below. Compensated affiliate links are used where possible with no extra cost to you. This helps me to continue to share all the projects I include on my blog. Please note I only use and share products I love. Thank you Crafty Friends!


Tuesday, May 6, 2025

Karen Burniston Designer Challenge - May 2025 - Make It Fluffy!

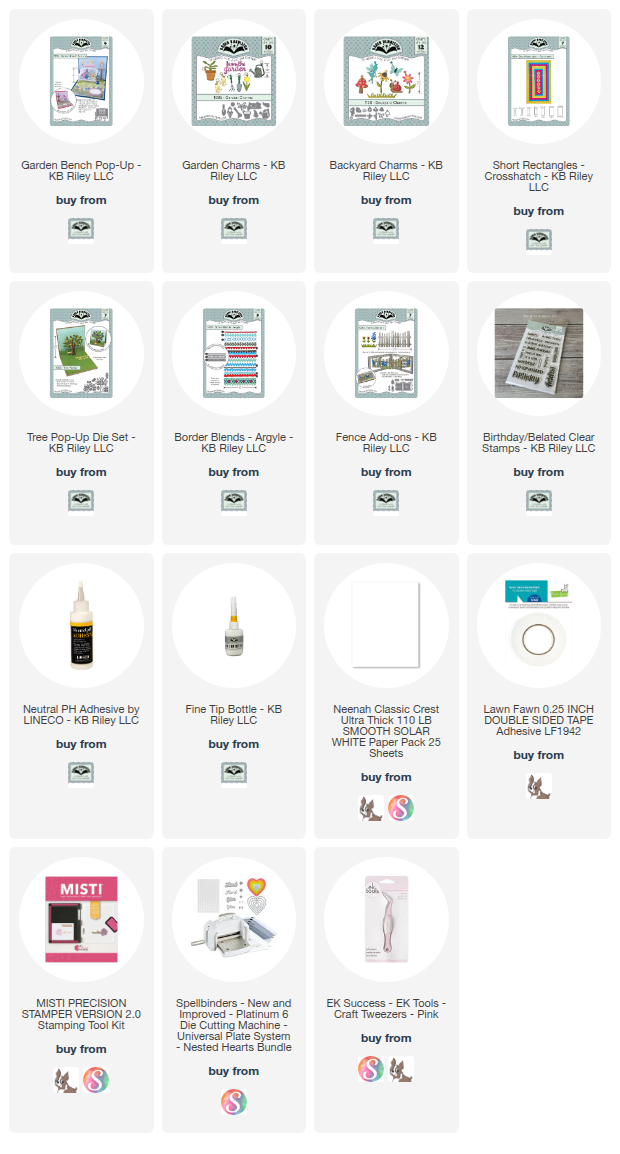
 Hello Crafty Friends and welcome! It's Designer Challenge time for the Karen Burniston Design Team and our theme this month was "Make it Fluffy!". What could be better than relaxing, surrounded by lots of soft, fluffy pillows? Not much! So for my take on this challenge, I used the Garden Bench Pop-Up to make a place for all my fluffy pillows!

I started with an A2 sized top fold card using heavy weight Neenah Classic Crest 110lb cardstock. I dug through my stash and found this paper by Simple Stories called Simple Vintage Life in Bloom to use as my background paper.

I die cut the bench from the same cardstock as the card base, then added it to my card. I die cut several pillows from scrap patterned paper I saved. Then I used my Lineco Neutral pH adhesive in a fine tip bottle and added all my pillows to my bench. 

I die cut the tree from the Tree Pop-Up from brown and green cardstock. I die cut several of the blue bonnets that come in the Fence Add-On die set, from white cardstock. Then I used Simon Says Stamps Pawsitively Saturated Ink in Bubblegum and Taffy to ink the "flowers". I trimmed them out to create the look of a Lilac tree. 

I used the Garden Charms to add the flower pots and plants and the Backyard Charms to add the butterflies. I added these all to the card, then added more pillows to the base and leaning against the flower pot. I cut a piece to add to the bottom for a place to sign. Then added some sentiments using the Birthday/Belated stamp set. 

For the front of the card, I added more of the patterned paper background, then used the Border Blends - Argyle die to create a scalloped border. I added this to the middle of the card. 

I used a sentiment stamp from Pink Fresh Studio called Happy Birthday Sentiments, which I stamped onto rectangles cut from the Short Rectangles - Crosshatch dies. I added this to the middle of the card. 

This will be a great birthday card for anyone who loves the garden or just sitting and watching nature. 

Thank you so much for stopping by today. To see all the supplies I used to make this card, see the list below! Happy Crafting!

P.S. Be sure to check out all the other amazing cards that our Design Team created by visiting www.karenburniston.com!


Supplies: For your shopping convenience, all products are linked below. Compensated affiliate links are used where possible with no extra cost to you. This helps me to continue to share all the projects I include on my blog. Please note I only use and share products I love. Thank you Crafty Friends!


Saturday, May 3, 2025

Lawn Fawn Challenge 195 - Bingo!!

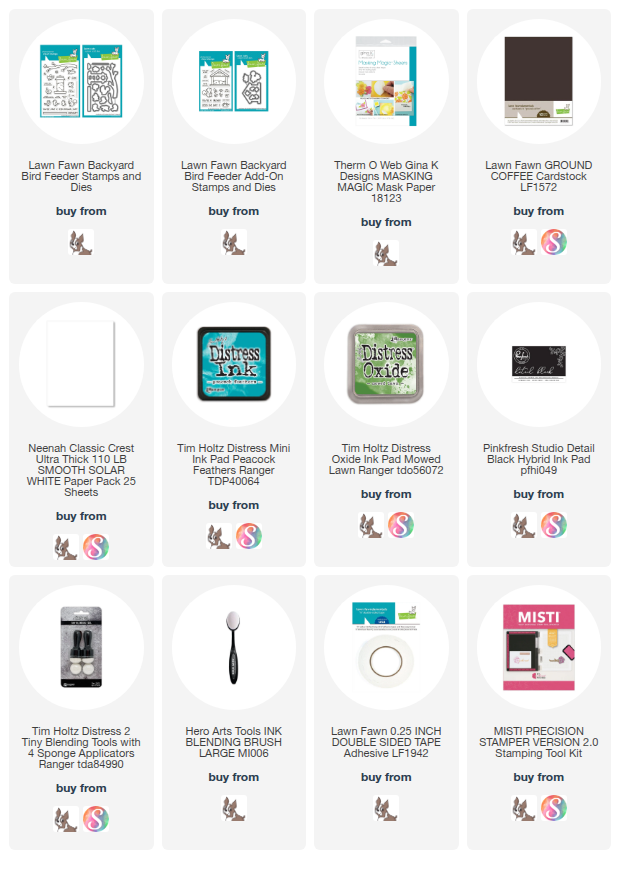
Hello Crafty Friends and welcome! My card for you today was created for Lawn Fawn's Challenge 195 - Bingo! I went diagonally down the Bingo card and chose Glitter, Grass, Stamp, Cardstock and Ink Blending. So for my card, I created this cute scene using Lawn Fawn's Backyard Bird Feeder and Backyard Bird Feeder Add-On. 

To start, I created an A2 sized card base using Lawn Fawn's Ground Coffee cardstock. Then I die cut a rectangle using MFT - A2 Stitched Rectangle STAX in the largest die from heavy weight smooth white cardstock. I stamped the images from Lawn Fawn's Backyard Bird Feeder and Add-On using Detail Black Ink from Pinkfresh Studios and masking paper from Gina K. 

I ink blended the background using Peacock Feathers Distress Ink and the Mini Clouds stencil from MFT. I also used MFT - Grassy Edges stencil and ink blended Mowed Lawn Distress Oxide Ink to create the grass at the bottom. 

I then removed all the masking paper and colored all the stamped images in with Copic markers. I tried to create actual birds in nature, so there are bluejays, robins, sparrows and finch. I stamped the sentiment onto the card. Then I added glitter gel to the red bird feeder. 

These new stamp sets are just adorable!!! I highly recommend them. Thank you so much for stopping by today. All of the supplies used to make this card are listed below. Happy Crafting!

Supplies: For your shopping convenience, all products are linked below. Compensated affiliate links are used where possible with no extra cost to you. This helps me to continue to share all the projects I include on my blog. Please note I only use and share products I love. Thank you Crafty Friends!


Wednesday, April 30, 2025

Garden Fence Birthday Card!

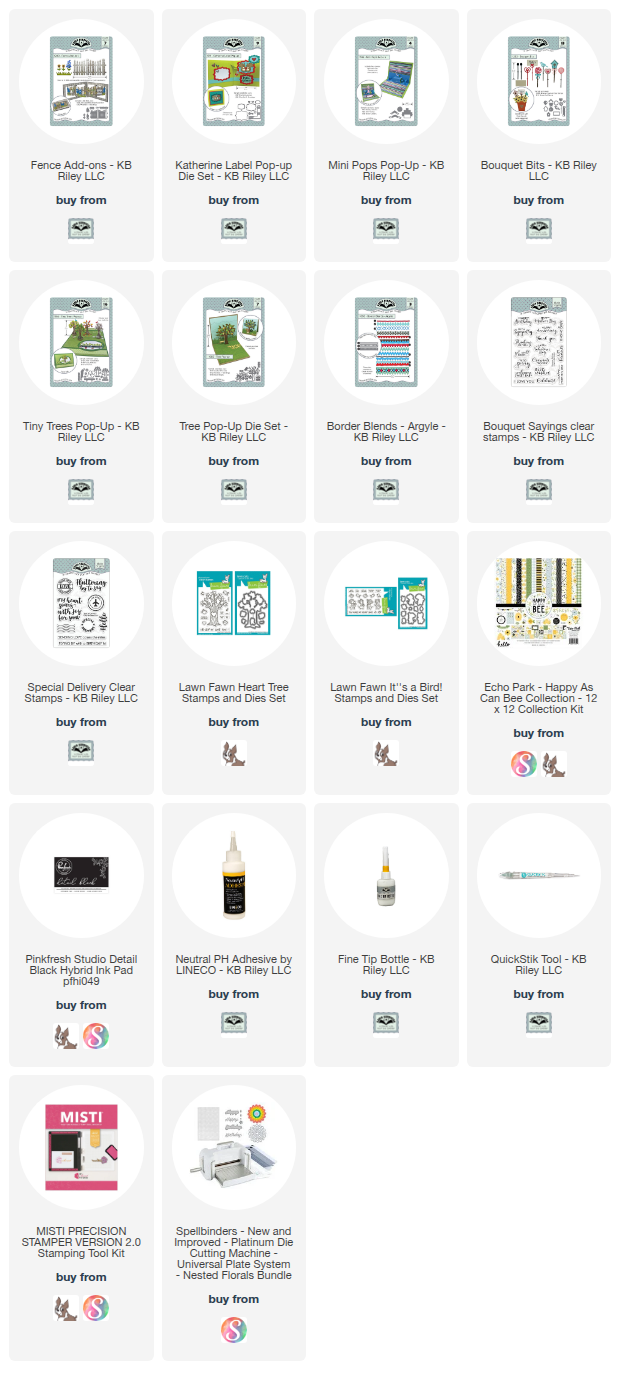
 Hello Crafty Friends and welcome! If you follow Karen Burniston on YouTube then you may have seen her video on how to make the pop-up fence card that she created for the Designer Challenge last month. It was a beautiful card and I just loved how she came up with the neat way to utilize the Fence Add-On in this way. So I got out my craft supplies and got to work!

To start, I created a card base (12 x 5 inches) using Bazzill Basics yellow cardstock. I then dug through my stash of patterned paper and came across this bee themed paper from Echo Park called Bee Happy. I used two different pattern papers for the background. Then I followed Karen Burniston's fantastic how to video on YouTube (which you can see by clicking here) to learn how to use the Katherine Label Pop-Up mechanism and the Mini Pops to create the pop-up mechanism for this card. 

Once I had the pop-up mechanism installed, I added the fence using the Fence Add-On die set. I added some sunflowers and bushes using the flowers that come in the Fence Add-On. I also added grass using the Natures Edges die set. 

I wanted to add some trees, but the Tiny Trees were too small and the Tree Pop-Up too big, so I decided to try out my new stamp set from Lawn Fawn called Heart Tree. I stamped two trees using Pink Fresh Studios Detail Black Ink and colored them in with Copic markers. I also added some birds to my trees. 

I wanted to make some gardens in front of the fence, so I cut a piece of brown cardstock and added it to the front of the fence areas. Then I die cut the Blue Buttons flower die in the Fence Add-On from two different colors of green cardstock and glued them down to create foliage in my gardens. Then I added flowers from the Tree Pop-Up and the Tiny Trees Pop-Up die sets. 

I added a Happy Birthday sign to my gate using the new Bouquet Bits die set and the Bouquet Sayings stamp set. Lastly, I added a place to sign the card using a label from the Twist Panel Pop-Up die set. 

I went with the same theme on the front using the same patterned papers. I added the label from the Katherine Label Pop-Up die set and stamped a sentiment on to the front using the Special Delivery stamp set. 

I just love how you can use the different pop-up mechanisms in new and fun ways to create a totally different card! Be sure to check out Karen's video (linked above) and make your own Fence Pop-Up card!

Thank you so much for stopping by today. I have listed all the products I used for this card below. Happy Crafting!


Supplies: For your shopping convenience, all products are linked below. Compensated affiliate links are used where possible with no extra cost to you. This helps me to continue to share all the projects I include on my blog. Please note I only use and share products I love. Thank you Crafty Friends!


Wednesday, April 16, 2025

60th Wedding Anniversary Cake Pop-Up Card

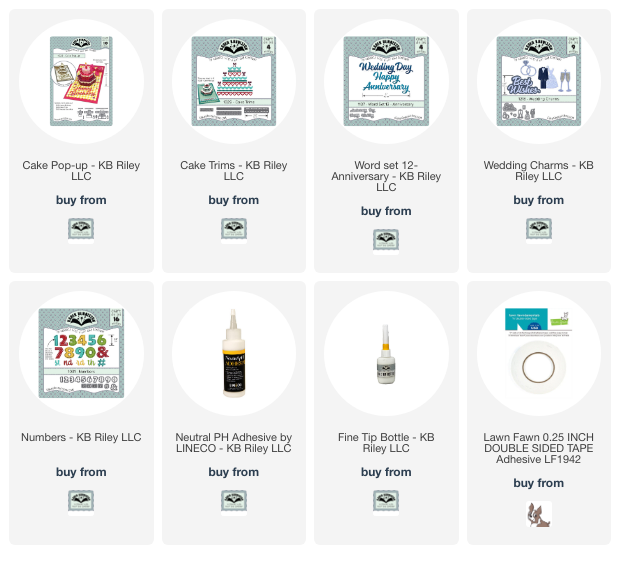
 Hello Crafty Friends and welcome! My card today was a special order card. This is a 60th Anniversary card and for this card, I used Karen Burniston's Cake Pop-Up. 


To start, I cut an A2 sized card base from smooth white cardstock. Then I added some shimmery cream cardstock as my background. 

I die cut the Cake Pop-Up from cream cardstock. I glued the cake together using Lineco Neutral pH adhesive in a fine tip bottle. I then added some detail to my cake using Karen Burniston's Cake Trims. I cut these from white glitter cardstock. I also added some white bows. Then I die cut the bride and groom from the Cake Pop-Up die set to add to the top. 

I used Spellbinders Fall Leaves Card Creator die set to add the glitter decoration to the corners of my card. I die cut some extra leaves to decorate the label with the sentiment and the label to sign the card. 

I used Fun Stampers Journey - My Advice stamp set to add the sentiment to the inside of the card. 

Then I die cut the number 60 using Karen Burniston's Numbers dies. I was going to place the number on the top of the cake, but I like the Bride and Groom better. So I added the 60 under the sentiment. 

I made sure to test my cake to make sure it popped up properly and that the Bride and Groom didn't stick out the top of the card. 

For the outside of the card, I kept with the same them. I used Karen Burniston's Word Set 12 - Anniversary to add the Happy Anniversary to the front. I also used Karen Burniston's Wedding Charms to add the ring. 


For the heart background, I used Memory Box - Floral Bouquet Heart. 

I hope the recipients of this card love and I hope they have a wonderful Anniversary. Thank you so much for stopping by today and Happy Crafting!!


Supplies: For your shopping convenience, all products are linked below. Compensated affiliate links are used where possible with no extra cost to you. This helps me to continue to share all the projects I include on my blog. Please note I only use and share products I love. Thank you Crafty Friends!


Wednesday, April 9, 2025

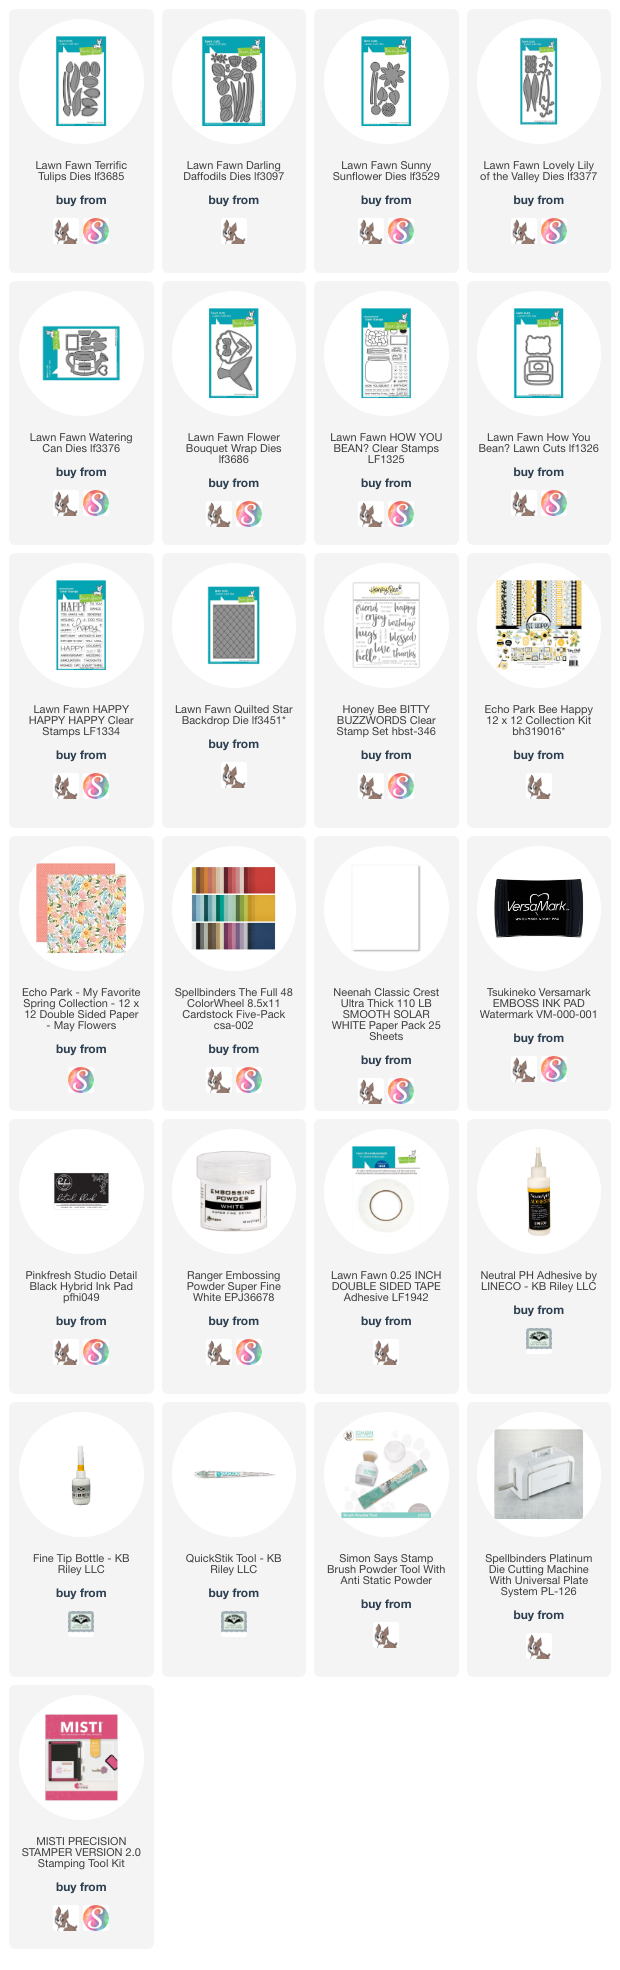
3 Cards using Lawn Fawn Flower Dies!

 Hello Crafty Friends and welcome! I have 3 cards for different occasions, all using Lawn Fawn flower dies. My birthday is coming and one of my very good friends gave me the Lawn Fawn Tulip and Flower Bouquet Wrap dies as a gift. I decided to get out all my other beautiful Lawn Fawn flower dies and create some bouquets. 

I created 3 different cards, each using various flower dies and for all different occasions! This just shows how versatile these dies are. 

My first card for you is a birthday card. I used the new Tulips die along with the Darling Daffodils, Sunny Sunflower and small flowers from the Magic Iris Floral Wreath Add-On. 


For this card, I started with an 5x7 card base using a smooth white cardstock. I added some patterned paper from Echo Park called Bee Happy. 

I die cut my flowers from Spellbinders The Full Colour Wheel cardstock pack. I used Copic markers to add details to my die cuts. I then assembled each flower, gluing them with Lineco Neutral pH adhesive in a fine tip bottle. I die cut the Flower Bouquet Wrap from kraft cardstock and again, added details to it using Copic markers. 

I assembled the flowers where I wanted them, then added a small piece of scotch tape to the back to hold everything in place. I added glue to the back of the flower arrangement and then placed it where I wanted it on my card base. I added the red bow last, die cutting this from white cardstock and colouring it in with Copic markers. 

Lastly, I used Honey Bee Stamps Bitty Buzzwords stamp and matching die set to add the sentiment to the front of my card. I die cut the word "Birthday" twice from black cardstock and one from yellow cardstock and glued them all together. This not only gives the word some dimension but makes it more stable to work with when gluing to the card. 


My next card is a super cute Easter card, which uses the Darling Daffodils, How You Bean jar and the Egg-Stra Amazing Easter stamp set. 

For this card, I started with an A2 card base using smooth white 110lb cardstock. Then I die cut a background using Lawn Fawn's Quilted Star Backdrop die. I die cut this from a light pink/purple cardstock, then poked all the stars out with my QuickStik tool. 

I stamped the jar image onto heavy weight smooth 110lb cardstock and then added the label and Happy Easter Sentiment. I also stamped the lid, then used the matching dies to cut everything out. 

I coloured the jar, lid and label with Copic markers. Then, with my craft knife, I cut an opening into the lid to add the flowers once I had them ready. 

I die cut the daffodils from white, yellow and orange cardstock, then used Copic markers to add details to my die cuts. Then I glued the flowers together. I added them to the jar and arranged them how I wanted, then once again added a small piece of tape to the back to hold them in place. 

I then glued everything down to my card base. Lastly I stamped, coloured and die cut the bunnies, eggs and chick, then added it to my card front. 


My last card is a Mother's Day card. I used the Tulips, Sunny Sunflower and Lily of the Valley flower dies for this card. 

To start, I made an A2 sized card base from smooth white cardstock. Then I added some patterned paper from Echo Park called My Favorite Spring. 

I die cut the watering can from the Lawn Fawn's Watering Can die set on 110lb smooth white cardstock and coloured it in with Copic markers. Then I added my flowers, which just like the other cards, I cut from Spellbinders coloured cardstock and added Copic markers for detail. 

I then arranged all my flowers in the watering can and taped them to the back of the watering can, trimming any flower stem ends that might have gone past the end of the watering can. Then I glued it down to my card base. I added the seed packet and gardening tool. 

Then I used Lawn Fawn's Happy Happy Happy stamp set to create a sentiment for the front of my card. I stamped it on to black cardstock using VersaMark Ink and white embossing powder. I then added some glitter gel to the Lily of the Valley using Stickles Gel in Twinkle. 

I hope you will try out these die sets to create your own beautiful bouquets! Thank you so much for stopping by today and Happy Crafting. 

Supplies: For your shopping convenience, all products are linked below. Compensated affiliate links are used where possible with no extra cost to you. This helps me to continue to share all the projects I include on my blog. Please note I only use and share products I love. Thank you Crafty Friends!


Tuesday, April 8, 2025

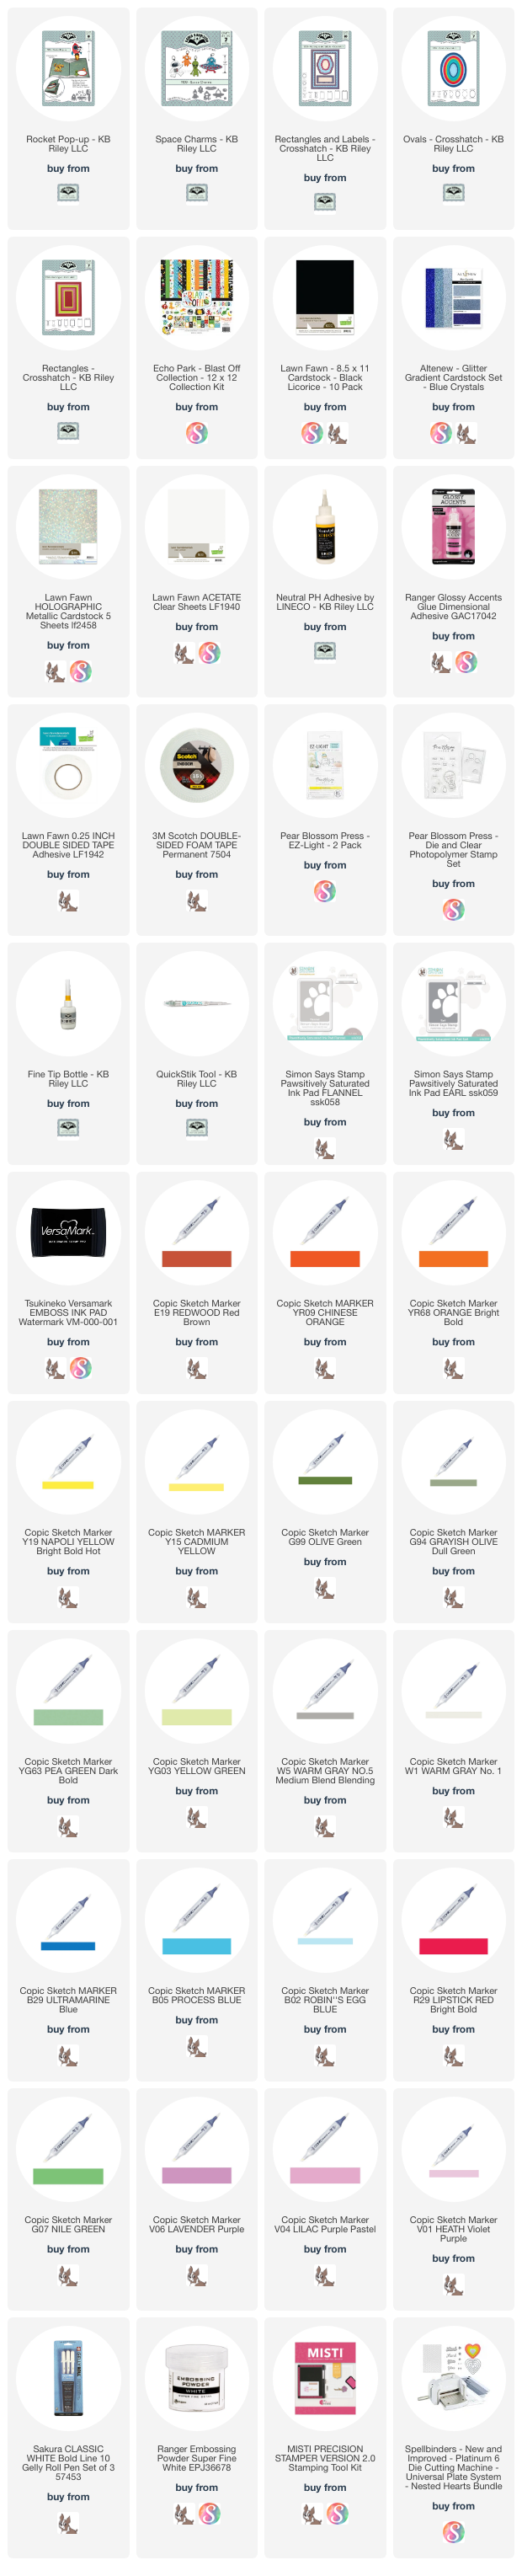
Karen Burniston Designer Challenge - April 2025 - Designers Choice

 Hello Crafty Friends and welcome! It's Designer Challenge time and our theme for April 2025 is Designers Choice. I wasn't sure which amazing die set I was going to use for this challenge, but a recent trip to my favorite craft store changed that. I found a very cool paper pack from Echo Park called Blast Off and I was inspired to create a space card. For this card, I used the Rocket Pop-Up die set along with the Space Charms. 


For this card, I started with an A2 sized card base using smooth black 110lb cardstock. Then, using Karen Burniston's Rectangle - Crosshatch dies in the largest sized, I die cut two rectangles from the Blast Off paper pack. I chose another patterned paper to add some colored strips down each side and cut thin strips of dark blue glitter cardstock to add some trim. 

I die cut the pop-up mechanisms (the moon and flames) from smooth white cardstock. I colored the flames in with Copic markers (listed below). Then using Simon Says Stamps Pawsitively Saturated Ink in Flannel and Earl, I added color to my moon. I went over the craters with Copic markers to add more dimension. I then glued these pieces into my card base using Lineco Neutral pH adhesive in a fine tip bottle. 

I die cut the rocket ship from silver glitter cardstock, added red and shiny black cardstock to the rocket ship. I kept thinking of the Muppet Show and pigs in space and so I added a pig from the Chicken, Pig and Lamb die set. I added some acetate to create a window in the rocket and placed the pig behind it. 

I die cut the pieces from the Space Charms from smooth white Neenah Classic Crest 110lb cardstock and colored them in with Copic markers. For the astronaut, I added some buttons to the front of his suit. I also added Glossy Accents to the eyes on the aliens and the buttons on the astronauts suit.

I used the Rectangles and Labels - Crosshatch die set to die cut a label for the inside of the card. I used MFT - Space Explorer stamp set to stamp the sentiment inside the card. Then once dry, I added the aliens and astronaut to the inside of my card. 

For the front of my card, I used the same patterned paper as the inside, added an oval from Karen Burniston's Oval - Crosshatch die set and creating an oval frame from the same dark blue glitter cardstock as the inside. 

I die cut the smaller alien from the Space Charms and colored him in with Copic markers. Then trimmed him to fit in the little window.

I wanted to give it a little something special, so I used Pear Blossoms light set and added three lights to the spaceship. To do this, I die cut the spaceship from holographic cardstock and heavy weight translucent velum. Then I cut out the window from the holographic cardstock and added a piece of acetate to act like a window. I added the velum in behind the holographic spaceship. I then added the shiny black cardstock piece which is the round area of the spaceship. The heavy weight velum allows the lights to come through, but not super bright. I then marked where I wanted the lights to go and used a tiny hole punch to punch out the holes where the lights will shine through. I then added double sided adhesive to the back of the battery holder and taped it down to the card base. 

I taped down the wires with scotch tape and added some foam tape to the middle of the card base. I tested the lights to make sure everything was working well. Then I added foam tape to the back of my card front. I placed this down on the front of my card. I then added the spaceship, turning the lights on so I had proper placement. 

I check the lights again and once I was satisfied that everything was where it should be, I added the sentiment for the front of the card. 

I used another sentiment from the Space Explorers stamp set, with VersaMark Ink and white embossing powder. I placed the stamp where I wanted it on my Misti stamp tool, then added some Simon Says Stamps static powder. I heat set the embossing powder with my heat tool, then carefully wiped away the access static powder. 

I then trimmed the edges to look like the ends of a ribbon and glued it down to my card front. 

I just love how this card turned out. My husband said he wanted it for his birthday card, which made me laugh, but I said no because he is turning 50 this year and I have plans for something extra special. 

Thank you so much for stopping by today, be sure to check out all the wonderful cards created by Karen and the Design Team. Happy Crafting!

Supplies: For your shopping convenience, all products are linked below. Compensated affiliate links are used where possible with no extra cost to you. This helps me to continue to share all the projects I include on my blog. Please note I only use and share products I love. Thank you Crafty Friends!


Thursday, April 3, 2025

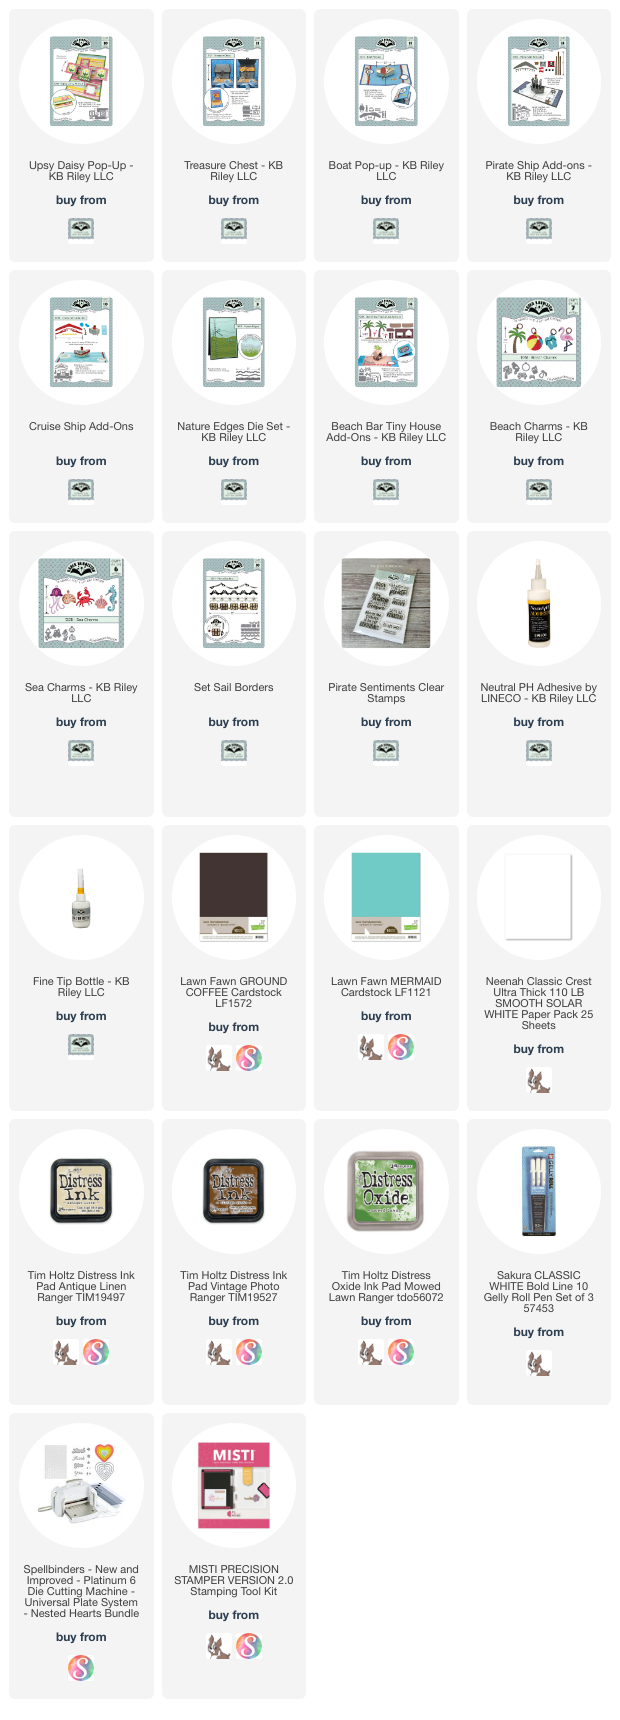
Arrr Matey! Treasure Chest Pop-Up Card

 Hello Crafty Friends and welcome! When I posted my first Upsy Daisy card, Karen showed me a picture of this great card using the Upsy Daisy die set along with the Treasure Chest die that created a pop up chest where the lid slides to the side to reveal the treasure. Well, I just had to make a card doing this and thought a Pirate theme was in order!

To start, I cut a piece of Ground Coffee cardstock 4.25x11 and scored it at 5.5. Then I used my bone folder to make a good crisp fold. I also cut two rectangles 1/8" smaller then my card base and created backgrounds for the inside of my card. I used MFT - Clouds stencil and Distress Ink in Peacock Feathers to create my bright cloudy background. 

For the Pirate side of my card, I used Karen Burniston's Ocean Edges to create two different waves. Then I die cut the Boat Pop-Up from heavy weight smooth white cardstock and trimmed it to just show the front of the boat. I colored in my boat using Copic markers. I used the Pirate Ship Add-On to create my pirate ship. I used MFT - Party Like a Pirate stamp set to add the Pirate Captain and First Mate. Then I also used this stamp set to stamp the skull that is on the flag. I stamped the Yo Ho Ho! sentiment using Karen Burniston's Pirate Sentiments. 

For the pop-up side of my card, I added a sandy beach background using Karen Burniston's Nature Edges die set and smooth white cardstock. I used Distress Ink in Antique Linen and Vintage Photo to create my sand. I also die cut the sand mound in the Treasure Chest die set and colored it in with Distress Ink as well. I also stamped a sentiment in the top right corner using the Pirate Sentiments and Detail Black ink from Pink Fresh Studios. 

I die cut the Treasure Chest from kraft and black cardstock, then used Distress Ink in Vintage Photo on the chest to make the woodgrain stand out. I also used a white size 10 Gelly Pen to create the rivets on the chest. I followed along with Karen's great how to video which you can check out by clicking here. 

I die cut two pop-up mechanisms from the same cardstock as my card base and glued them into my card using Lineco Neutral pH adhesive in a fine tip bottle. Then I put my treasure chest together. I added two kinds of gold coins, mirrored gold and sparkly gold. I also die cut the lock and key from matte silver cardstock. I added the Treasure Chest to the pop-up mechanisms as Karen shows in here video. Then tested my card to make sure it worked well. Lastly I added two palm trees from the Beach Charms and Beach Bar Tiny House Add-Ons. 

For the front of my card, I created a treasure map. I cut a piece of Mermaid cardstock to the fit just 1/8" smaller than my card base. Then I die a piece of smooth white cardstock the same size and with a pencil, created two islands. I cut these out with my craft scissors. 

Then I colored them in with Distress Oxide Ink in Mowed Lawn and Distress Ink in Antique Linen and Vintage Photo. I glued these onto my background and stippled white dots to look like sea foam around my islands. I added the little trail using the windows die from the Cruise Ship Add-On, added the anchor from the Boat Pop-Up and the crab from the Sea Charms die set. I also added the Palm Tress from the Beach Charms die. Then stamped another sentiment from the Pirate Sentiments stamp set. I drew on the x marks the spot and I added some wave lines on my water. 


I just love how this card turned out. It also isn't as thick as I thought it would end up being and would probably only take a little more postage if I was to mail this. Thank you so much for stopping by today and Happy Crafting!

Supplies: For your shopping convenience, all products are linked below. Compensated affiliate links are used where possible with no extra cost to you. This helps me to continue to share all the projects I include on my blog. Please note I only use and share products I love. Thank you Crafty Friends!


Thursday, March 27, 2025

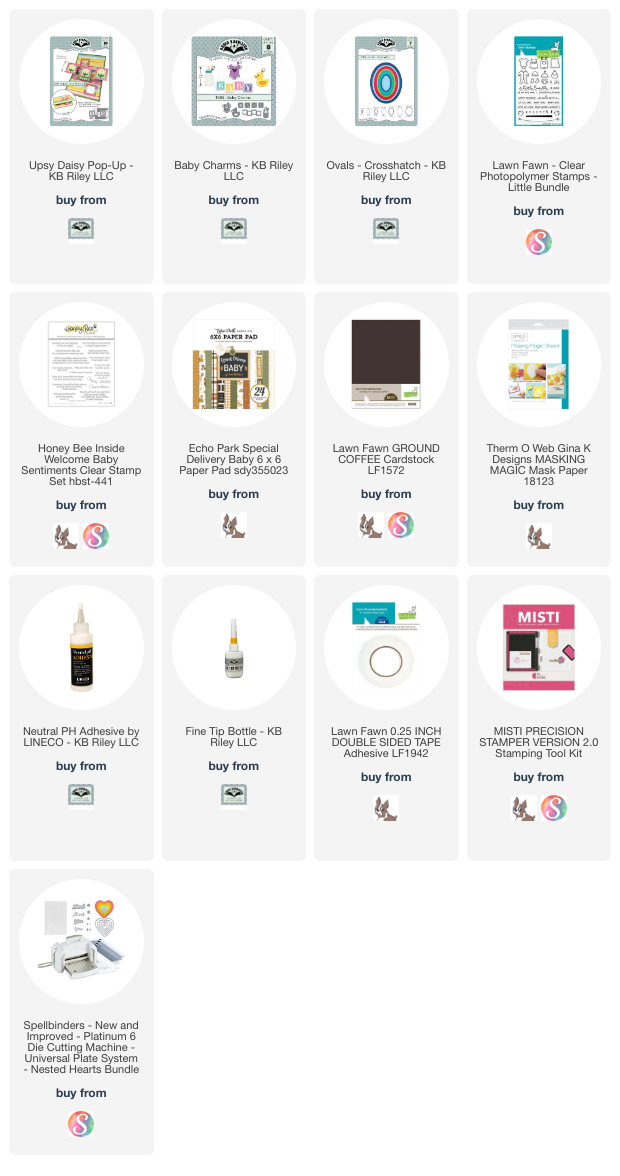
Upsy Daisy Baby Card

 Hello Crafty Friends and welcome. Today I have a cute baby card for you. This was my first time using Karen Burniston's Upsy Daisy die set and I can tell it's going to be used quite a lot!! 


For this card, I started with an A2 sized card base using a cream colored smooth cardstock. Then I added some pretty paper from Echo Park called Special Delivery: Baby. I added some trim pieces to the top and bottom using the same patterned paper only adding a dark brown color underneath. 

Then I die cut the pop up mechanisms using the same cream colored cardstock. I glued them into my card using Lineco Neutral pH adhesive in a fine tip bottle. I die cut the scalloped squares adding dark brown cardstock to them to add the trim around the inner square. 

I stamped the images using Lawn Fawn's Little Bundle stamp set and added some masking paper to add the clothes line in behind the cute little clothes. 

I die cut the banner from the Upsy Daisy Pop-Up and stamped the welcome sentiment using VersaMark Ink and white embossing powder. Then I used Karen Burniston's Baby Charms to added the little blocks that say baby. I also used the Baby Charms to die cut the duck and bottle that I placed beside the bottom sentiment. This sentiment comes from Honey Bee Stamps Welcome Baby Sentiments. 

I just love how this card turned out! The Upsy Daisy was perfect for this baby card. Thank you so much for stopping by today and Happy Crafting!

Supplies: For your shopping convenience, all products are linked below. Compensated affiliate links are used where possible with no extra cost to you. This helps me to continue to share all the projects I include on my blog. Please note I only use and share products I love. Thank you Crafty Friends!


Karen Burniston Designer Challenge - October 2026 - Hey Pumpkin!

Hello Crafty Friends and welcome. It's Designer Challenge time and our challenge for October 2026 was to include a pumpkin or pumpkins i...