Friday, November 21, 2025

Karen Burniston November 2025 New Release - Sneak Peek Week Day 3 - Dog and Cat Playful Add-On

Hello Crafty Friends and welcome to Day 3 of our Sneak Peek Week. I hope you have been enjoying all the fantastic cards our Design Team has made and that you are all as excited as we are for the new release. There are 15 new dies and 5 new stamp sets in this release. 

Pre-Orders will be available on Monday, November 24th. We will also be hosting our Blog Hop, so be sure to join us for a chance to win a $25 gift certificate for Karen's online store. 

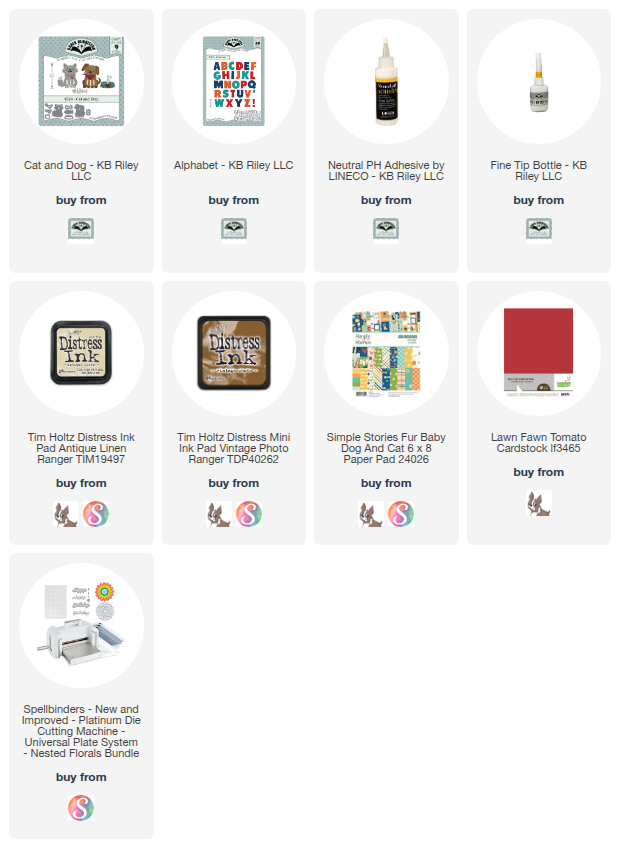
My card for you today uses the new Playful Pop-Up and the Dog and Cat Add-On. 

For this card, I started with an A2 sized card base using a smooth cream coloured cardstock. I added a cute gingham patterned paper from Simple Stories called Fur Baby. 

I die cut the pop-up mechanisms from the same cream cardstock as my card base. I also die cut the dog pieces from the same cardstock. For the dog, I added some Distress Ink in Vintage Photo and Antique Linen. I die cut the nose and tongue from smooth white cardstock and coloured them in with Copic markers. 

I glued my dog face onto my Playful Pop-Up, making sure to match up the mouth and also making sure it was centred in the middle of the pop-up. Then I added my dog arms/paws to the two swing arms that are attached the side of the Playful Pop-Up. Lastly, I added the tongue to my dog. I glued the pop-up into my card, making sure to give it time to set. Before gluing the side that goes up against the top side of the card, I added my one ear, then finished gluing the pop-up into the card. 

Once the glue had set, I added my second ear to the swing arm on the right side of my dog. I waited to add this so that I knew exactly where it needed to go. Then I glued it on to the swing arm. I tested my pop-up to make sure everything worked so far.

I added some of the new Dog Borders from the new release, adding the paws and bones to my card. Then I used the Alphabet die set to add a sentiment to the top. I also added a strip to the bottom to sign the card. 


For the front of the card, I used the new WOOF! sentiment die and added more the Alphabet die cuts to create my sentiment. 

I added more borders and of course my dog from the Cat and Dog die set. I used two different patterned papers on the front of my card. 

This Playful Pop-Up is such a great die set to add to your collection! And those Dog and Cat Add-Ons? OMG so adorable! 

Thank you so much for stopping by today. Below is a list of supplies I used to make this card, other than the new release. Happy Crafting!

Supplies: For your shopping convenience, all products are linked below. Compensated affiliate links are used where possible with no extra cost to you. This helps me to continue to share all the projects I include on my blog. Please note I only use and share products I love. Thank you Crafty Friends!


Thursday, November 20, 2025

Karen Burniston November 2025 New Release - Sneak Peek Week Day 2 - Pine Cone

 Hello Crafty Friends and welcome! I hope you had a chance yesterday to check out all the fantastic cards that the Design Team has made so far and are as excited as we are for the new release. This new release consists of 15 new dies and 5 new stamp sets. 

My card for you today features the new Pine Cone die set. This beautiful die set creates two different sized pine cones, and some pine needles with berries as well!

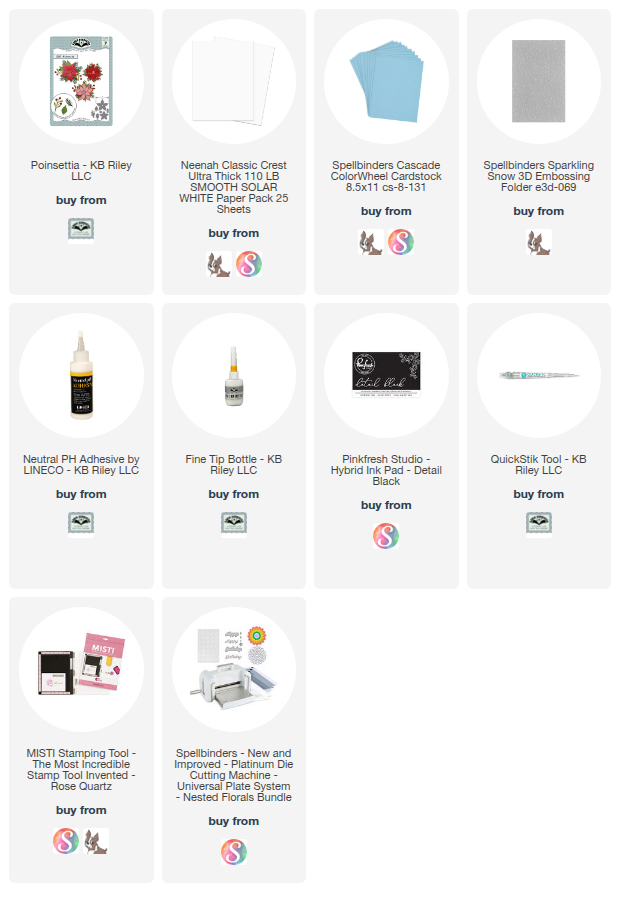
For this card, I started with an A2 sized card base using a heavy weight smooth white cardstock. I cut two rectangles using my paper trimmer and a pretty blue cardstock from Spellbinders called Cascade. I used Spellbinders Sparkling Snow 3D embossing folder to create my background. 

I die cut the Pine Cone and leaves from smooth white cardstock and coloured them with Copic markers. I used Karen Burniston's Poinsettia die set with Tomato cardstock and added some detail with Copic markers. I also added the leaves and berries from the Poinsettia die set. 

Lastly, I added a sentiment using the new Forest Sayings stamp set and a label from the new Greeting Labels die set. I stamped this using Detail Black Ink from Pink Fresh Studios. 

I added some glossy accents to my berries and once dry, I added some white shine lines using a size 10 Gelly Pen. This was a simple card, but makes one pretty Christmas or Holiday card. 

The new release will be available for pre-sale on November 24th. Be sure to join us on that day for our Blog Hop for a chance to win a $25 gift certificate to spend on Karen Burniston's dies and stamps! Thank you so much for stopping by today. Below is a list of the supplies I used to make this card, other than the new release. Happy Crafting!

Supplies: For your shopping convenience, all products are linked below. Compensated affiliate links are used where possible with no extra cost to you. This helps me to continue to share all the projects I include on my blog. Please note I only use and share products I love. Thank you Crafty Friends!


Wednesday, November 19, 2025

Karen Burniston November 2025 New Release - Sneak Peek Week Day 1 - Animal Add-Ons 6

 Hello crafty friends and welcome! I am so excited for this new release! Karen, once again, knocked it out of the park (but doesn't she always?). This release features 15 new dies and 5 new stamp sets!! 

My sneak peek for you today features the new Animal Add-Ons 6. This add-on for the Surprise Ball, Bitty Ball and Mini Ball lets you create a grasshopper, bee and lady bug! How adorable are these cuties!!

For this card, I started with a card base that was 6 x 8.25. I scored it at 4" and 4.25" to create a large enough space to fit my pop-up balls. I used a smooth, heavy weight black cardstock. I also cut a piece of cardstock 3.5 x 4 to create a flap to keep my card closed. Karen has a great video on how to create this. If you would like to watch it, click here to check it out. 

I added some pretty green patterned paper to the inside of my card, 1/8" smaller than my card base. I die cut the fence for the back ground using the Fence Add-On die set and the flowers in various colors to give my card a more garden feel. 

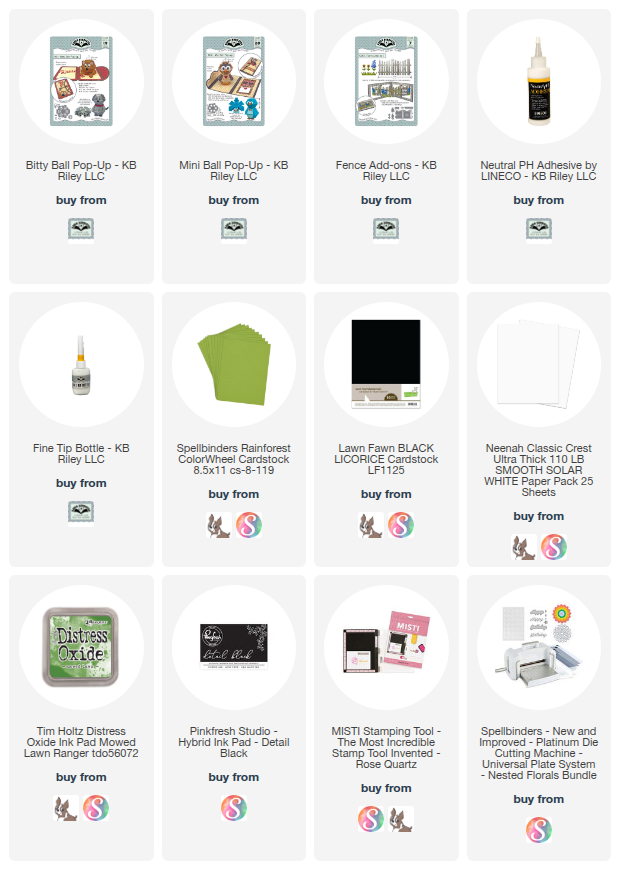
Using the Bitty Ball Pop-Up, I die cut a green ball using Spellbinders Rainforest cardstock. This is my new favourite cardstock and I highly recommend it. There are lots of colours to choose from and it's great quality! I added some Distress Oxide Ink to the edges of my little trapezoids then added them to my Bitty Ball. I used the flower from the Twist Flower Pop-Up and leaves to add a flower to the top of my ball. I cut these from smooth white heavy weight cardstock and coloured them in with Copic markers.

I used the Mini Ball to create my little bee. I die cut the Mini Ball from black cardstock and die cut the trapezoid pieces for the top of my ball from yellow cardstock. Then using a black copic marker, I added the fuzzy lines on my bee. 

I die cut the pieces from the new Animal Add-Ons 6 to create my bee, from scrap cardstock. I have a drawer system in which I keep my scrap cardstock in. This is very handy when it comes to needing just a small piece of cardstock. 

I then positioned my bee so that you could still see the flower he's perched on and making sure everything still fit into my card. Then using my Lineco Neutral pH adhesive and a fine tip bottle I glued everything into my card. 

I added a little tag using the new Greeting Labels and stamped the "just bee cause" sentiment using the new Bug Sayings stamp set and Pink Fresh Studios Detail Black Ink. 


For the front of my card, I kept it pretty simple. I added some pretty floral and bee patterned paper and added another sentiment from the Bug Sayings sentiment stamp set. I also added some more of the floral green patterned paper. 

Thank you so much for stopping by today. Be sure to check out the other Design Team members fantastic cards! Come back tomorrow for the next sneak peek card. Below is a list of the supplies I used to make this card, other than the new die/stamp set. Happy Crafting!

Supplies: For your shopping convenience, all products are linked below. Compensated affiliate links are used where possible with no extra cost to you. This helps me to continue to share all the projects I include on my blog. Please note I only use and share products I love. Thank you Crafty Friends!


Tuesday, November 4, 2025

Karen Burniston Designer Challenge - November 2025 - Fun Faces

Hello Crafty Friends and welcome! It's Designer Challenge time again and for our November challenge we were tasked with making a card using the new Fun Faces stamp set. This new stamp set help create faces for all Karen's character, animal and paper people dies. For my card, I wanted to do something different. I thought I would create one last Halloween themed card and used the Fun Faces to make glow in the dark faces on my background!


 I started by created an A2 sized card base using smooth black heavy weight cardstock. I added some wood pattern paper to the floor of my card. Then I cut a piece of black and white striped patterned paper from Photoplay called Skulls and Crossbones. 

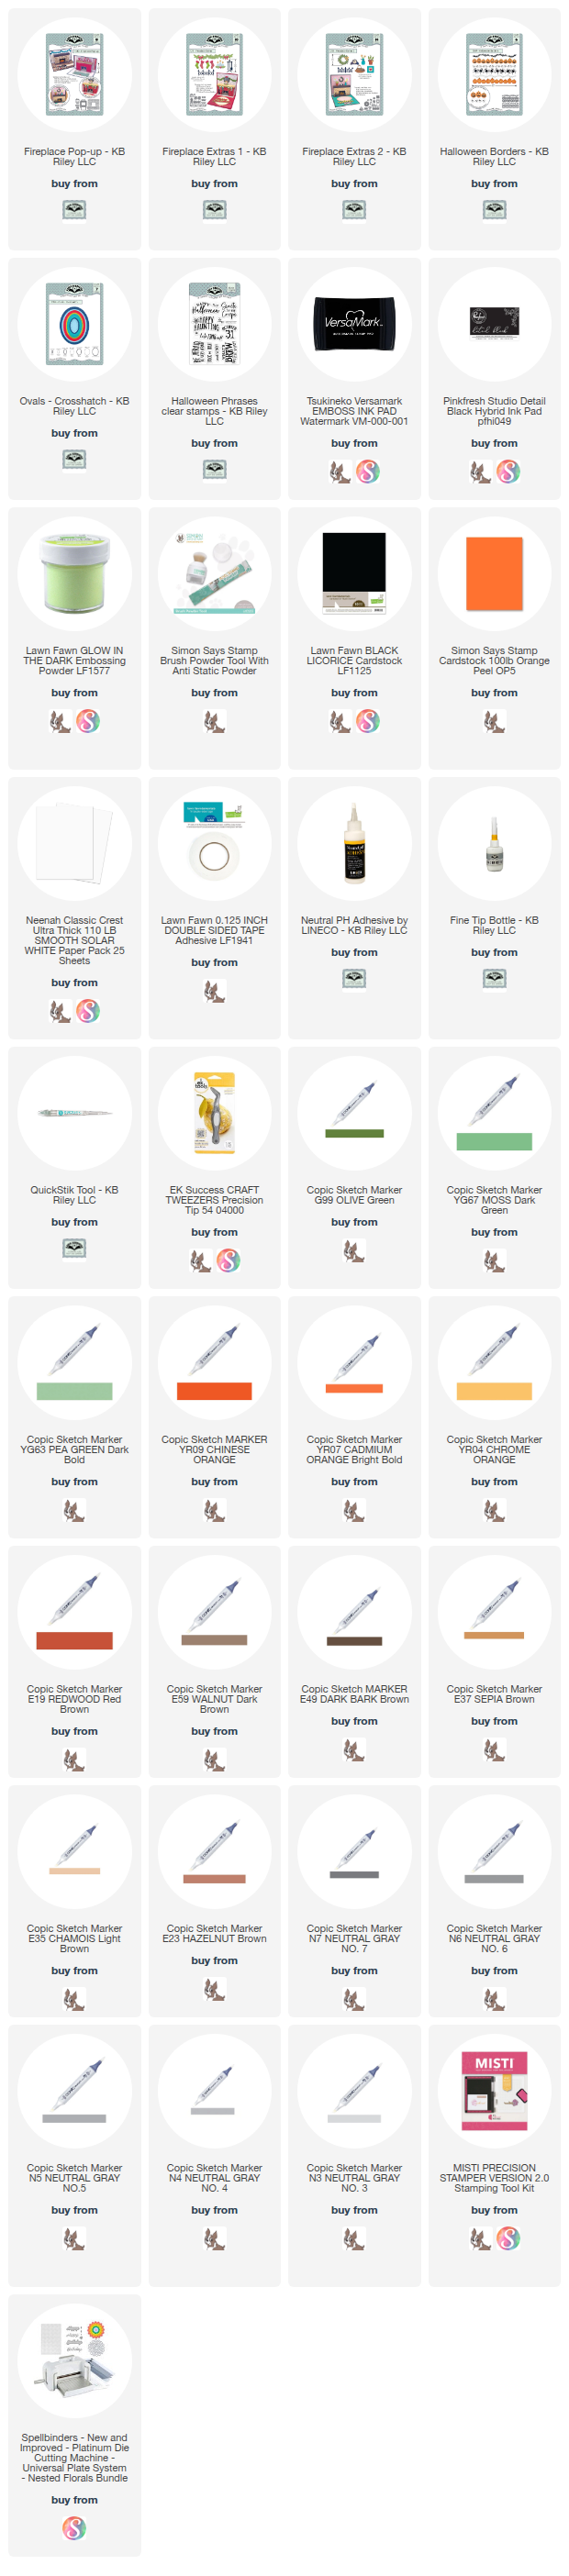
I used VersaMark ink and Lawn Fawn's Glow in the Dark embossing powder to create my fun background. I heat set the embossing powder then added it to my card using double sided adhesive tape. 

I added the Fireplace Pop-Up and added some fun accessories to the fireplace and surround. Check out the YouTube video below on how I created this card. 

I added a sentiment to a small oval I cut using the Ovals - Crosshatch die set and the Halloween Phrases stamp set. Then I added it to a slightly larger orange oval. I glued this into my card. 


For the front of my card, I did the same thing to the background, adding the Fun Faces and using the Glow in the Dark embossing powder. 


I added another sentiment from the Halloween Phrases stamp set and added it to the front of my card. I kept it very basic, because look at all the fun with glow in the dark faces!!


Thank you so much for stopping by today. Be sure to check out the other Designer Challenge cards from our very talented Design Team. Below is a list of the products I used to create this card. Happy Crafting!

Supplies: For your shopping convenience, all products are linked below. Compensated affiliate links are used where possible with no extra cost to you. This helps me to continue to share all the projects I include on my blog. Please note I only use and share products I love. Thank you Crafty Friends!


Monday, October 27, 2025

Creating Christmas Cards Using Karen Burniston's Coffee Cup Pop-Up

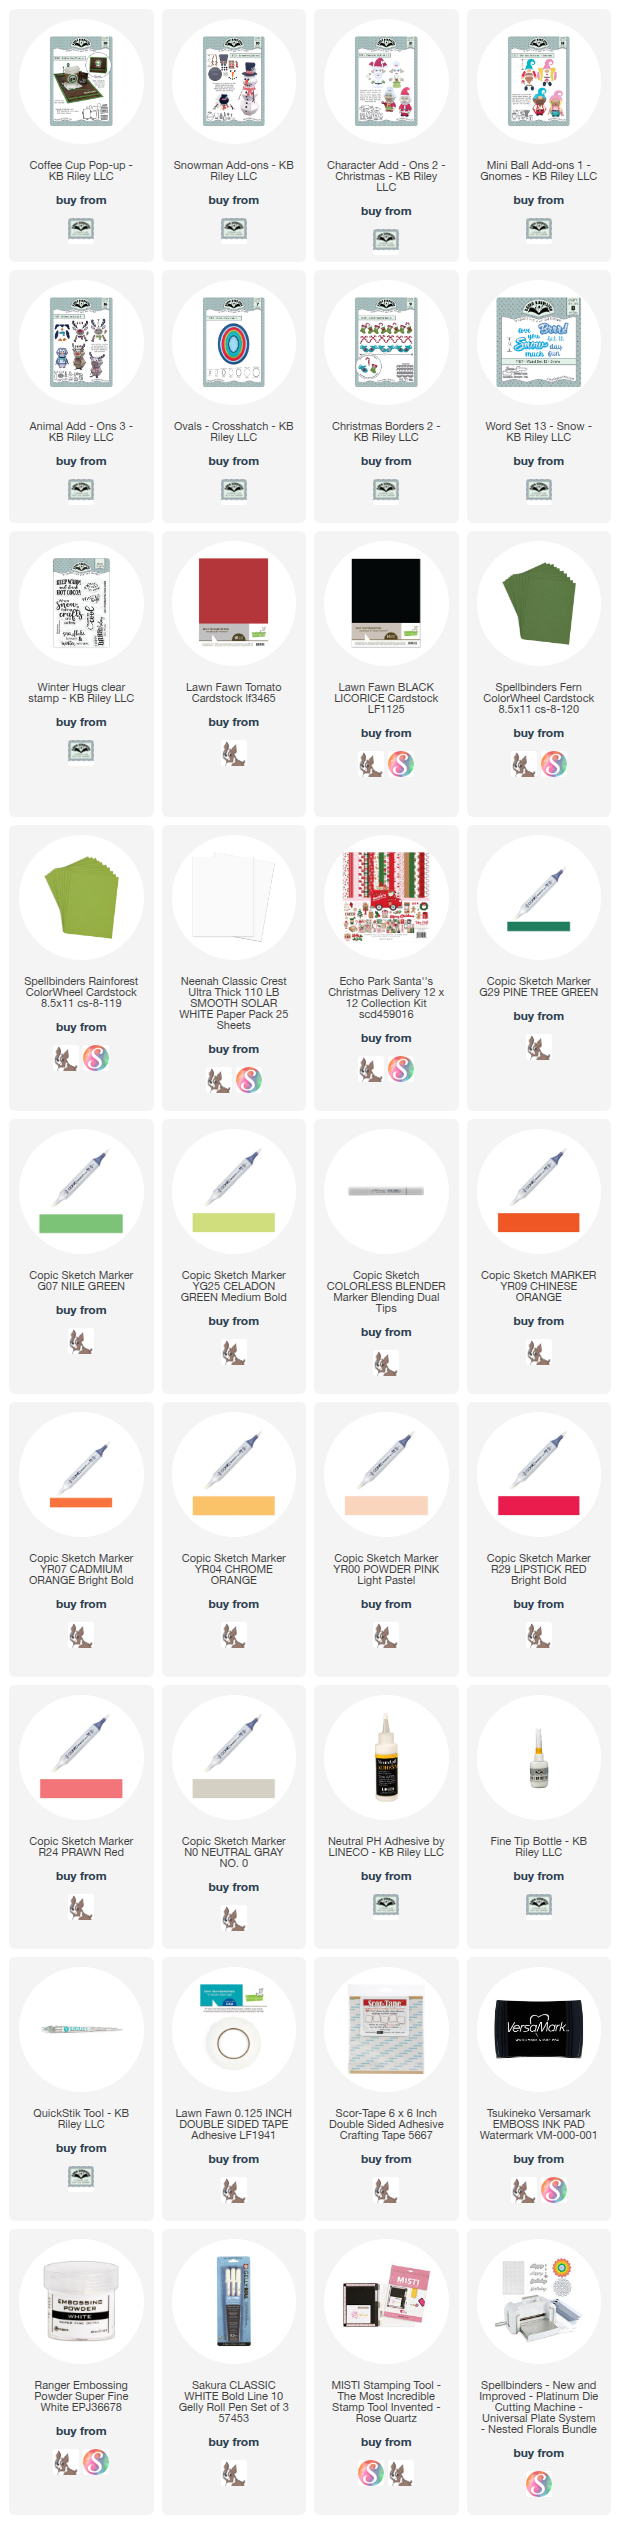
 Hello Crafty Friends and welcome. I have three cards for you today all which use Karen Burniston's Coffee Cup Pop-Up. I got thinking of fun teacher cards, or Christmas cards where you would give a gift card and thought the Coffee Cup Pop-Up would be perfect to turn into fun Christmas cards. 

Let's start with the first card, which is a snowman coffee cup card. For this card, I started with a top fold A2 sized card base using heavy weight smooth white cardstock. I then added some pretty patterned paper from my favourite paper company Echo Park. 


I then added some double sided adhesive to white cardstock and die cut the napkin using the dies in the Coffee Cup Pop-Up die set. I created my coffee cup (see the YouTube video below to see how I made each coffee cup), then added it to my napkin and placed it in my card. 

I used Karen Burniston's Christmas Borders 2 and added some red mittens as a top and bottom border in my card. I used Word Set 13 - Snow to create my sentiment on the top of my card. Then I used Karen Burniston's Winter Hug clear sentiment stamp set to add a sentiment to the bottom of my card. I added some left over snowflakes from the mittens to decorate the inside of the card. 


For my second card, I created a Santa card using the Coffee Cup Pop-Up along with the Character Add-Ons 2 and Mini Ball Add-On's 1 - Gnomes. I started with a top fold A2 card base using Lawn Fawn's Tomato cardstock. I added some of the same patterned paper from Echo Park, then I added some red ribbon to the top and bottom of my card.

I stamped a sentiment on to some red cardstock, using MFT - Hug in a Mug sentiment stamp, VersaMark ink and white embossing powder. I added a white oval to the bottom for a place to sign the card. I added a green napkin for this card, using Spellbinders - Fern cardstock


For my last card, I used the Animal Add-Ons 3 to make the reindeer face. I added a gold bell using Spellbinders Santas Festive Crew die set. 

I started with an A2 top fold card base using heavy weight smooth white cardstock, then added the same patterned paper as my other cards. I kept this one very simple, adding just some green cardstock from Spellbinders. I did stamp another sentiment to the top of the card, using the same MFT stamp set. 

I love how you can take older dies and make them new again! It was really fun creating these coffee cups and you could use all kinds of Karens animals dies to create themed cards for any occasion or holiday! To watch how I made this cards, check out the YouTube video below.


Thank you so much for stopping by today, below is a list of the products I used to make these cards. Happy Crafting!

Supplies: For your shopping convenience, all products are linked below. Compensated affiliate links are used where possible with no extra cost to you. This helps me to continue to share all the projects I include on my blog. Please note I only use and share products I love. Thank you Crafty Friends!


Tuesday, October 7, 2025

Karen Burniston Designer Challenge - October 2025 - Peek a Boo!

 Hello Crafty Friends and welcome to another Designer Challenge! Our theme this month is Peek-a-Boo! What's inside my card? Well open the box and find out!


For this card, I started by making a 5x7 box using Karen's instructions for her boxes. They come in two sizes and can actually fit cards inside them or other things! You can find them on her website and they are free, so be sure to check them out. 

For my box, I used black cardstock. Then I added some red cardstock that I embossed using a 3D embossing folder. I then added some patterned spider web paper. I created the coffin on top of my card added some of the bones and skull from the Halloween Borders. 


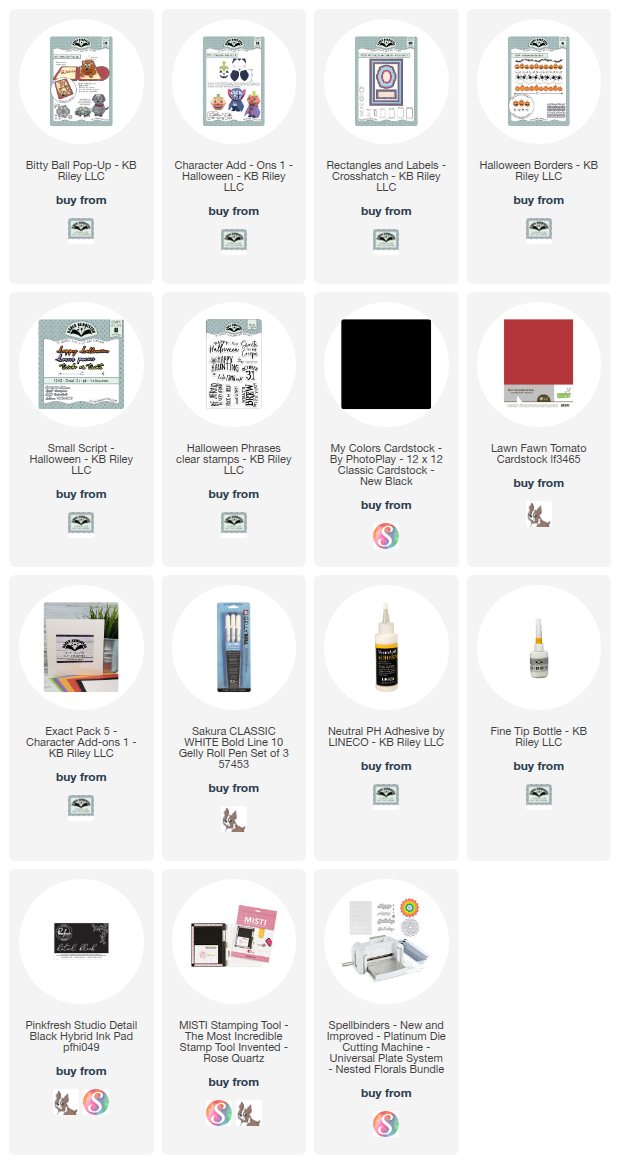
Inside the box is my little Vampire!! I used the Bitty Ball and the Character Add-Ons 1 to create my fang-tastic vampire. I added some more embossed red paper. I wanted the box to have the feel of being inside a coffin. I added some bats to the back seam on the box. 


Then on the other side of the box, I added some of the new Halloween Phrases sentiments along with some more spider web patterned paper. 


For my vampire, I tried to add some veins on his face and blood on his fangs. I am a big fan of Interview with a Vampire (the book and the movie) and thought a pop-up vampire would be perfect for my Peek-A-Boo challenge card! 

Thank you so much for stopping by today, below is a list of the supplies I used to make this card. Happy Crafting my spooky friends!

Supplies: For your shopping convenience, all products are linked below. Compensated affiliate links are used where possible with no extra cost to you. This helps me to continue to share all the projects I include on my blog. Please note I only use and share products I love. Thank you Crafty Friends!


Spooky Treats Card using Karen Burniston's Ice Cream Sundae Pop-Up!

 Hello Crafty Friends and welcome! I have a fun Halloween card for you today. When I was a kid, we use to have this thing called a Dickie Dee. It was a freezer on wheels and teenagers would get a summer job riding this bikes around with a freezer on the front. They sold ice creams and popsicles. My absolute, hands down favourite was the Ghost Popsicle. It was purple and had gumballs for eyes and a mouth. It was the best! So it made me think of Halloween ice cream treats! 

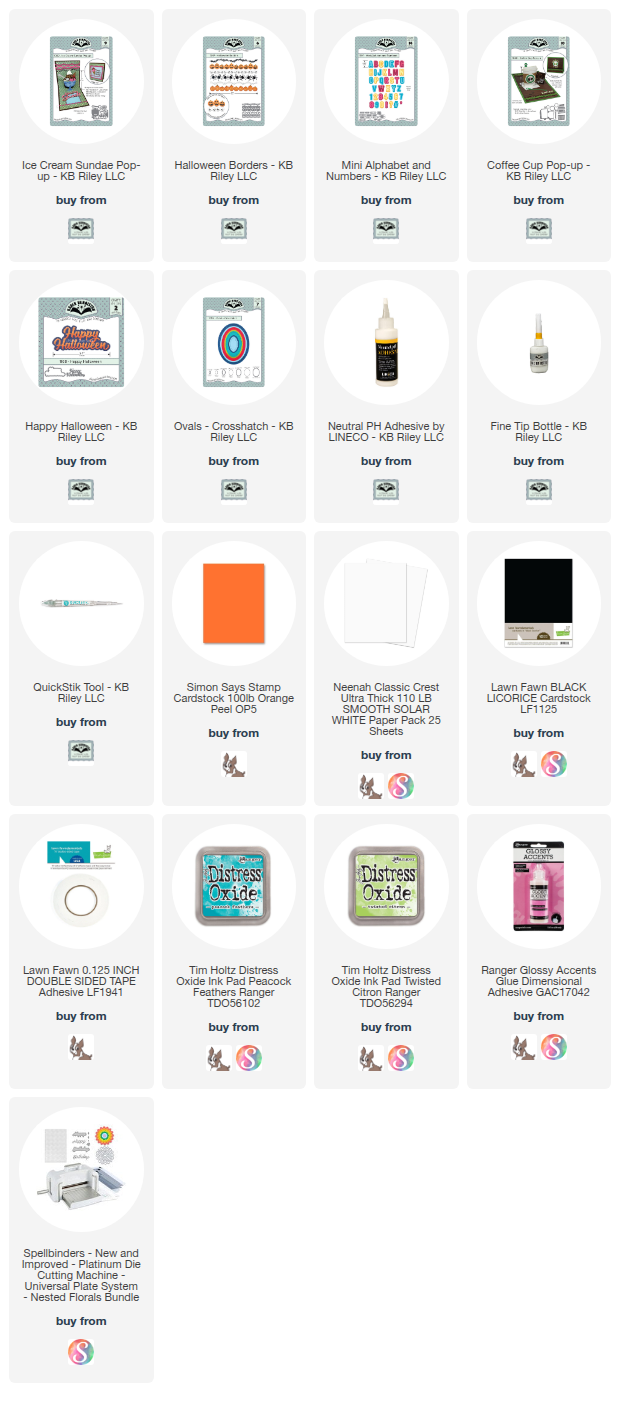
For this card, I started with an A2 top fold card base using orange cardstock. I cut a piece of patterned cardstock 1/8" smaller than my card base. I folded it in half, using my bone folder to make a good crease. Then I used the Ice Cream Sundae Pop-Up die to die cut the pop-up piece for my card. 

I die cut the sundae bowl, ice cream and accessories from smooth white heavy weight cardstock and coloured it all in with Copic markers. I used the wafer as a piece of metal, I added slime using the whipped cream swirl and I turned the cherry into an eye ball! 

I added some more patterned paper, creating a napkin using the napkin die from the Coffee Cup Pop-Up. Then I added the metal spoon in front of my sundae. I added a skull border then a place to sign the card. 

I used Distress Oxide Ink in Peacock Feathers and Twisted Citron on some smooth white cardstock, then die cut the "Happy Halloween" sentiment out. I cut the background from glitter white cardstock. Then I glued them together and added it to my card. 

For the front of my card, I created some fun ice cream cones, giving them spooky faces. I used the Mini Alphabet and Numbers to create my Trick or Treat sentiment. 

I really love turning things like ice cream into something spooky! Thank you so much for stopping by today, below is a list of the supplies I used to make this card. Happy Crafting!

Supplies: For your shopping convenience, all products are linked below. Compensated affiliate links are used where possible with no extra cost to you. This helps me to continue to share all the projects I include on my blog. Please note I only use and share products I love. Thank you Crafty Friends!


Monday, October 6, 2025

Fall Themed Card using Karen Burniston's Charm Accordion Die

Hello Crafty Friends and welcome! If you can believe it, I still don't have all the fantastic dies that Karen has on her website. Recently, I purchased the Charm Accordion pop-up die set and had to make a fall themed card with it. Then add those great new sentiment stamps and you've got the perfect combo for an amazing card!!


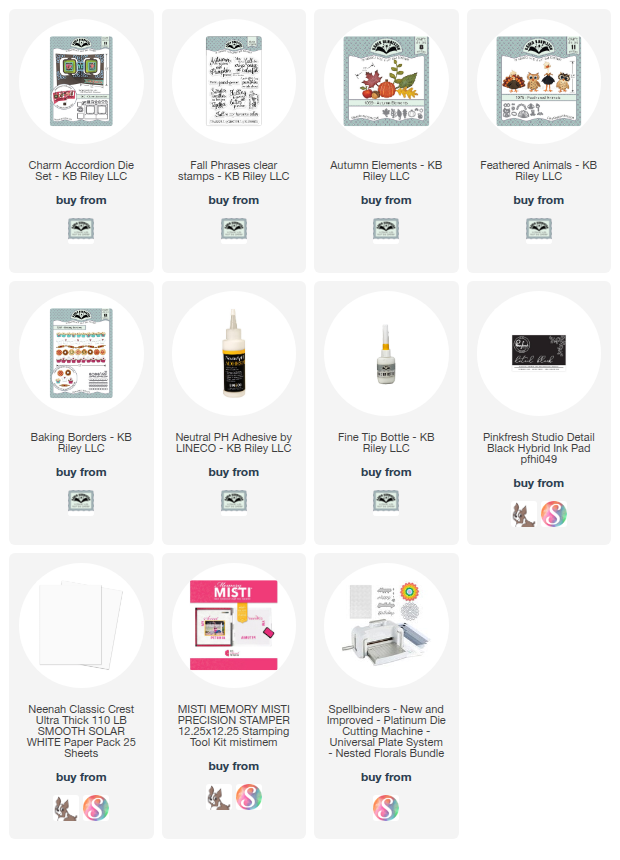
 For this card, I started by die cutting two of the Charm Accordions. Then I cut them in half. I turned two upside down so that it would be staggered having the accordion areas up and down. I cut three pieces to act like a book spine for my panels, so I could put them all together. I followed Karen Burniston's great video on how she made a similar card. You can view that by clicking here. 

I die cut the Charm Accordion panels from Autumn themed patterned paper I had. Then I folded them in half and with my paper trimmer, trimmed each side of the panels 1/16". This made them even all around and 1/8" smaller than my base card. I glued the patterned paper to my panels, alternating them as I glued them down. 

I die cut four white labels to add to each accordion area. I stamped some sentiments to them using the new Autumn Phrases sentiment stamp and Detail Black ink. Then I used the Feathered Animals die to cut out a turkey to add to one of my panels. I left the last one blank so I had a place to sign the card.

For my charms, I used the Baking Borders to make pies, then I used the heart charm that came with the Charm Accordion die set and glued it to the back of the pies, trimming the extra. This turned my pies into charms! Then I die cut the little hooks from the same cardstock as the base of my card and used them to add my pie charms to my card. 

Lastly, I die cut several leaves, apples, pumpkins and acorns from the Autumn Elements die set and added them to my card, including the front of the card. I die cut them from smooth white cardstock and coloured them in with Copic markers. 

Thank you so much for stopping by today, below is a list of the supplies I used to make this card. Happy Crafting and be sure to check out all the new sentiment stamps from Karen Burniston!!

Supplies: For your shopping convenience, all products are linked below. Compensated affiliate links are used where possible with no extra cost to you. This helps me to continue to share all the projects I include on my blog. Please note I only use and share products I love. Thank you Crafty Friends!


Friday, October 3, 2025

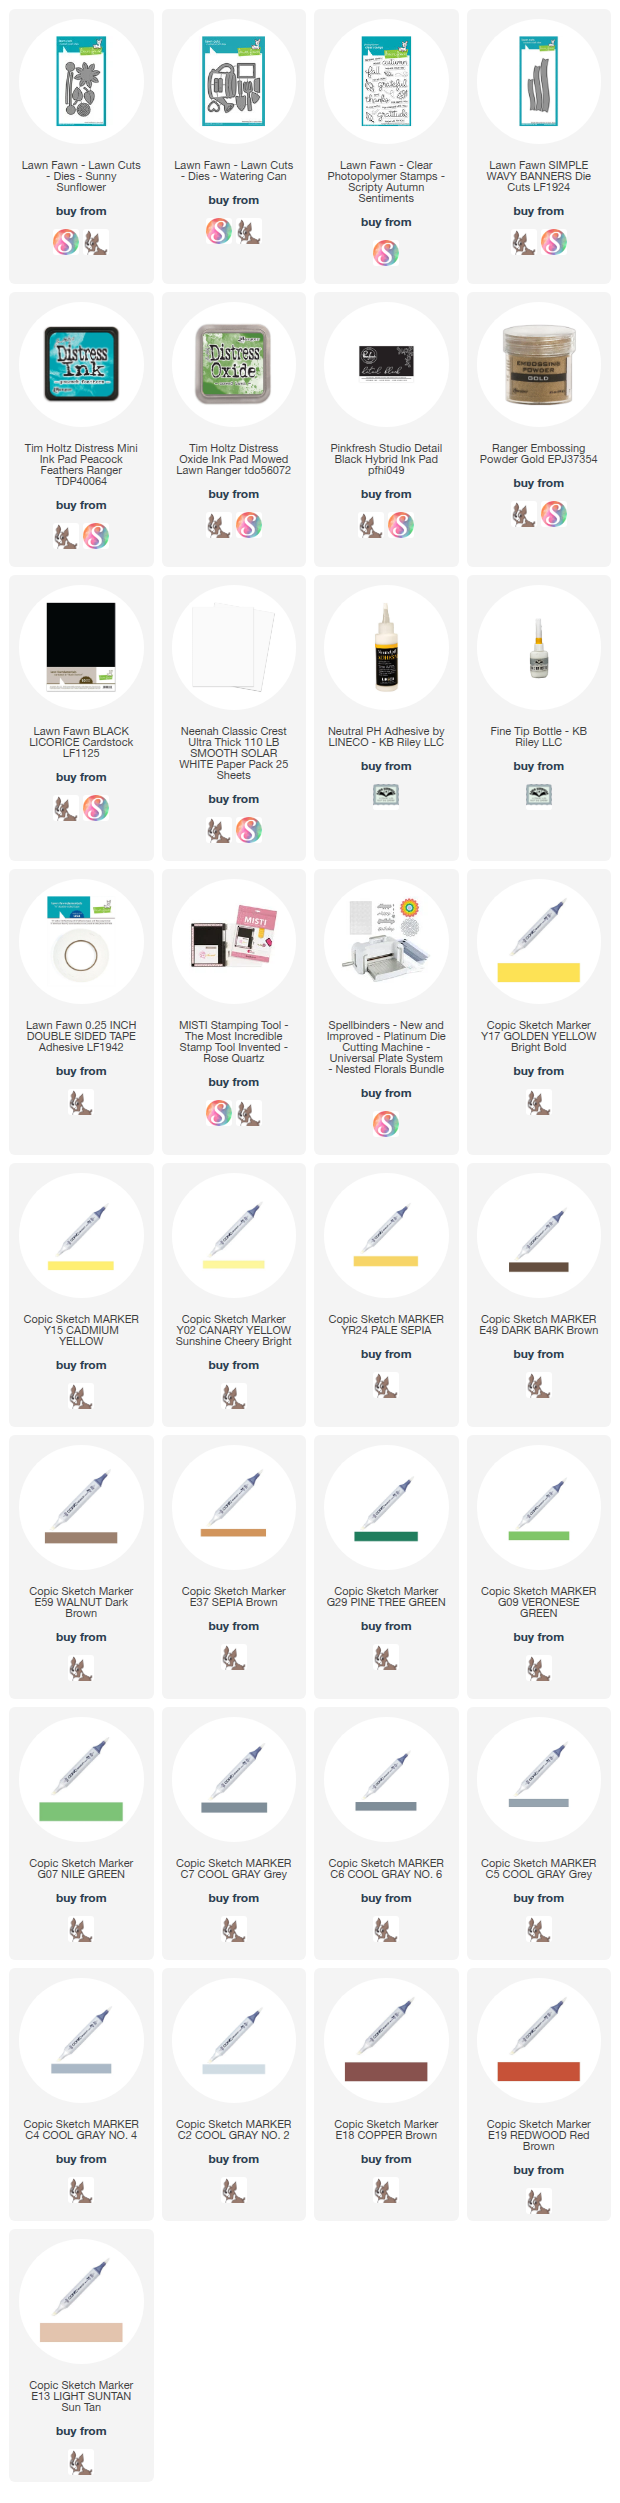
Sunflower Card using Lawn Fawn's Sunny Sunflower!

Hello Crafty Friends and welcome! My card for you today was created for Lawn Fawn's Challenge 205 - Awesome Autumn. I'm not sure about you, but I love Autumn!!! The colours, the smell of leaves, the cool weather but still warm enough during the day to wear flip flops! For this card, I used the Sunny Sunflower die set along with the Watering Can to create my fall scene. 


 For this card, I started with a light brown heavy cardstock for the card base. I cut it 10 x 7 and scored it at 5" so I could make a 5x7 card. 

I then added some pretty gingham patterned paper in fall colours from Echo Park called Celebrate Autumn. I used Spellbinders Arch dies to create an arched background, adding a border over my background. 

I used MFT - Cloud stencil and Distress Ink in Peacock Feathers to create my cloud background. Then used MFT - Grassy Edges stencil and Distress Oxide Ink in Mowed Lawn to create the grass. 

I die cut Lawn Fawn's Watering Can from smooth white cardstock and coloured it in with Copic markers. I wanted to create some rust marks so I added these with Copics as well. 

Then I die cut two sunflowers from the Sunny Sunflower die set. I cut these from smooth white cardstock as well and coloured them in with Copic markers. 

I glued the sunflowers and watering can together using Lineco Neutral pH adhesive in a fine tip bottle. Then I glued it on to my card front. 

I used Lawn Fawn's Scripty Autumn Sentiments on black cardstock with gold embossing powder, then I used a smaller sentiment on white cardstock and cut it out using the Simple Wavy Banners dies.

This card is just so pretty! Sunflowers are my favorite flowers and I was lucky this year that my neighbour planted lots, so I could look out my window and see pretty sunflowers! Thank you so much for stopping by. The list of the supplies I used to make this card is below. Happy Crafting!

Supplies: For your shopping convenience, all products are linked below. Compensated affiliate links are used where possible with no extra cost to you. This helps me to continue to share all the projects I include on my blog. Please note I only use and share products I love. Thank you Crafty Friends!


Thursday, October 2, 2025

Fall Arch Pop Up Card

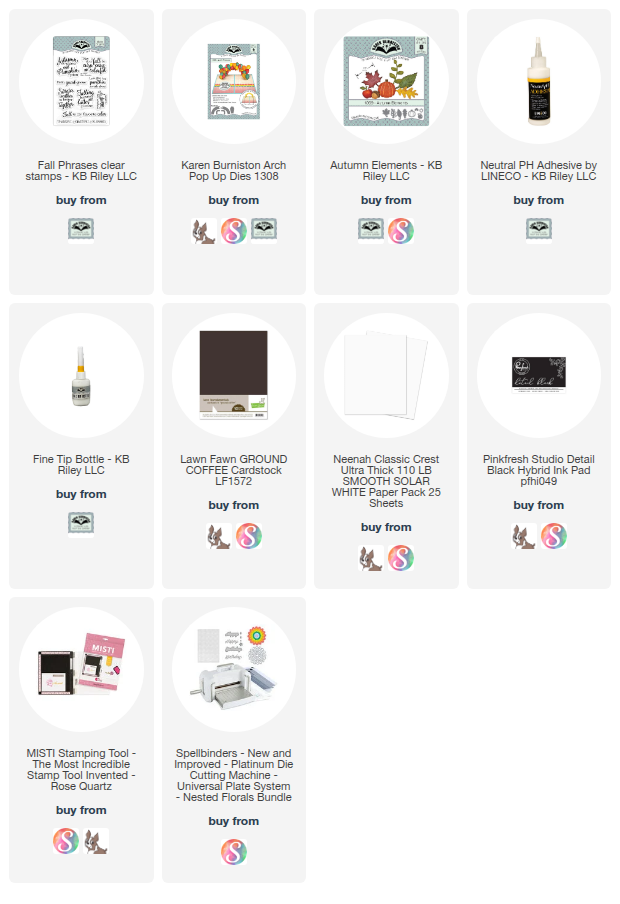
 Hello Crafty Friends and welcome. My card for you today uses the Arch Pop-Up along with the new Fall Phrases sentiment stamp set. 

For this card, I started with an A2 card base using Lawn Fawn Ground Coffee cardstock. I added some pretty fall leaves patterned paper. I die cut the arch pop-up from the same cardstock as the card base, then added it to my card using Lineco Neutral pH adhesive in a fine tip bottle. 

I used Karen Burniston's Autumn Elements die set and cut several leaves, pumpkins, apples and acorns from smooth white heavy weight cardstock. I coloured everything in using Copic markers. I added Glossy Accents to the apples and when they were dry, used my Gelly Pen in a size 10, to add shine lines to the apples. I then started glueing everything to my arch, closing the card in between to make sure that nothing stuck out and that the card could close properly. 

Then I added two labels, one with one of the new Fall sentiments stamped on it and one blank for a place to sign the card. I added some more Autumn Elements to add a little something extra to the bottom of my card. 

For the front of the card, I used the same patterned paper. Then I used more Autumn Elements to create a kind of wreath around my stamped sentiment. I stamped this on to a circle die cut using the Circles - Crosshatch die set. 

I just love fall and the Autumn Elements along with the new sentiment stamp set are perfect together! Thank you so much for stopping by today, below is a list of the supplies I used to make this card. Happy Crafting!

Supplies: For your shopping convenience, all products are linked below. Compensated affiliate links are used where possible with no extra cost to you. This helps me to continue to share all the projects I include on my blog. Please note I only use and share products I love. Thank you Crafty Friends!


Wednesday, October 1, 2025

Karen Burniston New Sentiment Stamps Release! Best Witch Card!

 Hello Crafty Friends and welcome! Today Karen just release some new sentiment stamps along with a stamp set for faces on all her animal and people dies!! How exciting is that?? I love a good sentiment stamp and these are amazing!!!

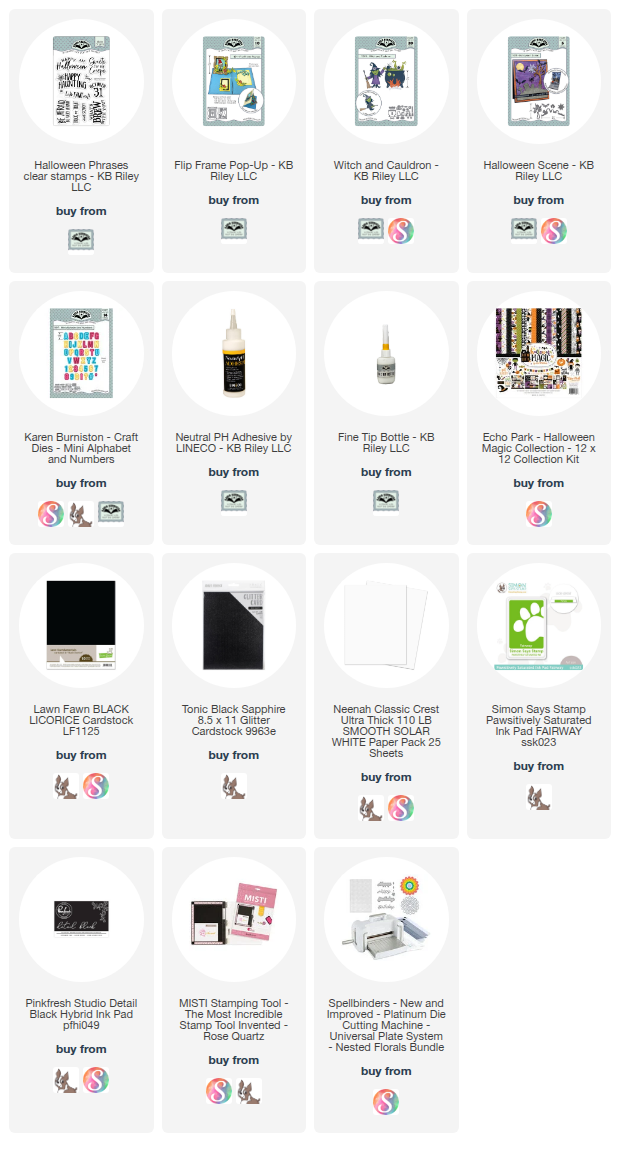
My card for you today features the new Halloween Phrases stamp set along with Flip Fram Pop-Up and the Witch and Cauldron die set. 


For this card, I started with an A2 sized card base using smooth black heavy weight cardstock. Then I added some green polka dot patterned paper. I die cut the pop up mechanism from black cardstock and glued it into my card base using Lineco Neutral pH adhesive in a fine tip bottle. 

I set my card base aside and started making my picture for the Flip Frame. I die cut the frame from a glitter black cardstock. Then I cut the background out using white cardstock. I added some clouds in the background using Simon Says Stamps Pawsitively Saturated Ink in Fairway and my MFT Mini Clouds stencil. 

Then I die cut my witch from smooth white cardstock and coloured her in with Copic markers. I added her to my picture frame, then added her broom to the side of the frame. I glued this into my card. 

I used the Mini Alphabet and Numbers die set to cut out the sentiment "to my best". Then I used my Cricut to cut out witch, using the same sparkly black cardstock as the frame. 

I added a sentiment to the other side of the card using the new Halloween Phrases stamp set. Then I added a place to sign the card and used the tree from the Halloween Scene die set to add some more details to the inside of my card. 


For the front of the card, I used the same patterned paper, adding some purple cardstock to make it pop. Then I added some ovals from the Ovals - Crosshatch. I added more clouds and used the cauldron on the front of the card. I added Glossy Accents to the bubbles in the cauldron. 

Lastly, I added another sentiment from the Halloween Phrases stamp set. I just love the new sentiment stamps that Karen has come out with!! They work perfectly for my card! Thank you so much for stopping by today, below is a list of the supplies that I used to make this card. Happy Crafting!!

Supplies: For your shopping convenience, all products are linked below. Compensated affiliate links are used where possible with no extra cost to you. This helps me to continue to share all the projects I include on my blog. Please note I only use and share products I love. Thank you Crafty Friends!


Kitty Witch Halloween Card

Hello Crafty Friends and welcome! My card for you today was created for Craft Roulette. It's been so long since I made a card for Craft ...