Wednesday, September 17, 2025

Thanksgiving Pop-Up Card!

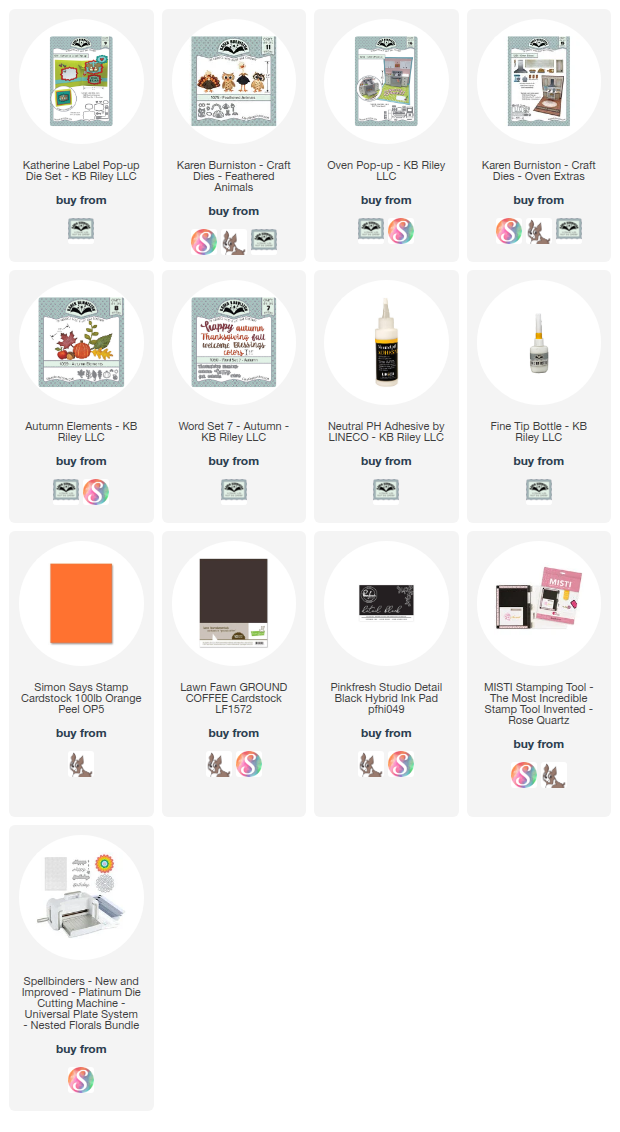
 Hello Crafty Friends and welcome! I have a fun Thanksgiving themed pop-up card for you today. In Canada, Thanksgiving is in early October, so I am trying to get a couple of cards done to give to my family this Thanksgiving. For this card, I used Karen Burniston's Katherine Label Pop-Up along with the Oven Pop-Up and Feathered Friends die sets. 

For this card, I started with a 5 x5 sized card base using an orange cardstock. I added some polka dot patterned fall paper. I die cut the window in the front of my card and added acetate in-between the patterned paper and the card base. Then I added frames around the front and back of the window. 

I die cut the pop-up mechanism from the same orange cardstock as the card base and glued it into my card using Lineco Neutral pH adhesive in a fine tip bottle. 

I then die cut my kitchen using the Oven Pop-Up dies. I had to trim some of the die cuts to make the "flat" kitchen instead of a pop-up one. Then I die cut the turkey from the Feathered Friends die set and added a chef hat using the Baking Borders. 

I added a sentiment to the inside using Karen Burniston's Word Set 7 - Autumn and a Spellbinders stamp set called Fall Greetings. 

For the front of the card, I added some fall foliage using Karen Burniston's Autumn Elements die set. I wanted to keep is simple because there is so much going on inside the card. 

Thank you so much for stopping by today. Below is a list of the supplies I used to make this card. Happy Crafting!!

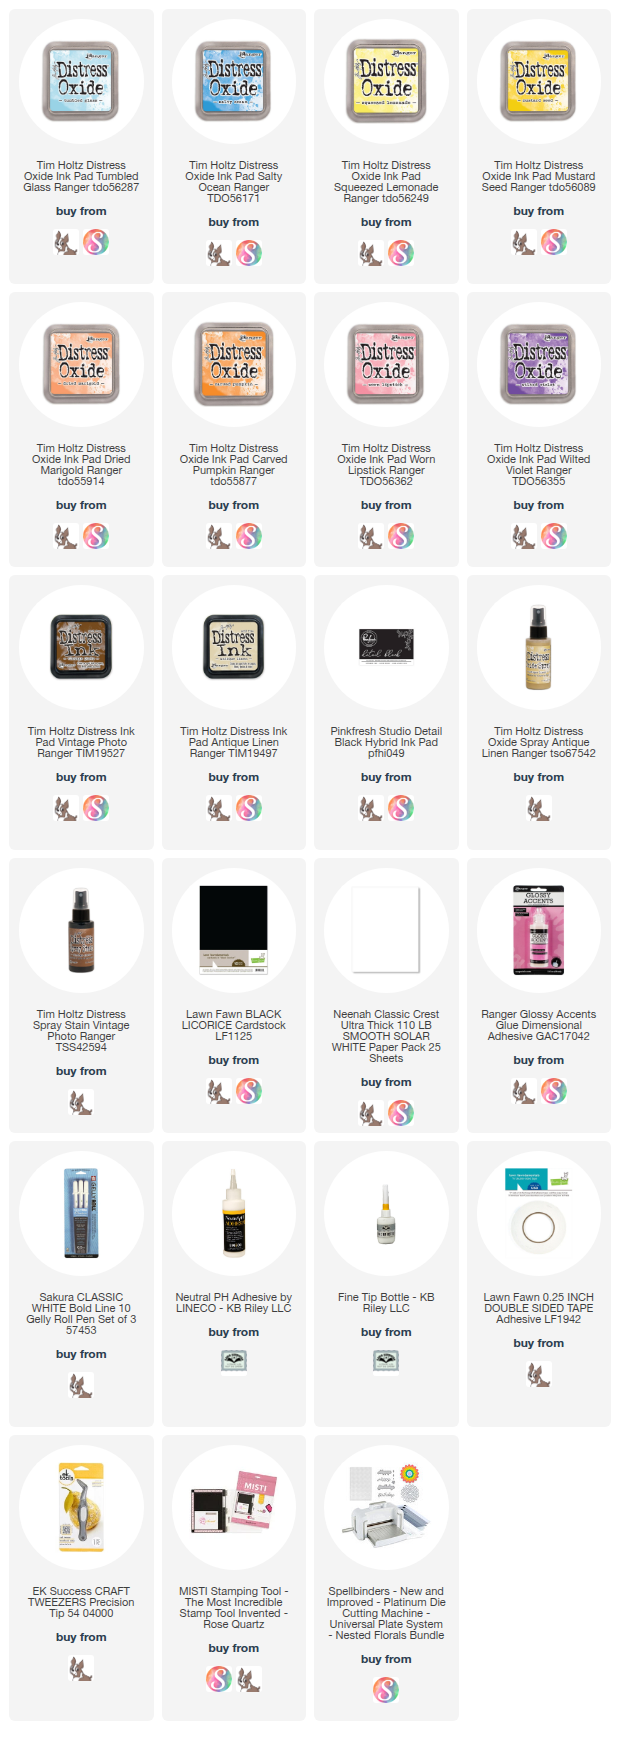
Supplies: For your shopping convenience, all products are linked below. Compensated affiliate links are used where possible with no extra cost to you. This helps me to continue to share all the projects I include on my blog. Please note I only use and share products I love. Thank you Crafty Friends!


Monday, September 8, 2025

Spooky Slimline Halloween Card

 Hello Crafty Friends and welcome! My card today was inspired by one of my Karen Burniston Design Team members, Sandy! She made this fantastic new home card using the techniques Karen taught in the June 2025 Zoom Class. Sandy has also been making some amazing Halloween cards so she has definitely inspired me!! Thank you Sandy!!

For this card, I used Karen Burniston's Landscape Rectangle Accordion inside my slimline card base. This is actually a little bigger than a normal slimline. It's 3.75 x 8.75. But bigger means fitting more stuff into the card!!! 

I started by making the two rectangles that will make up my card base. I used heavy weight smooth black cardstock and cut two rectangles, one 3.75 x 8.75 and one 3.75 x 9.25 then scored the second rectangle at 8.75. I used Lineco Neutral pH adhesive in a fine tip bottle to hold the two pieces together. 

I then created the background using Distress Oxide Ink in Twisted Citrin, Mowed Lawn and Rustic Wilderness. I splattered black ink on to the backgrounds. 

I die cut my Landscape Rectangle Accordion three times and then followed the instructions from Karen Burniston's zoom class to add it the inside of my card. I added some Halloween paper trim around the Landscape Rectangle Accordion. 

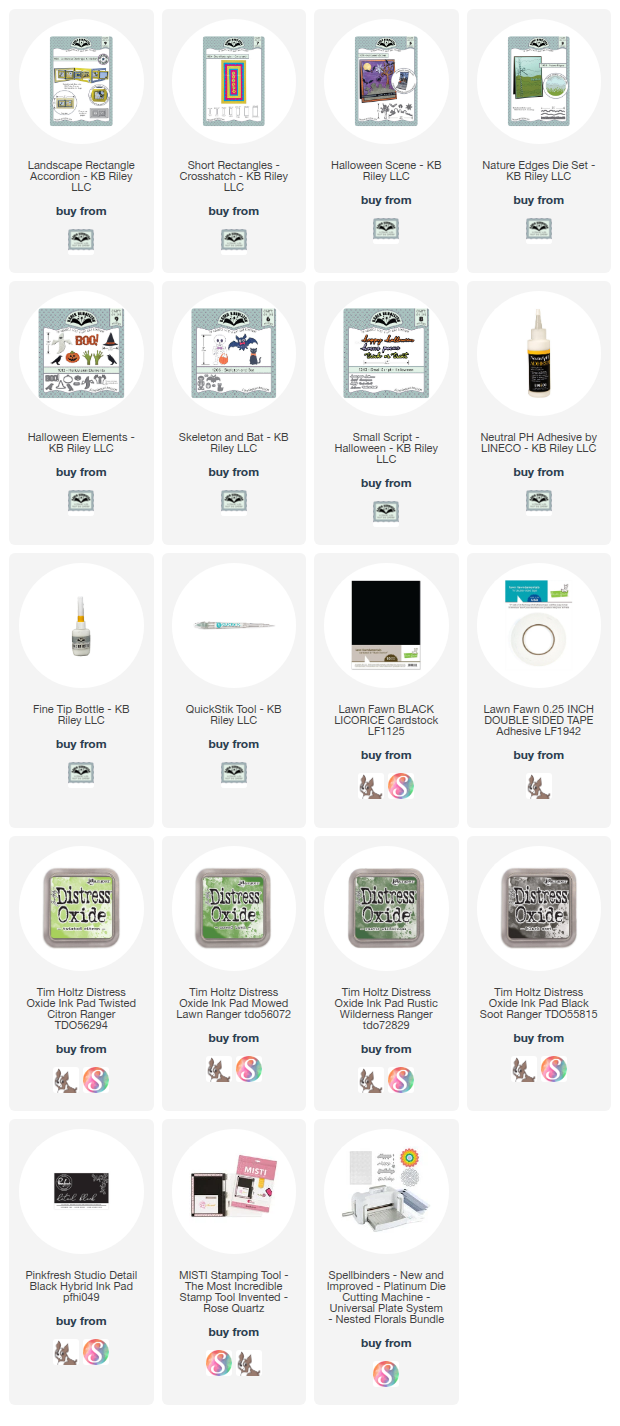
I used Karen Burniston's Skeleton and Bat die set along with the Halloween Scene die set to create my scene. Then added the Small Script - Halloween die cuts to add the Trick or Treat sentiment to the inside of my card. 

I added a place to sign the card and then added another square with a sentiment on it from Lawn Fawn's Costume Party stamp set. 

Thank you so much for stopping by today. Below is a list of the products that I used to make this card. Happy Crafting!

Supplies: For your shopping convenience, all products are linked below. Compensated affiliate links are used where possible with no extra cost to you. This helps me to continue to share all the projects I include on my blog. Please note I only use and share products I love. Thank you Crafty Friends!


Tuesday, September 2, 2025

Karen Burniston Designer Challenge - September 2025 - Letter

  Hello Crafty Friends and welcome! It's Designer Challenge time again and our theme this month is "Letter". For my card, I decided to use the Mailbox Pop-Up but turn it into a bloody Halloween card. I had my best friend in mind who just loves Halloween. Every year she dresses up and her costume and make up is always amazing! So I made this for her. 

For this card, I started with a 5x7 side fold card. To make this, I cut a rectangle from heavy weight smooth black cardstock 5x7, then I cut a second rectangle 5x7.5. I scored this piece at 7in and then lined up the two pieces, keeping the fold on the inside of the card. I used Lineco Neutral pH adhesive in a fine tip bottle to glue the two pieces together. The fold will be covered up on the inside by the background. 

Next, I created the two background pieces. I used Distress Oxide Ink in Twisted Citrine, Mowed Lawn, Rustic Wilderness and Black Soot. I also created the moon using Tim Holtz Moon Mask Stencils. I splattered black ink on the backgrounds and set them aside to dry. 

I started die cutting all my pieces from various Karen Burniston die cuts. These are all listed below. Once my background was dry, I began gluing down all the pieces. Including the Mailbox Pop-Up. I created the mailbox to look old and rusted. The letter looks old and I tried to make it look bloody. 

I added the Mini Alphabet letters to create my sentiment. I used my Cricut to create the word "Bloody" which I cut from white cardstock and then used Copic markers to colour it in. Then I added Glossy Accents to it. Once dry, I added gloss lines using a size 10 Gelly Pen. 


For the front of my card, I wanted to create the house, so it kept with the theme on the inside. I used Karen Burniston's Holiday House and turned it into a Halloween house. I added another sentiment using the Mini Alphabet. I created the same background as the inside of the card as well. 

I really love making Halloween cards. They are just so much fun! Thank you so much for stopping by today. Please make sure you check out the Design Teams cards, they are all so amazing! Below is a list of the supplies used. Happy Crafting!

Supplies: For your shopping convenience, all products are linked below. Compensated affiliate links are used where possible with no extra cost to you. This helps me to continue to share all the projects I include on my blog. Please note I only use and share products I love. Thank you Crafty Friends!

Sunday, August 17, 2025

Christmas Tea Cup Pop-Up Card

 Hello Crafty Friends and welcome! My card for you today was created for Craft Roulette. The parameters for this week were a Thinking of You card, Hometown Colours, Cup or Glass and Add a Doodle. I decided, since my hometown flag colours are red, blue, white and gold, that I would create a Christmas card using Karen Burniston's Tea and Coffee Pop-Up. Karen came up with a fabulous idea for stacking the tea cups, so I followed her video on how to create the pop-up.

I started with a 5x12" card base using Bazzil Basics dark blue cardstock and folded it a the 6" mark, so the folded card would be 5x6". I then added some pretty Christmas patterned paper from Echo Park called A Perfect Winter, cutting it 1/8" smaller than the card base. 

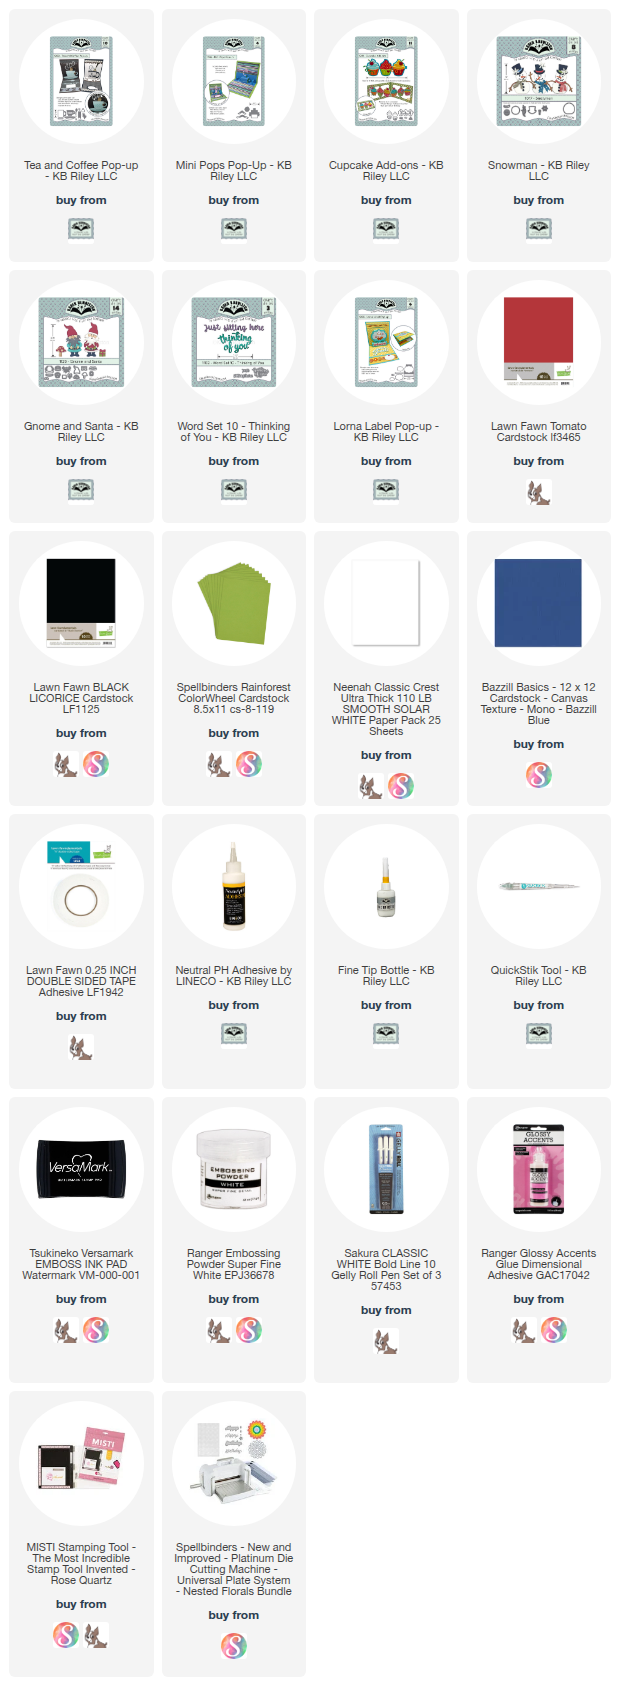
I die cut two pop up mechanisms and glued them together to extend the actual pop-up. You can see how to do this by checking out Karen Burniston's great assembly video on YouTube by clicking here. I die cut the pop up mechanism from Tomato cardstock from Lawn Fawn. I die cut three saucers from red, green and white cardstock, then cut three tea cups from white cardstock. 

I coloured the tea cups with Copic markers to add the border along the top and bottom of the tea cup. Then I added some details to each tea cup to create a snowman, Santa and Elf tea cup. I used Karen Burniston's Snowman and Santa and Gnome die sets to create the faces. I added Glossy Accents to the eyes and Snowman's mouth to give it some shine. 

I die cut Karen Burniston's Thinking of You sentiment three times, once from light glitter blue cardstock and twice from white cardstock then glued them all together to make the sentiment stand out. Then I stamped the "at Christmas" sentiment on to black cardstock using VersaMark Ink and white embossing powder. 

I added some red and white cardstock to the bottom of the card, then added a label using Karen Burniston's Lorna Label, so there is place to sign the card. 


For the front of my card, I added the same patterned paper, then added a green rectangle that I die cut from MFT A2 STAX Rectangle dies and embossed using an old Cuttlebug embossing folder. I added two mugs from Karen Burniston's Tea and Coffee Pop-Up, adding the curling steam to one and adding some whipped cream to the second. This came from the Cupcake Add-Ons die set. I added my doodle to the front of each cup, then stamped a sentiment from MFT Hot Cocoa Cups sentiment stamp. 

I just love how this card came out. Those tea cups are just adorable and it's a fun surprise when you open the card to a pop-up!! Thank you so much for stopping by today. Below is a list of some of the supplies I used. Some supplies are no longer available. Happy Crafting!

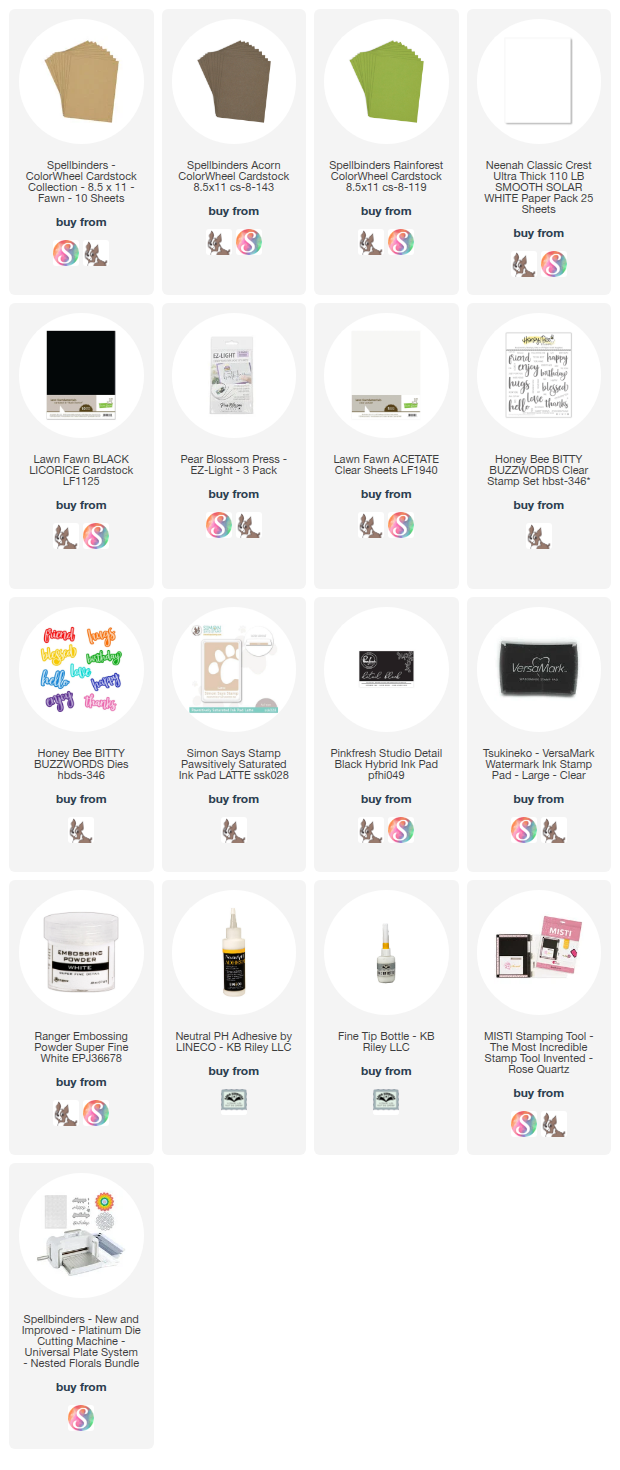
Supplies: For your shopping convenience, all products are linked below. Compensated affiliate links are used where possible with no extra cost to you. This helps me to continue to share all the projects I include on my blog. Please note I only use and share products I love. Thank you Crafty Friends!


Wednesday, August 13, 2025

Pop-Up Super Birthday Card!

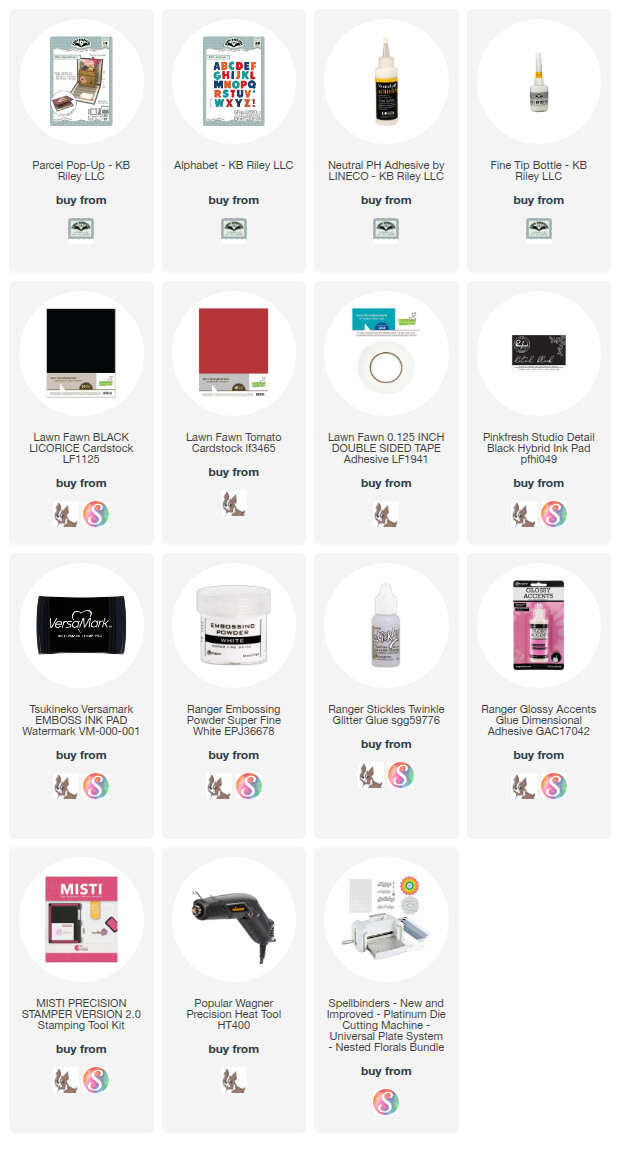
 Hello Crafty Friends and welcome. My card for you today features Karen Burniston's Parcel Pop-Up along with Sassy Club Stamps Plumber Brothers and the Dungeon Squad stamp sets. This is the perfect card for anyone who loves classic video game characters!!!

I started with a 5.5x5.5 card base using heavy weight black cardstock. Then I used some patterned paper from Sassy Club Stamps called Game Over. 

I die cut the Parcel Pop-Up mechanism from light weight green cardstock and glued it into my card base using Lineco Neutral pH adhesive in a fine tip bottle. I die cut the box for the parcel part of the pop-up and colored it in green, then I cut a piece to go on the top to create the pipe. I coloured this in with Copic markers. Then I added it to the front of the pop-up mechanism. 

I stamped all my images using Detail Black Ink from Pink Fresh Studios and coloured all the characters in with Copic markers. I fussy cut all my images out. 

I added Mario to the pop-up so he looks like he is coming out of the pipe. Then placed the rest of my stamped images around the inside of the card. 

Lastly, I die cut a smaller square from the Parcel Pop-Up to have a place to sign the card. 


For the front of the card, I added more patterned paper, then added some more of my stamped images. 

I used Karen Burniston's Alphabet die set to cut the word "super" out twice. Once from heavy weight black cardstock and once from red cardstock. Then I added glitter gel to the letters after I glued them onto my card front. 

I stamped the "hope your birthday is" sentiment on to black cardstock with VersaMark Ink and white embossing powder. This is from MFT - Bitty Birthday Sentiments. 

How cool is this card!! I made it for my son for his birthday as my parents claimed the previous birthday card I made lol. Thank you so much for stopping by. Below is a list of some of the supplies I used. Happy Crafting!

Supplies: For your shopping convenience, all products are linked below. Compensated affiliate links are used where possible with no extra cost to you. This helps me to continue to share all the projects I include on my blog. Please note I only use and share products I love. Thank you Crafty Friends!


Tuesday, August 5, 2025

Karen Burniston Designer Challenge - August 2025 - Bottom Fold Card

Hello Crafty Friends and welcome! It's Designer Challenge time again and our theme for August 2025 is Bottom Fold Card. 

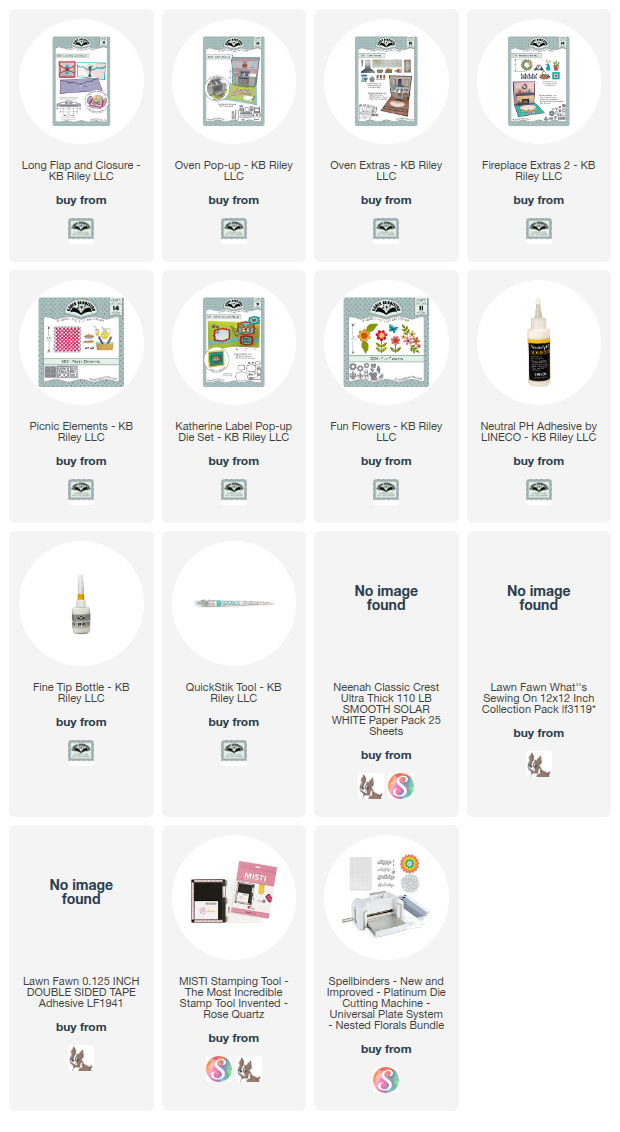
For my card, I was trying to think of ideas to create a bottom fold card when I had a brain fart! I thought about the old recipe folders or books. My Granny had little recipe cards, my Nanny had hand written notes on paper and stored inside recipe books. My Mom had a little of both. So I decided to make a recipe folder for the front of my card. 

I started with a 5x7 sized card base using Neenah smooth white cardstock. I added Karen Burniston's Long Flap and Closure from the same cardstock. I used my Cricut to cut out the word "recipe" twice using heavy weight smooth black cardstock, then glued the two pieces together to give the word some dimension. I die cut flowers and leaves from Karen Burniston's Fun Flowers die set and added them around the word recipe to make it look a little vintage. 


 For the inside, I wanted my card to open up to Grandmas kitchen. I used the Oven Pop-Up and Oven Extras to make this card. I added shelves and added some accessories using the Fireplace Add-Ons. I also added a floor mat using the blanket from Picnic Elements. I die cut the pieces from Neenah cardstock and coloured them in with Copic markers. 

I added the new Display Helpers dies to each corner to keep the card open properly. These were HUGE helpers and I highly recommend them!! I added a label to my card using the Katherine Label die set and stamped a sentiment on it from Simon Says Stamps called Inside Family Messages. 

I tried to keep the colors light but welcoming. From the Grandchildren's art work on the shelf to the cookies in the oven, this just screams Grandmas Kitchen. 

Thank you so much for stopping by today. Below is a list of all the supplies I used. Some items may no longer be available. Happy Crafting!

Supplies: For your shopping convenience, all products are linked below. Compensated affiliate links are used where possible with no extra cost to you. This helps me to continue to share all the projects I include on my blog. Please note I only use and share products I love. Thank you Crafty Friends!



Monday, August 4, 2025

Craft Roulette - Pop Up Coffee Shop!

 Hello Crafty Friends and welcome. My card for you today was made for Craft Roulette Episode #278. This is my 25th submission so I knew I had to make it special! The parameters were a Thank You card, Bakery Colors, Shop(s)(ing) and Ombre. For this card, I used Scrappy Tails Storefront Pop-Up along with the Coffee Shop and Florist Add-On. 


I started by die cutting two panels to create the building frame, using Spellbinders Fawn cardstock. I used my Small Brick stencil from MFT and Simon Says Stamps Pawsitively Saturated Ink in Latte. I then die cut the roof from Spellbinders Acorn cardstock. I also cut the piece that holds the roof to the house in this colour. Then I die cut 10 green strips to add to my roof, adding some detail with a Copic marker. I used warm colours, like an old fashioned bakery/cafe. 

Before I put the building together, I started adding all the details to the coffee shop. I started by cutting out the window in the front. I added a piece of acetate to the inside of the shop to make it look like an actual window. Then I die cut the curtains from a scrap piece of Lawn Fawn patterned paper. I'm sorry I can't remember what it's called, but it's really pretty with little white flowers and a yellow background. 


I die cut the door and the steps leading up to the door from scrap cardstock and extra pieces of the Spellbinders cardstock. I die cut the door windows from Neenah cardstock and coloured them in with Copic markers. I did an ombre gradient on all my coloured die cuts. 

I die cut the table and chairs from black cardstock, twice and placed them in front of the window of my shop and then on the side of the shop. I added some tea cups and cupcakes along with a tea pot and for the other table, I added to go coffee cups. I added plants and flower pots as well. These were all coloured by hand using Copic markers. 


For the back of my shop, I added a banner for a place to sign the card, since this does fold completely flat and will fit in a 5x7 envelope. I added a bike and some more plants and windows to the other side of the shop. Then I began putting everything together. I glued the shop walls together and then die cut three strips to add to the inside of the card. This is to add things to the inside of the shop so when you look in the window you can see them. 

I started by creating a counter, then adding two bar seats and some coffee mugs and cupcakes. Then I added a second strip, with a shelf that I made from a window die. I added bottles, cups, cupcakes and coffee bean bags. Then I added a coffee pot and a computer to check customers out with. 


I added the strips to the inside of the card using liquid glue. This is what I used for all my die cuts for this card. That way, it's strong and won't eventually come apart. 

Before I put the roof on my shop, I die cut lights and added them to the third strip I had die cut. I added Pear Blossom Press lights to three die cut lights for my shop. I taped the wires to the inside of my card using Scotch Tape. Then I added the battery to the back of my roof. So my coffee shop would light up inside so you could see all the little things inside. 

I had so much fun making this card! Thank you so much for stopping by today. Below is a list of the products that I used. Not all products are listed as they are only available on the actual website of they are older and no longer available. Happy Crafting!

Supplies: For your shopping convenience, all products are linked below. Compensated affiliate links are used where possible with no extra cost to you. This helps me to continue to share all the projects I include on my blog. Please note I only use and share products I love. Thank you Crafty Friends!


Saturday, July 26, 2025

Happy Birthday Slider Box with Surprise Cubes!

 Hello Crafty Friends and welcome! I have another very special card for you today. This one was made for my Dad's upcoming Birthday. He will be turning 77 this year and he is not only an awesome Dad but he really is the world's best Grandpa. So I knew I had to make something that would show just how awesome he really is. 

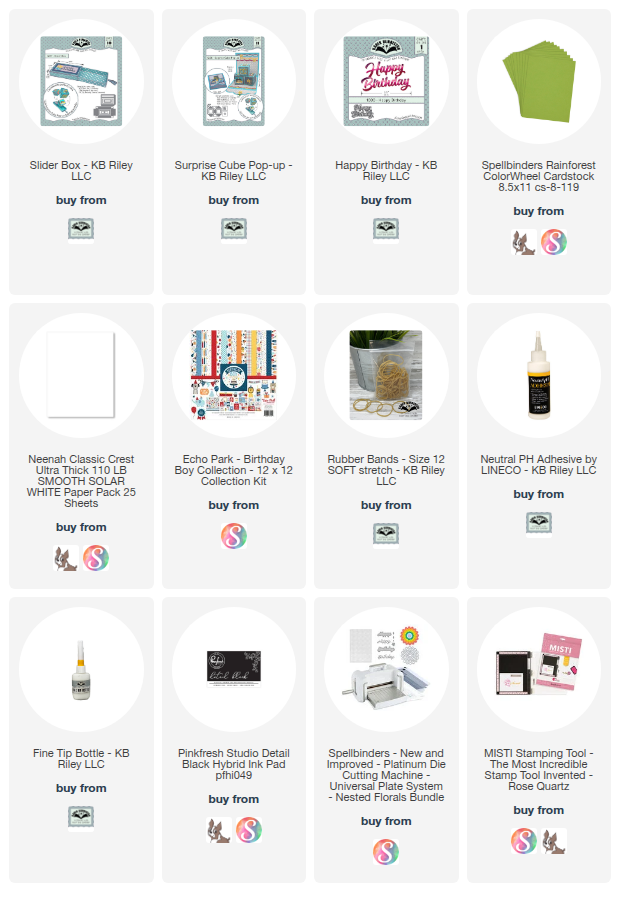
For this "card" I used Karen Burniston's Slider Box and Surprise Cubes. I made both the box and cubes from a light weight dark blue cardstock that I got from Michaels. Then I used Spellbinders Rainforest cardstock and Echo Park Birthday Boy patterned paper. 

I live in Canada so I don't have a Walgreens so to make my photos I used PicMonkey online and printed the photos on my printer. I wish we had a way to print photos like Karen does at Walgreens and when I figure it out I will be sure to let you all know. 

I followed Karen's amazing assembly videos for both the cube and slider box to put everything together. I added the Birthday die cut to the top of my box using Karen Burniston's Happy Birthday die than stamped the "wishes" underneath it. 

Here is a short clip on how my surprise slider box works. I can't wait to see my Dad's reaction!


Thank you so much for joining me today. Below is a list of all the supplies I used to make this card. Some supplies are no longer available. Happy Crafting!!

Supplies: For your shopping convenience, all products are linked below. Compensated affiliate links are used where possible with no extra cost to you. This helps me to continue to share all the projects I include on my blog. Please note I only use and share products I love. Thank you Crafty Friends!


Tuesday, July 22, 2025

A Seed-sational Birthday Card!

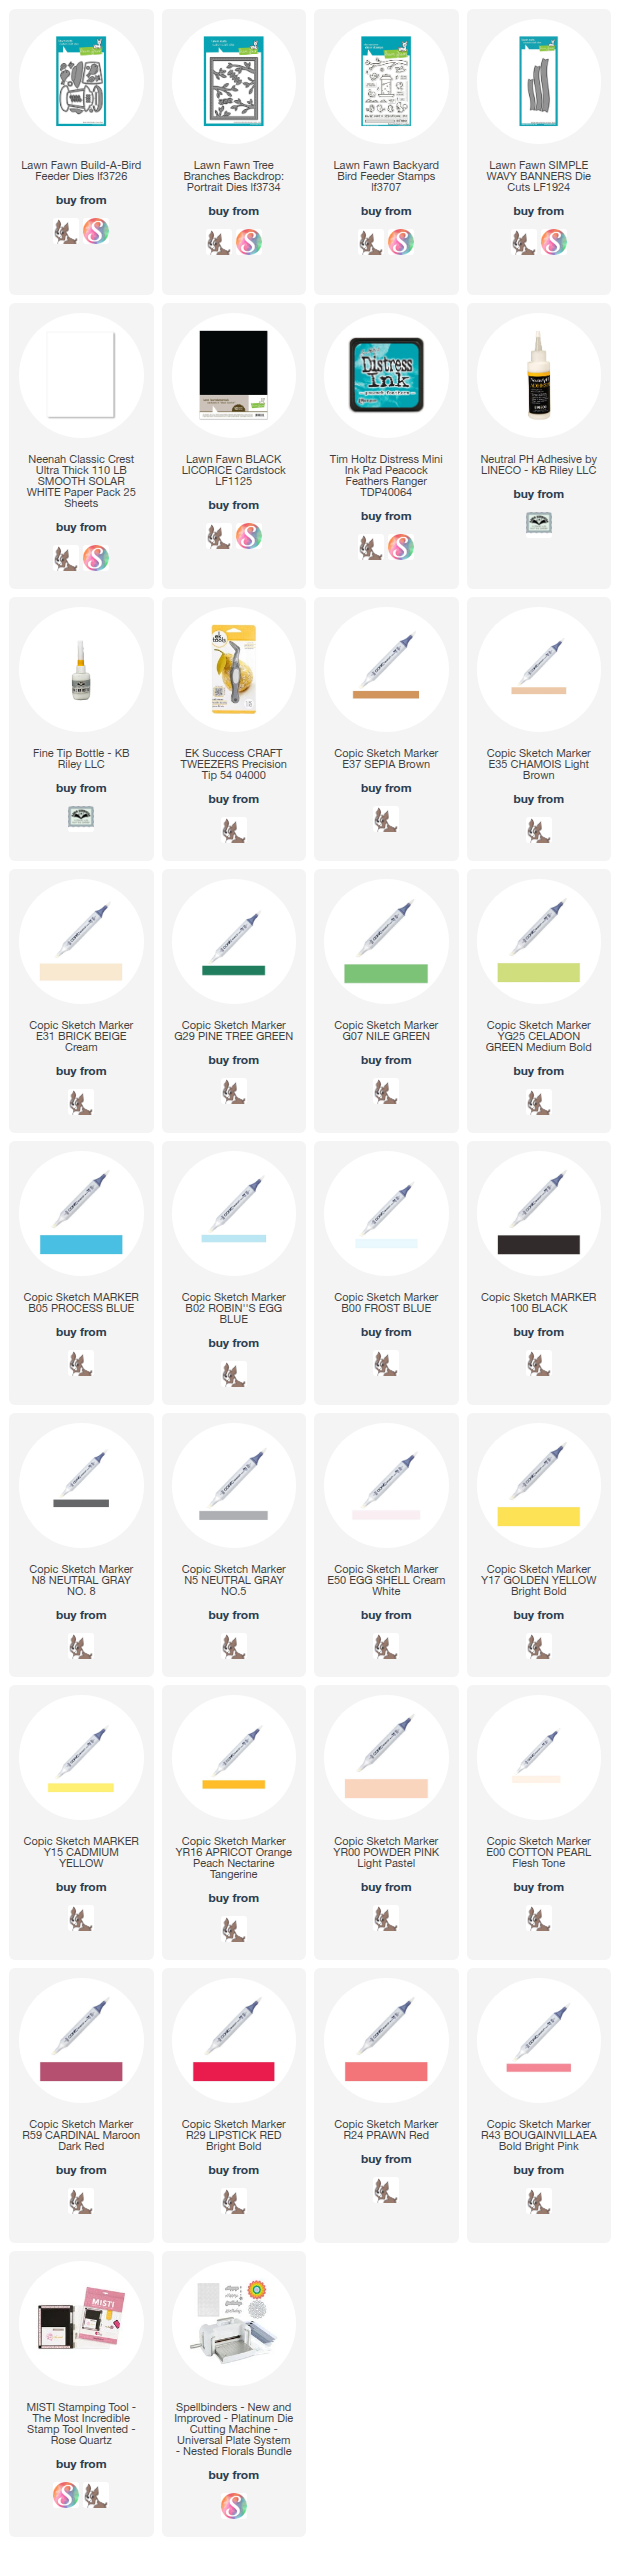
 Hello Crafty Friends and welcome! I have a cute card for you today, which uses Lawn Fawn's Build a Bird Feeder die set!

I started with an A2 sized card base from heavy weight smooth white cardstock. Then I cut a rectangle from the same smooth white cardstock and created my background. I used MFT - Mini Clouds stencil and Distress Ink in Peacock Feathers to create my clouds. 

I die cut Lawn Fawn's Tree Branches Backdrop (Portrait) twice, once from white cardstock and once from black cardstock. I coloured in the branches and leaves on the white die cut, using Copic markers. Then I trimmed the branches off the die cut from black cardstock, just leaving the frame. 

I die cut the bird feeder and birds from smooth white cardstock and coloured everything in with Copic markers. I die cut two windows from acetate and created a shaker for the bird feeder. 

I glued everything on with my Lineco Neutral pH adhesive in a fine tip bottle. Lastly, I used Lawn Fawn's Simple Wavy Banners to create my sentiment on the front of my card. This came from Lawn Fawn's Backyard Bird Feeder stamp set. 

Thank you so much for stopping by today, you will find a list of the supplies I used to make this card below. Some supplies are no longer available. Happy Crafting!

Supplies: For your shopping convenience, all products are linked below. Compensated affiliate links are used where possible with no extra cost to you. This helps me to continue to share all the projects I include on my blog. Please note I only use and share products I love. Thank you Crafty Friends!


Monday, July 21, 2025

Saddle Up and Celebrate!

 Hello Crafty Friends and welcome! My card for you today was created for Craft Roulette Episode 276. The parameters this week were to make an Easel card, use rainbow colours, have a western theme and use a black and white image. 

For my card, I created an A2 sized Easel card, used every colour in the rainbow, used MFT - Saddle Up and Celebrate Stamp set and created black and white balloons!


I started by cutting a piece of heavy weight black cardstock 4.25 x 11 and scored it in in the middle at 5.5 and then scored it again at 2.5. I used my bone folder and went over all my fold lines, then set the card base aside. 

I cut a piece of heavy weight smooth white cardstock 1/8" smaller than my card base. I also die cut Spellbinders - Colorblock Landscape from smooth white cardstock. Then I used Distress Oxide Ink to create my background. I wanted it to look like the sun rising behind the mountains. Once I had my background created, I used MFT - Ray of Light stencil and white ink to create the sun rays. I set the background aside to dry. 

I stamped my images from the Saddle Up and Celebrate stamp set using my Misti stamping tool and Pink Fresh Studios Detail Black Ink. Then I coloured my images in with Copic markers. Once I had my images coloured in, I added some details using my size 10 white Gelly Pen. I also added Glossy Accents to my balloons. Once they were dry, I added shine lines with my Gelly Pen. 

I stamped the sentiment to the top of my card base, using detail black ink and then added my stamped images to the front. I cut a piece of cardstock 4.125 x 0.75 twice and glued them together. Then I stamped my second sentiment "Saddle Up and Celebrate" using the detail black ink. I added that to the inside of my card base as a blocker for my Easel card. 

I really enjoy making Easel cards, they are fun and they make for a fun surprise to the recipient. Thank you for stopping by today. Below is a list of all the products that I used to make this card. Some of these products I am unable to post as some companies only allow affiliate link in the USA only. Also some die sets are from a monthly subscription and only available on the companies website. Sorry for any inconvenience. Happy Crafting!

Supplies: For your shopping convenience, all products are linked below. Compensated affiliate links are used where possible with no extra cost to you. This helps me to continue to share all the projects I include on my blog. Please note I only use and share products I love. Thank you Crafty Friends!


Thursday, July 17, 2025

Vintage Truck Birthday Card

 Hello Crafty Friends and Welcome! My card for you today uses Spellbinders Timeless Truck Etched die set along with the Speedometer die set to create this custom made Birthday Card!

This card was created for my cousins 50th Birthday which is coming up. He is a real car/truck guy and over the years has had some pretty spectacular vehicles! There was even a couple of times where I was under a car helping him fix things. So when I was asked to make him something special, I knew I had to recreate his truck. It's not this exact truck, but it still turned out pretty good. 

I started with an A2 card base from smooth white cardstock, then I cut two rectangles from a lime green cardstock 1/8" smaller than my card base. I used MFT - Balloon Strings Background stamp and Simon Says Stamps Pawsitively Saturated Ink in Fairway to create my background. I made two backgrounds, one for the front of the card and one for the inside. 

I die cut all the pieces of the truck, some in gray, black and silver cardstock and the rest in white cardstock. I colored in the truck using Copic markers. I used a picture of my cousins truck as an example and tried my best to make it look similar. 

I die cut the pieces for the speedometer and then placed that on the background of my card. I used foam squares on the back of my truck then added that to the front of my card. 

I used Spellbinders Cruisin' By sentiment stamp to add a sentiment to the front. 

I really hope my cousin likes his card. Thank you so much for stopping by. See below for a list of all the supplies I used in this card (some are not available as they are older stamps). Happy Crafting!

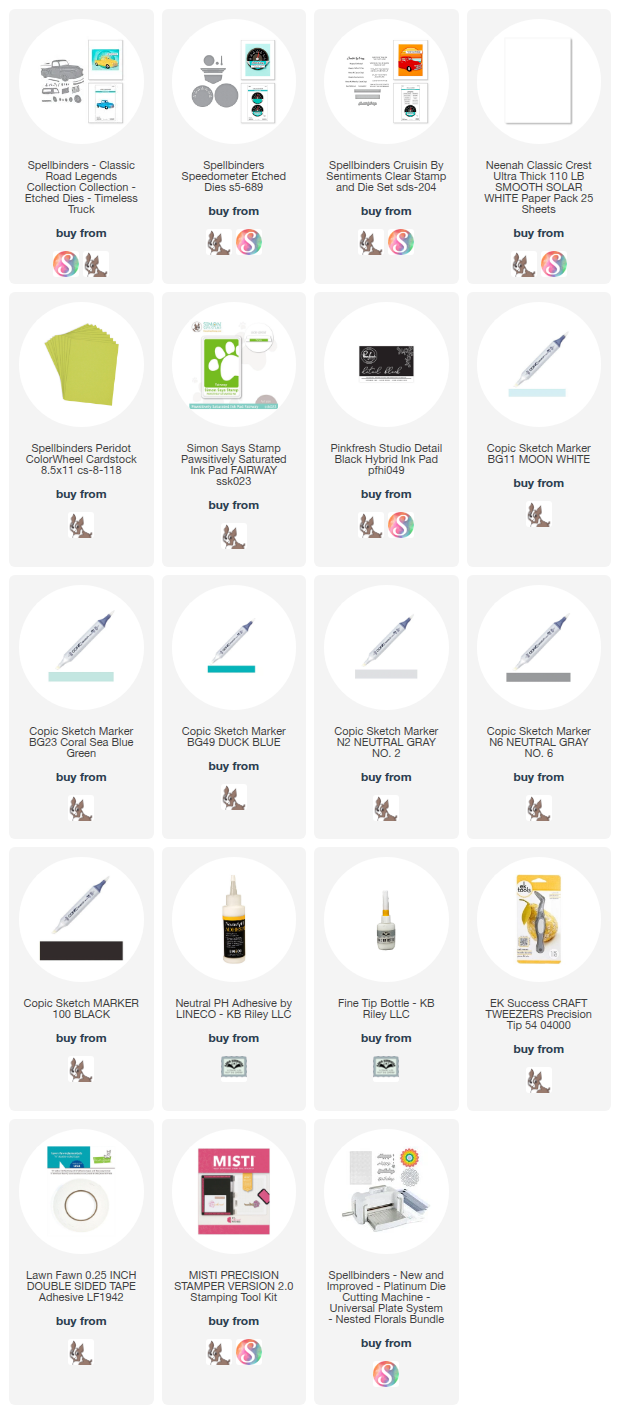
Supplies: For your shopping convenience, all products are linked below. Compensated affiliate links are used where possible with no extra cost to you. This helps me to continue to share all the projects I include on my blog. Please note I only use and share products I love. Thank you Crafty Friends!


Kitty Witch Halloween Card

Hello Crafty Friends and welcome! My card for you today was created for Craft Roulette. It's been so long since I made a card for Craft ...