Friday, January 9, 2026

Yappy Birthday Card for Lawn Fawnatics Challenge 212 - Let's Celebrate

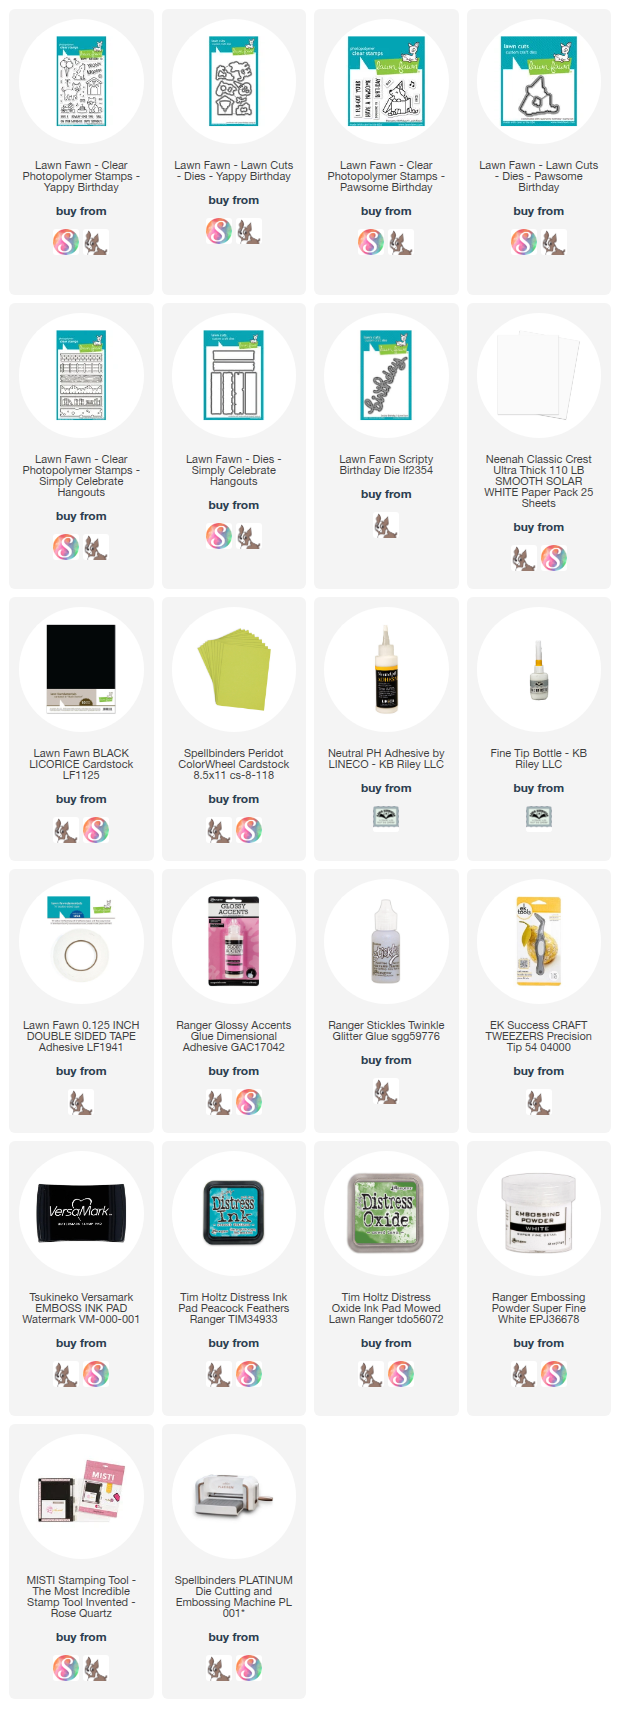
 Hello Crafty Friends and welcome! It's been quite a while since I played along with the Lawn Fawnatics Challenges and to be honest I really missed it!! I love Lawn Fawn products, from their stamps and dies to their papers and patterned paper pads. So it was a really fun way to spend my day making this card! For this card, I used the Yappy Birthday stamp set along with Pawsome Birthday and Simply Celebrate Hangouts stamp sets. 


I started by cutting a background piece measuring 3 3/8 x 8 3/8 from smooth white cardstock. I decided to make an outdoors background, so I used MFT - Mini Cloud stencil and Peacock Feathers distress ink to create a cloudy sky. Then I used MFT - Slimline Grassy Hills die to create my grass for the background. I added some Distress Oxide Ink in Mowed Lawn to the edges and cut the grass from Spellbinders cardstock in Peridot. 

I glued this down to my card base and set it aside. I stamped all the images I wanted to use for this card using Detail Black Ink and my Misti stamping tool. I let the ink dry for 5 minutes and then used Copic markers to colour all my stamped images in. 

Once I had everything coloured in, I used the coordinating dies to cut my images out. For this, I used a Spellbinder Platinum machine. Then the fun part! Deciding how I wanted the front of my card to look. I love this part. Once I knew what I wanted to do for my puppy birthday party, I got everything else I'd need ready. This was die cutting the script Birthday from purple glitter paper and stamping the sentiment "Yappy" on to black cardstock and heat embossing it with white embossing powder. 

I started by gluing down the birthday sentiment. Then I glued down all my dogs and party items. Once I had everything in place and the glue had set, I trimmed off the excess on the edges. Then I added the "Yappy" sentiment and stamped the dogs howl onto my card front. 

I used Glossy Accents on the balloons to make them shine and I also used Stickles glitter gel on the banners for the table and the dog house. Once everything was dry, I used a white size 10 Gelly Pen to add some final details to my card. 

This will be a fun card to give a dog lover on their birthday! Thank you for joining me today. Below is a list of all the supplies I used to make this card. Happy Crafting!!

Supplies: For your shopping convenience, all products are linked below. Compensated affiliate links are used where possible with no extra cost to you. This helps me to continue to share all the projects I include on my blog. Please note I only use and share products I love. Thank you Crafty Friends!

Thursday, January 8, 2026

Tulip Birthday Card using Honey Bee Stamps!

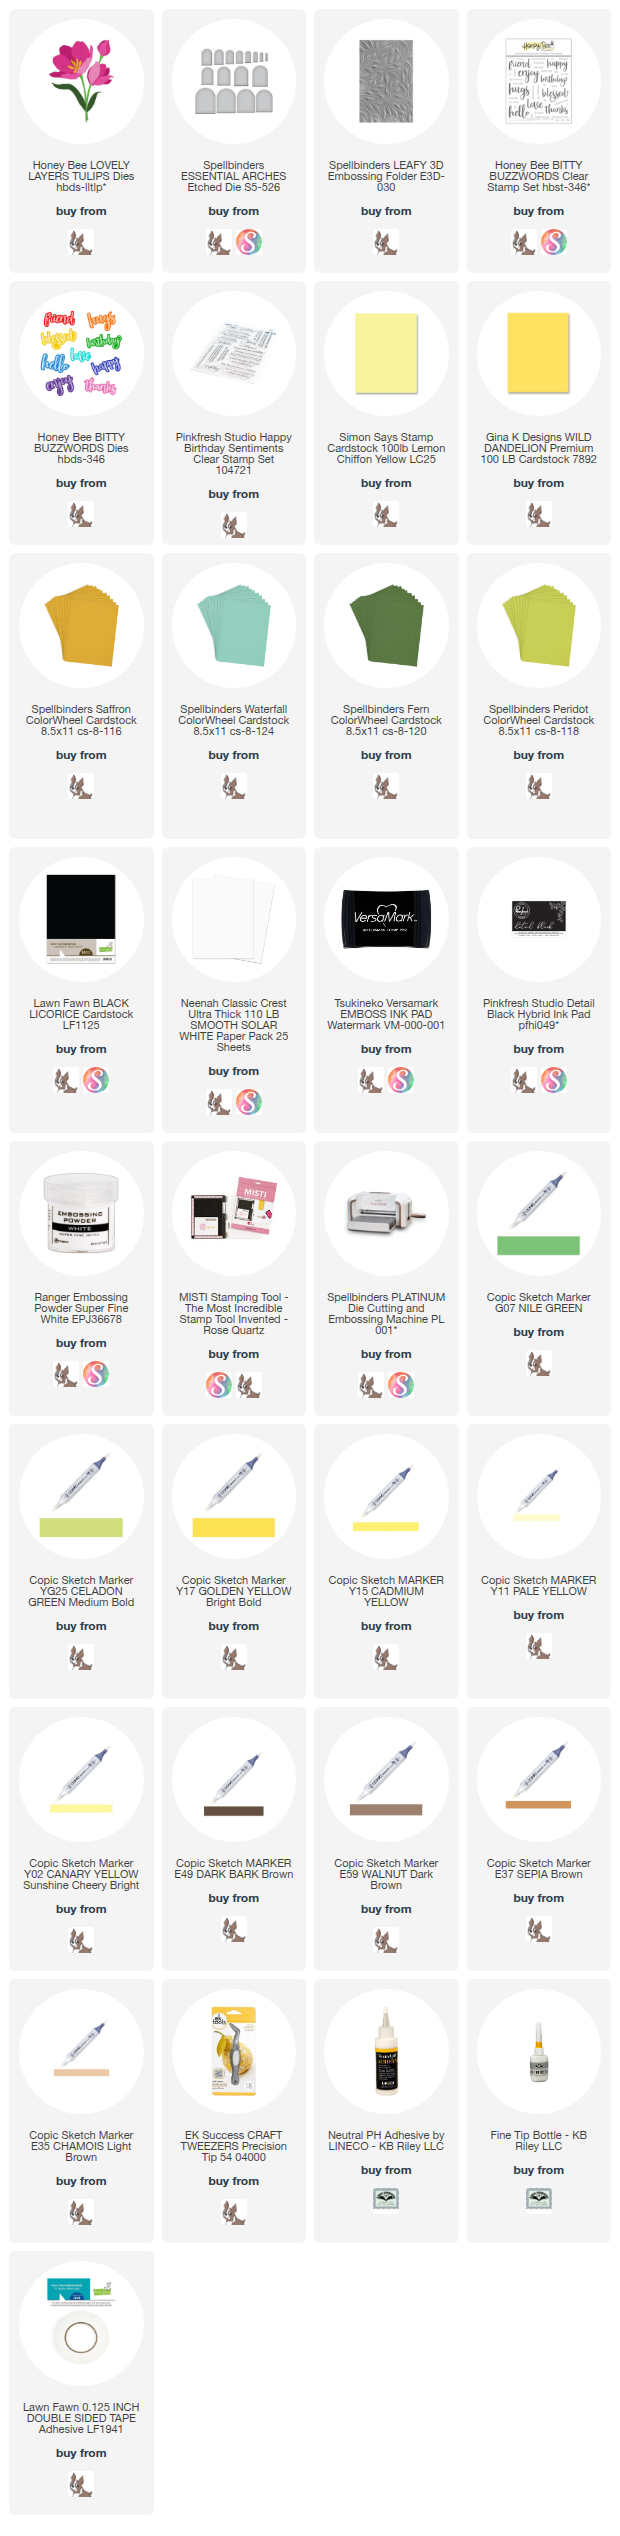
 Hello Crafty Friends and welcome. Well I'm still working on Birthday cards, building up my stock and I wanted to share this pretty birthday card that I made using Honey Bee Stamps Lovely Layers - Tulips die set. I really love all the Lovely Layers die sets that Honey Bee Stamps makes, so if you haven't already sene them, be sure to check them out!


I started with making an A2 size card base from some heavy weight cream coloured cardstock I purchased at my local Michaels. I then cut two rectangles from a pretty teal coloured cardstock and used Spellbinders  Leafy 3D embossing folder on both pieces. 

I die cut an arch using Spellbinders Essential Arches die set and Neenah Classic Crest Solar White 110lb smooth white cardstock. 

I then die cut all the pieces for my tulips. I used three different colours of yellow cardstock, then used my Copic markers to add some detail to the tulips. I used two different colours of green cardstock for the leaves and then added some detail to them using Copic markers. 

I glued all the pieces together using Lineco Neutral pH adhesive in a fine tip bottle and set them aside. I created a sentiment for the front of my card using Honey Bee Stamps Bitty Buzzwords. I stamped the "birthday" greeting using VersaMark Ink and white embossing powder, then die cut the word out with the coordinating die. I also cut two more birthday shapes using smooth black cardstock. I glued them all together to make the sentiment stand out more. I stamped the sentiment "greetings" on to white cardstock and used Detail Black Ink. 

I glued everything together and then added a sentiment to the inside of my card. I just love these flower dies from Honey Bee Stamps. They just make beautiful flowers to add to your cards. Thank you for stopping by today. Below is a list of the supplies I used to make this card. Happy Crafting.

Supplies: For your shopping convenience, all products are linked below. Compensated affiliate links are used where possible with no extra cost to you. This helps me to continue to share all the projects I include on my blog. Please note I only use and share products I love. Thank you Crafty Friends!


Wednesday, January 7, 2026

Happy Birthday Card using the Lorna Label

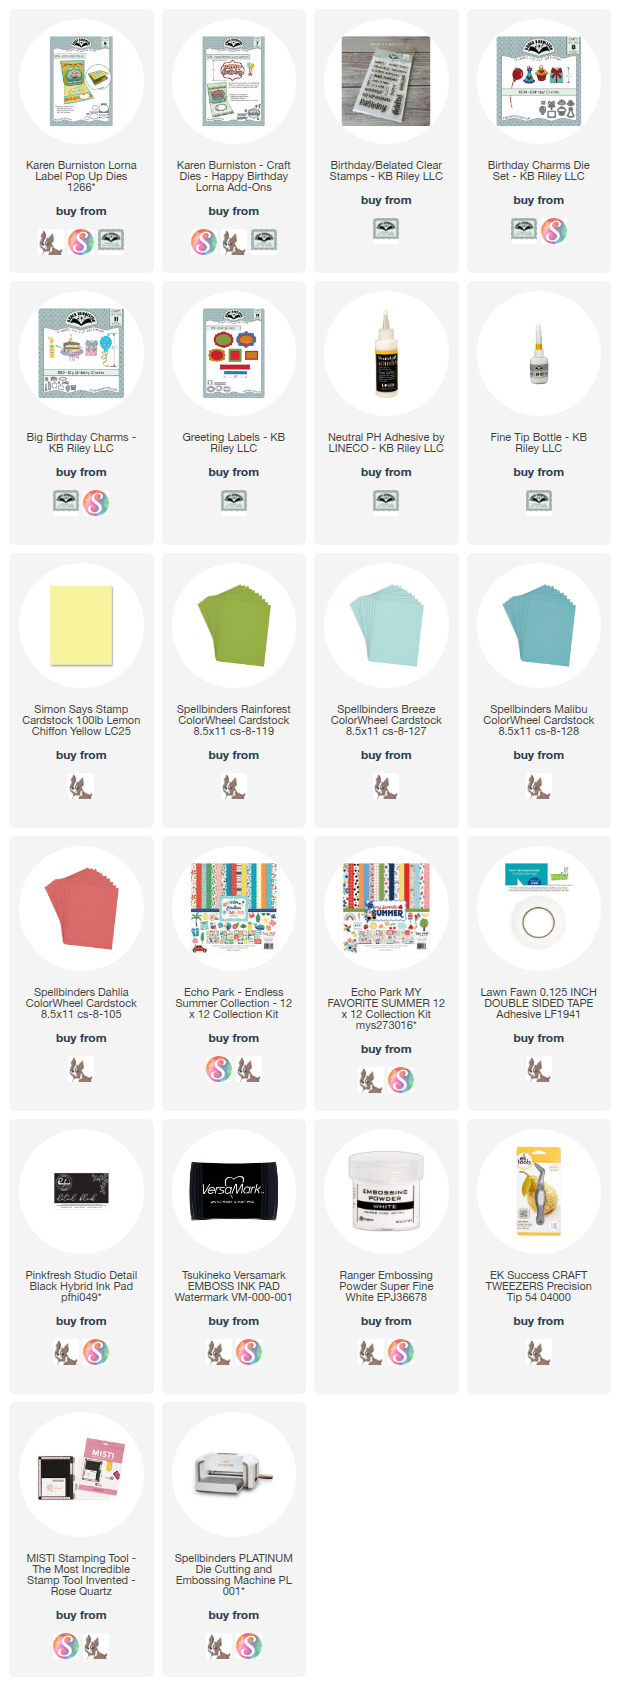
 Hello Crafty Friends and welcome! I recently discovered I need to restock my birthday card selection. I try to keep a bunch of cards available in case anyone needs any. So I decided to make a fun pop-up card using Karen Burniston's Lorna Label. I also used the Happy Birthday Lorna Add-Ons. 

For this card, I started by making an A2 top fold card base using a light yellow cardstock. Then I found this pretty patterned paper in my stash and decided to use it on my card. I used the floral pattern paper as my base for the other colours in my card. I die cut three rectangles from the red polka dot paper using Karen Burniston's Rectangle - Crosshatch die in the largest size. Then I cut two rectangles from the floral paper using the same die. I cut the top and bottom to fit the inside of my card. Then I cut two dark blue strips to add as a border inside my card. 

I added the paper in to my card base using double sided adhesive tape. I used glue for the dark blue strips. Then I die cut the pop-up piece that goes inside the card. I die cut the centre out of my Lorna label using the die that comes with the Happy Birthday Lorna Add-Ons die set. Then I die cut the happy birthday piece from the same light yellow cardstock as my card base. I used some scrap cardstock pieces to cut out the sentiment and then fishtail banner. I glued everything on to my pop-up and then glued the pop-up piece into my cardbase. 

I used the Birthday Charms and Big Birthday Charms to add some decorations. I also added some balloons using the ones that come with the Happy Birthday add-on. I used the Birthday/Belated sentiment stamp set to add some sentiments to the inside of my card. 

Lastly, I added a label from the Greetings Labels die set so there was a place to sign the card. 


For the front of the card, I kept the same patterned paper and added some more balloons and another sentiment for the front. I try to keep them simple as there is always so much going on inside the card. Thank you so much for stopping by today. Below is a list of supplies that I used to make this card. Happy Crafting!

Supplies: For your shopping convenience, all products are linked below. Compensated affiliate links are used where possible with no extra cost to you. This helps me to continue to share all the projects I include on my blog. Please note I only use and share products I love. Thank you Crafty Friends!


Tuesday, January 6, 2026

Karen Burniston Designer Challenge - January 2026 - Insects!

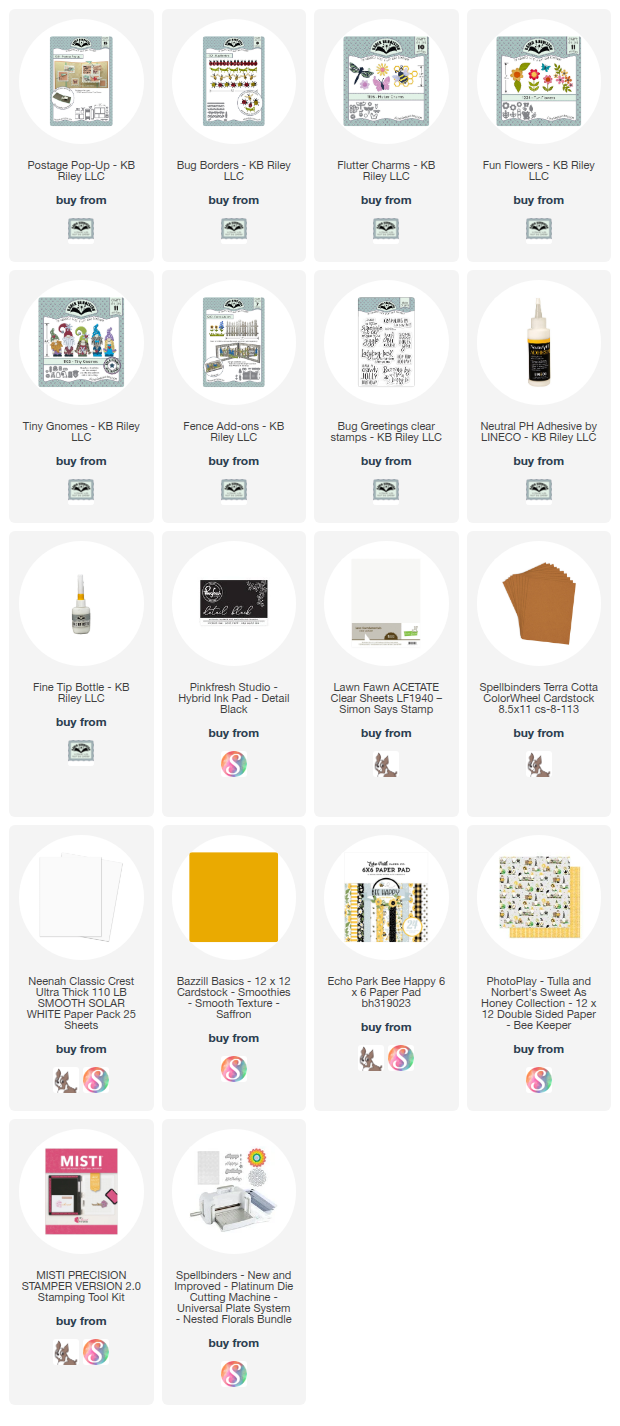
 Hello Crafty Friends and welcome! It's our first Designer Challenge for 2026 and our theme to start off our new year is Insects. I had so many ideas floating around, but decided (since I love bee themed pattern paper) on a bee card. For this card, I used the Postage Pop-Up along with the new Bug Borders and my very favourite Flutter Charms. 

For this card, I wanted to make a window card so that you could see the postage square before you even open the card. To start, I made an A2 side fold card, using a terra cotta coloured cardstock. I then added my three panels of pretty bee themed patterned paper. I have a short video below on how I made the window card. Unfortunately, my camera didn't record how I decorated it, I'm very sorry about that. 

For the window in the front, I decided to use the Square - Crosshatch die set to find a square that would fit the postage square. I used the second square from the largest to die cut the window in the front of the card. I added a piece of acetate to the inside to create my window. Because the card wasn't big enough to used the largest square in the crosshatch set to make a frame for my windows, I had to cut a piece of paper just slightly larger than my window square and then use that square die to cut out a frame. It's very thin, but just gives my window a finishing touch. I added a frame to the front and inside of the window. 

Then I die cut my Postage Pop-Up from black cardstock. I added the pop-up mechanism into the card first. Then I set that aside while I decorated my Postage Pop-Up. 

I used the new Greeting Labels to add frames for each postage stamp area. Then added the white backgrounds on top. I used the Tiny Gnomes, Flutter Charms, Fun Flowers and Fence Landscape Add-On to add bees, flowers and gnomes! I added a sentiment to one postage stamp using the new Bug Greetings stamp set from Karen Burniston. 

I added this to my card, by placing the Postage Pop-Up in to my window, then adding glue to the mechanism and then closing the card on to the Postage stamp piece. This ensures its centre in my window and that you will be able to see it when the card is closed. 

I added some Gnome Bee patterned paper to the edge of the inside of my card, adding some extra decorative paper. Then added more bee themed decorations. 

For the front of the card, I added another bee border and another little gnome guy. I just love how this card turned out. With those little gnomes and the bees!! Then the big window on the front, just makes this card extra special. Thank you so much for stopping by today. Be sure to check out the other fantastic cards by our Design Team. Below is a list of the supplies I used to make this card and the video on how to make the window card base! Happy Crafting!


Supplies: For your shopping convenience, all products are linked below. Compensated affiliate links are used where possible with no extra cost to you. This helps me to continue to share all the projects I include on my blog. Please note I only use and share products I love. Thank you Crafty Friends!


Monday, January 5, 2026

75th Birthday Card using Spellbinders Muscle Car!

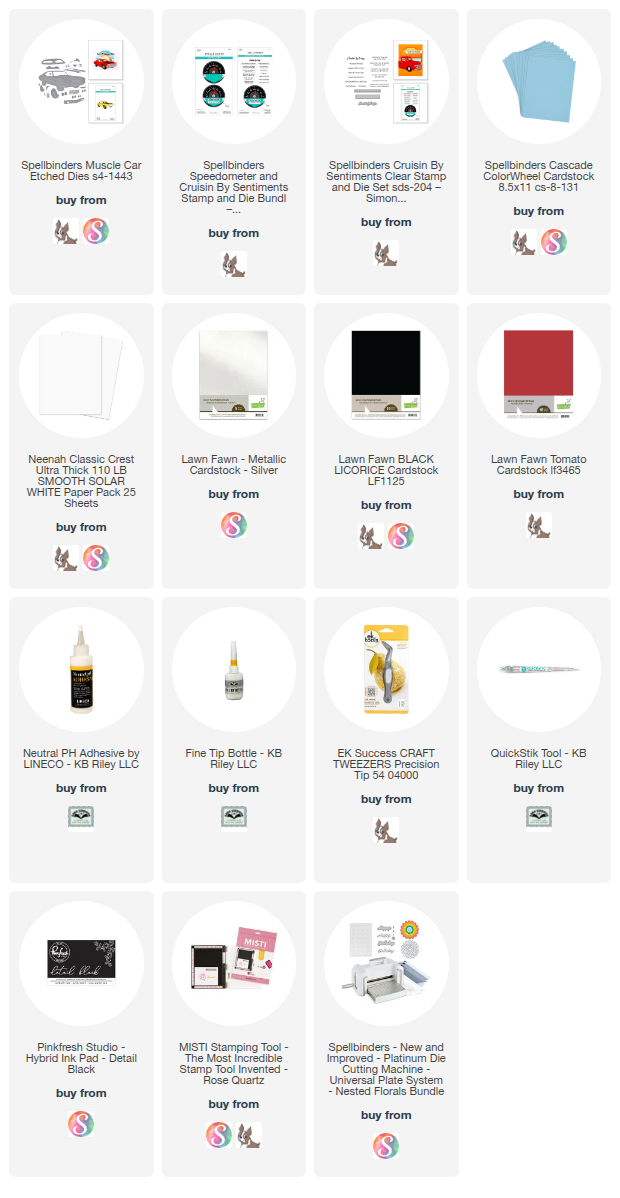
 Hello Crafty Friends! I hope you all have had a wonderful holiday season and I wish all of you a very Happy New Year. My first card for you for 2026 is a card I made for my Father in Law for his 75th Birthday. My husband and father-in-law love working on cars/trucks. So when I asked my hubby what kind of card to make for his Dad, he said the muscle car!

For this card, I used Spellbinders Muscle Car die set, along with the Crusin' By sentiment stamp set. 

For this card, I started with an A2 sized card base using a heavy weight smooth white cardstock. I then die cut two rectangles from a light blue cardstock and pressed it with a 3D embossing folder. I added one rectangle to the front and one to the inside of the card. 

I added a band of silver paper and added a smaller band of black polka dot paper to the front of my card. I then die cut the pieces for the odometer and the muscle car. Once I had all the pieces cut, I began putting everything together. If you would like to see all the steps, see the video below. 

I glued everything on with Lineco Neutral pH adhesive in a fine tip bottle, pressing to make sure it adhered to my card front. Then I stamped a sentiment on to smooth white cardstock using Detail Black ink and used to the coordinating die cut to cut out my sentiment. 

I stamped another sentiment on to a smaller rectangle to add to the inside of the card. This was actually a pretty simple card to put together but makes a big impact because of how cool the car turned out!! I think next time, I will use packing tape on my cardstock first and then die cut the car out, so the car (or truck) is shiny! Thank you for joining me today. Below the video is a list of all the supplies I used to make this card. Happy Crafting!


Supplies: For your shopping convenience, all products are linked below. Compensated affiliate links are used where possible with no extra cost to you. This helps me to continue to share all the projects I include on my blog. Please note I only use and share products I love. Thank you Crafty Friends!


Thursday, December 11, 2025

Gingerbread Accordion Card!

 Hello Crafty Friends and welcome. I was scrolling through YouTube the other day and this older video came on my feed from Karen Burniston. It was for a Fancy Label Accordion card, but it used the Evergreen Pivot Panel in the centre. It's such a beautiful card, so I wanted to make one. But for my card, I turned the trees and house used in the card into Gingerbread!! 


For this card, I started by die cut four Fancy Label Accordion pieces, two from a thin red cardstock and two from a dark green cardstock. I then die cut the same from a red and white stripped patterned paper and a brown gingerbread swirl patterned paper. I added the patterned paper around the frame of the Fancy Label Accordion pieces, trimming out the areas I didn't need. 

I added the two centre pieces from the red and white stripped paper to my centre two accordion pieces. Following Karens instructions on her video (which you can watch by clicking here) I die cut the Evergreen Pivot Panel into my two Fancy Label Accordion pieces. 

I dug through my scrap Christmas paper and found this pretty stripped paper, it was a little thicker than normal patterned paper. I used it to die cut the Evergreen Pivot Panel. I trimmed away the areas I didn't need, then folded it down the centre. 

I die cut several of the trees from kraft cardstock. I added some Distress Ink in Vintage Photo around the edges of each tree. Then I used Nuvo Crystal Drops in Simply White to each tree to look like cookie frosting. I also used the Winter Charms and die cut two small Gingerbread men, from the same cardstock and added some Nuvo drops to add icing to my snowmen. I set everything aside to dry.

I then die cut all the pieces for the Holiday House. I used kraft cardstock again and added more Distress Ink around the edges. I die cut the snow areas from a sparkly white cardstock. I also die cut the window and door frames from the same cardstock. I added some detail to the roof, using a white Gelly Pen in size 8. I used the gum drops and swirled mints from the Gingerbread Tiny House Add-Ons to add some candy to my Gingerbread house. I then added some glitter gel to the candy and set that aside to dry.


While everything dried, I cut four more Fancy Label pieces from a green swirl patterned paper. I also cut three more panels from the sparkly white cardstock. I used the hill die from the Long Nature Edges to cut my snow. Then I glued the snow on to my green backgrounds. I added these to the two end panels on my accordion card. I also added one to what will be the front of my card. 

Once everything was dry, I glued all my decorator pieces to my card, then glued all my panels together. I added my fourth green piece to the back to add more security to the little tabs at the back. 

I die cut two labels from the new Greeting Labels from white cardstock. I left one blank so I had a place to sign the card, then I added a stamped sentiment to the label for the front of my card. I used the Christmas Wishes sentiment stamp for this. 

I just love how this card turned out! Thank you to Karen for the fantastic idea. Below is a list of all the supplies I used to make this card. Happy Crafting!

Supplies: For your shopping convenience, all products are linked below. Compensated affiliate links are used where possible with no extra cost to you. This helps me to continue to share all the projects I include on my blog. Please note I only use and share products I love. Thank you Crafty Friends!


Tuesday, December 2, 2025

Karen Burniston Designer Challenge - December 2025 - Song Lyrics

 Hello Crafty Friends and welcome! It's Designer Challenge time once again and our theme this month is Song Lyrics. For this challenge, I was trying to think of a song I wanted to use, Christmas, Rock...then I got thinking about how, when I was a child, our local newspaper would send out a Christmas song book around this time of year. It would have ads from local businesses, but it would also have several lyrics to Christmas songs. I loved looking through it and singing the songs. 

So, my card for you today is a pop-up Christmas song book, complete with lyrics for four Christmas songs, Rudolph the Red Nose Reindeer, O Christmas Tree, Let it Snow and Up on the House Top. 


The first page in my book is Rudolph. I remember being a kid and my cousin and I would sing this together on Christmas eve. It was probably one of the only times we ever got along as children. Lol. For this page, I used the Sleigh Pop-Up. I started by using a thin piece of white cardstock as my card base. All the card bases are 5x7. Then I cut two pieces of cardstock from a smooth heavy weight cardstock. One I created a snowy background using Distress Oxide Ink in Tumbled Glass, Salty Ocean and Chipped Sapphire. Then using my Copic Opaque paint, I splattered the paint to make it look like snow. I set this aside to dry.

I die cut the pieces for the sleigh using some scraps of red cardstock, gold mirrored cardstock and some fancy "paper" that feels like velvet. This worked amazing with the embossing on the sleigh because it really made the pattern come out of the velvet (I know it's hard to see in the picture). I put the sleigh die cuts together and set them aside. 

I glued my background and white rectangle for the base into my card. Then I added some trees and snow to the background using the Long Nature Edges. I cut this from white cardstock and coloured the trees in with Copic markers. 

I then glued my sleigh into my card. I used the Christmas Animals to die cut Rudolph, colouring him in using Copic markers. Then I added some Glossy Accents to his nose. Once he was dry, I added him to my card. Lastly, I added my lyrics to Rudolph the Red Nose Reindeer. 


For my second page in my lyrics book, I used the Christmas Tree Pop-Up. I made another card base using the thin white cardstock. Then I added two pieces of Christmas patterned paper. I added two more pieces of different patterned paper along the edges of the card. 

I then die cut the tree from two colours of green cardstock. I die cut the tree base from brown cardstock and then I cut the ornaments for the tree from white cardstock and coloured them in with Copic markers. I used the tree skirt piece from the Christmas Tree Add-Ons and then added my pop-up to my card. 

I die cut the ornaments for the border from the Christmas Borders 1 die set and coloured them in with Copic markers. I added some gold mirrored cardstock to the tops. Then I added my song lyrics to the left side of my card and a sentiment to the right. 


The next song in my pop-up lyrics book is Let It Snow. I used the Arch Pop-Up along with every single snow flake I had in my KB collection! I die cut the snow flakes from four different colours of blue cardstock and from a white glitter cardstock. Then I glued them all over my arch. 

I added my song lyrics and then used Word Set 13 - Snow to add a sentiment over my lyrics. Like my other cards, the card base is a 5x7 thin white cardstock. I used a pretty winter patterned paper for the background on this card. 


Last, but not least, is "Up on the Housetop". For this card, I debated on the House Pop-Up or the Fireplace Pop-Up. I went with the Fireplace. I die cut the pieces from scrap cardstock I had in my stash. I cut another card base and added some patterned paper in my scrap stash for the wall and floor. Then I glued in my fireplace. Santas boots are dangling from the fireplace (hard to see in the picture). I added some of the great add-on fireplace pieces to make my Christmas scene. 

Once I had all my cards made, I began gluing them together. Then I cut a piece of patterned cardstock 11x7 and scored it at 5" and 6" making a 1" spine for my book. Then I glued the cover around my cards. I added two clasps with magnets to keep the card closed. 


I hope you like my idea as much as I do! Thank you so much for stopping by today. Be sure to check out the other incredible designs made by our very talented design team. Below is a list of all the supplies I used to make this song book. Happy Crafting!

Supplies: For your shopping convenience, all products are linked below. Compensated affiliate links are used where possible with no extra cost to you. This helps me to continue to share all the projects I include on my blog. Please note I only use and share products I love. Thank you Crafty Friends!


Monday, November 24, 2025

Karen Burniston - KB Riley LLC November 2025 Release Blog Hop

Hi Crafty Friends, 
Welcome to our Karen Burniston Products - KB Riley LLC November Release Blog Hop. The Design Team have come together with Karen today for a fun blog hop to celebrate the release of 15 new dies and 5 new stamp sets. Sneak peeks of the new release started last week, and the dies are available to order NOW!


This release includes:
  • 1 new Pop-up Die Sets
  • 2 new Playful Add-on Die Sets
  • 1 new Ball Add-on Die Sets
  • 3 new Ball Access Tab Die Sets
  • 3 new Word Die Sets
  • 3 new Border Die Sets 
  • 1 new Greetings Label Die Set
  • 1 new Stand Alone Die Sets
  • 5 new Clear Sentiment Stamp Sets
Dies are available to pre-order now on the website. 
GIVEAWAY:
To celebrate the release Karen Burniston and each of the Karen Burniston - KB Riley LLC Design Team members will be giving away a $25 Gift Certificate to some lucky person who comments on our blog posts, so make sure you join the hop and comment on everyone's blog post. Winners will be randomly chosen from ALL of the blog hop comments received on our blog posts by Monday, 1st December 2025. Lots of chances to win some goodies, so just leave a comment on this post or any other blog hop posts to enter! Don't forget to leave some way for us to contact you, in case you are a lucky winner!
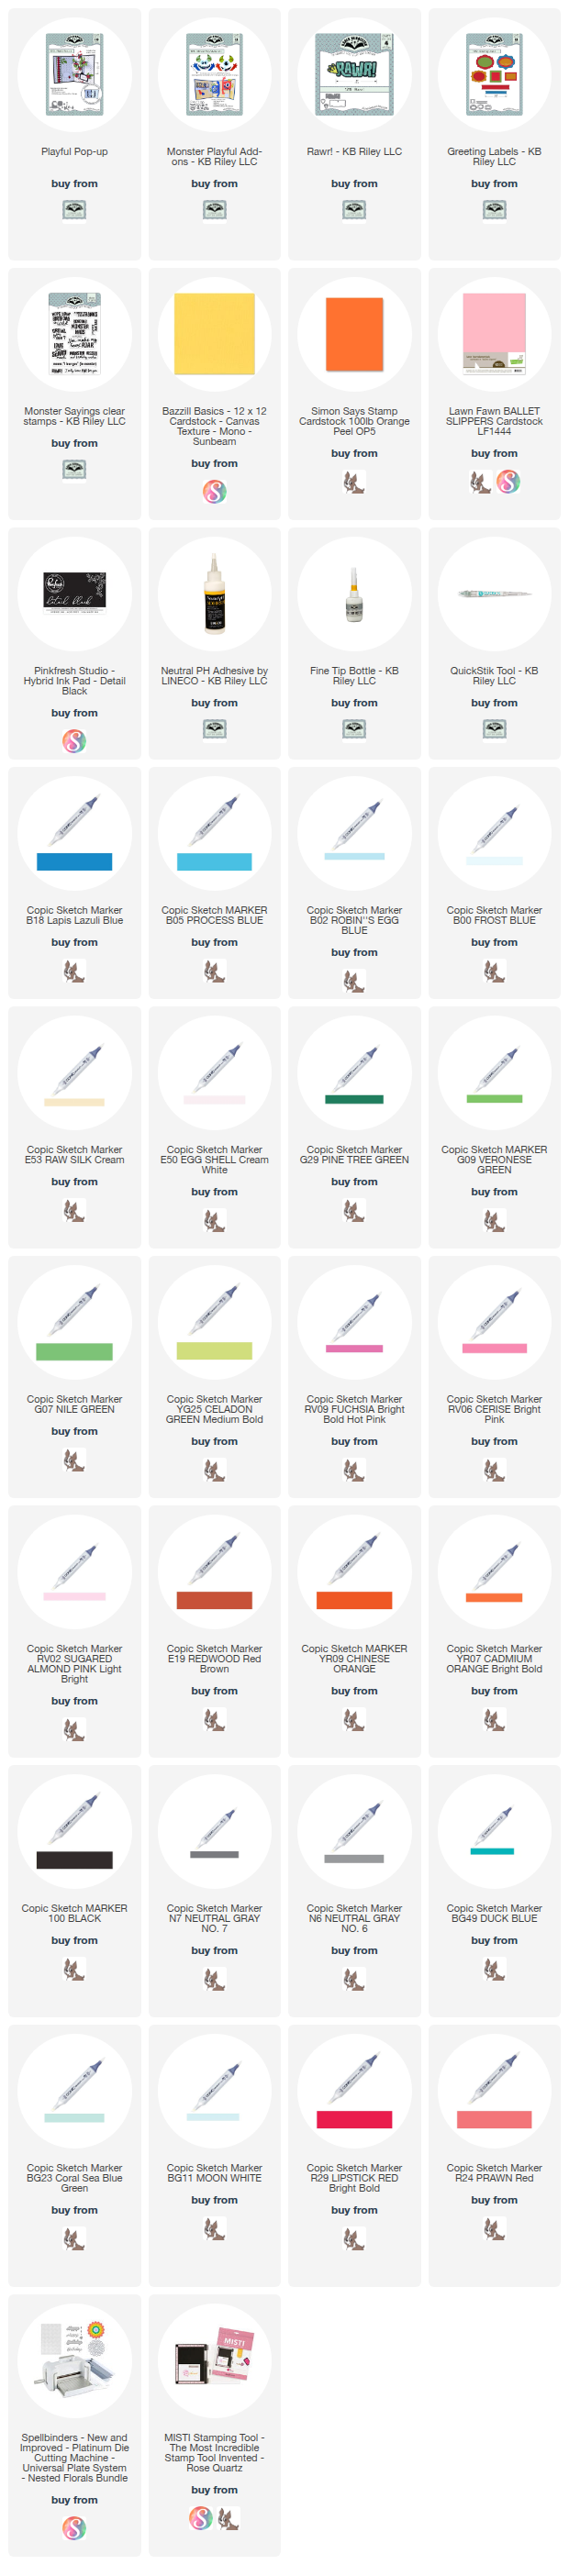
For my card, I decided to use the new Monster Playful Add-On! 

For this card, I started by cutting a piece of 12x12 cardstock in half so I had a 12x6 piece of yellow Bazzill Basics cardstock. Then I scored it at 3" and 9". I used my bone folder to get a good fold on each side. 
I added some fun polka dot patterned paper. This was actually Halloween paper from Photoplay called Fright Night. I found some pretty patterned purple paper from Close to My Heart called I Heart Us and added two 1 1/4" pieces down each side. Then I added a strip of the same yellow cardstock as my card base. 
I die cut the pop-up mechanism for each monster from orange and pink cardstock. I used 100lb cardstock for this as I find that it keeps the moving arms in place better. The pink monster was folded the right way, but in order to get the orange monster to face the way he is, I had to turn the mechanism backwards and fold it that way. 
I die cut the face, horns and face pieces along with the square piece that goes on top of the mechanism all from smooth white heavy weight cardstock. I coloured everything in using Copic markers. I tried to add some "fur" to my monsters with my markers. I added long fur to my pink monster, and fluffy fur to my orange monster. 
I added Glossy Accents to the eyes and nose on the monsters. Once dry, I used a size 10 white Gelly Pen to add some shine lines. 
I die cut two different labels from the new Greeting Labels die set. I stamped a sentiment on to the smaller label using the new Monster Saying sentiment stamp set. I glued the other label down for a place to sign the card. 
At this point, I felt the card needed something else, so I used the monster foot prints that come with the new Rawr! die and created a fun foot print border up each side of the card. 

For the front of the card, I used the same patterned paper. I added a belly band to keep the card closed and then die cut the Rawr! sentiment to go on the front of the card. 
This was such a fun die set to play with and I know it's one I will get a lot of use out of!!! Thank you so much for stopping by today, be sure to leave a comment with your name and email address so you can be entered to win a $25 online gift certificate to spend on Karen's amazing dies!! Below the Blog Hop list is the list of supplies I used to create this card. Happy Crafting!
Jennifer Webster - you are here

Supplies: For your shopping convenience, all products are linked below. Compensated affiliate links are used where possible with no extra cost to you. This helps me to continue to share all the projects I include on my blog. Please note I only use and share products I love. Thank you Crafty Friends!


Saturday, November 22, 2025

Karen Burniston November 2025 New Release - Sneak Peek Week Day 4 - Cheshire Cat Card

 Hello Crafty Friends and welcome! I hope you have been checking out all the fantastic cards our Design Team has been posting. My card for you today is a little different. I used the Dog and Cat Playful Add-On along with some of Karens other great dies to create the Cheshire Cat from Alice in Wonderland! As I'm sure most of you know, I love Alice in Wonderland. So as soon as I seen the cat, I knew I had to the Cheshire Cat!

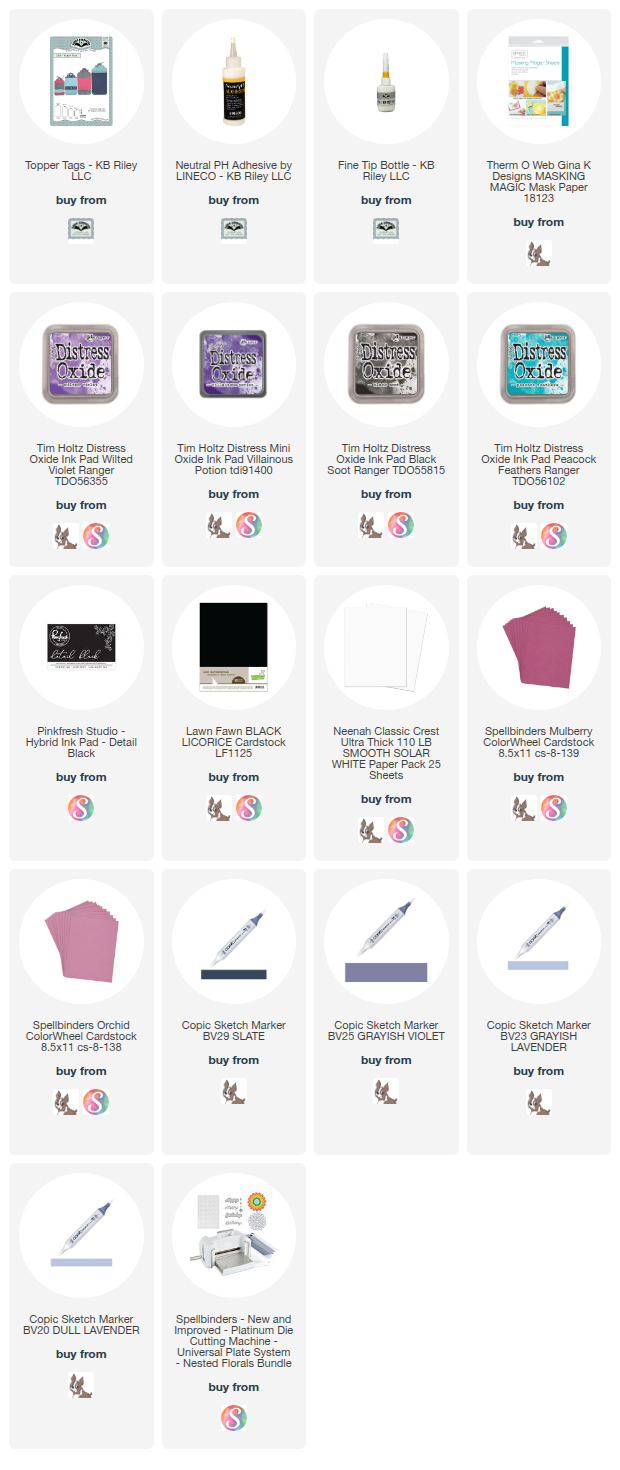
For this card, I started with an A2 sized card base from heavy weight smooth black cardstock. Then I cut two pieces of white cardstock 1/8" small than my card base. I created my background to look like the tree that the Cheshire cat sits in. I drew it out with pencil, then coloured it in with Copic markers. I added masking paper to the tree and then used Distress Oxide Ink in Wilted Violet, Villainous Potion and Black Soot to create my background. 

I used my Cricut to draw out the sentiment on the tag and then with a fine tip pen, coloured it in black. I die cut the sentiment with a Topper Tag and used Distress Oxide Ink in Peacock Feathers to go around the tag. Then I added some Black Soot. I also used some black ink and water to spray some flecks of dark on the tag. Lastly, I added a black ribbon and glued it into my card. 

For the Cheshire Cat, I used some cardstock from Spellbinders to cut everything out. I have that listed below in my supply list. I used both pieces from the cat and dog dies for the new Dog and Cat Playful Add-Ons. 

Lastly, I added a place to sign the card near the bottom, using the new Greeting Labels die set. I love how this card turned out!! I am going to have to see what other characters I can make with this new Playful Pop-Up! 

Thank you so much for stopping by today. Below is a list of the supplies I used to make this card, other than the new release. Happy Crafting!

Supplies: For your shopping convenience, all products are linked below. Compensated affiliate links are used where possible with no extra cost to you. This helps me to continue to share all the projects I include on my blog. Please note I only use and share products I love. Thank you Crafty Friends!


Kitty Witch Halloween Card

Hello Crafty Friends and welcome! My card for you today was created for Craft Roulette. It's been so long since I made a card for Craft ...